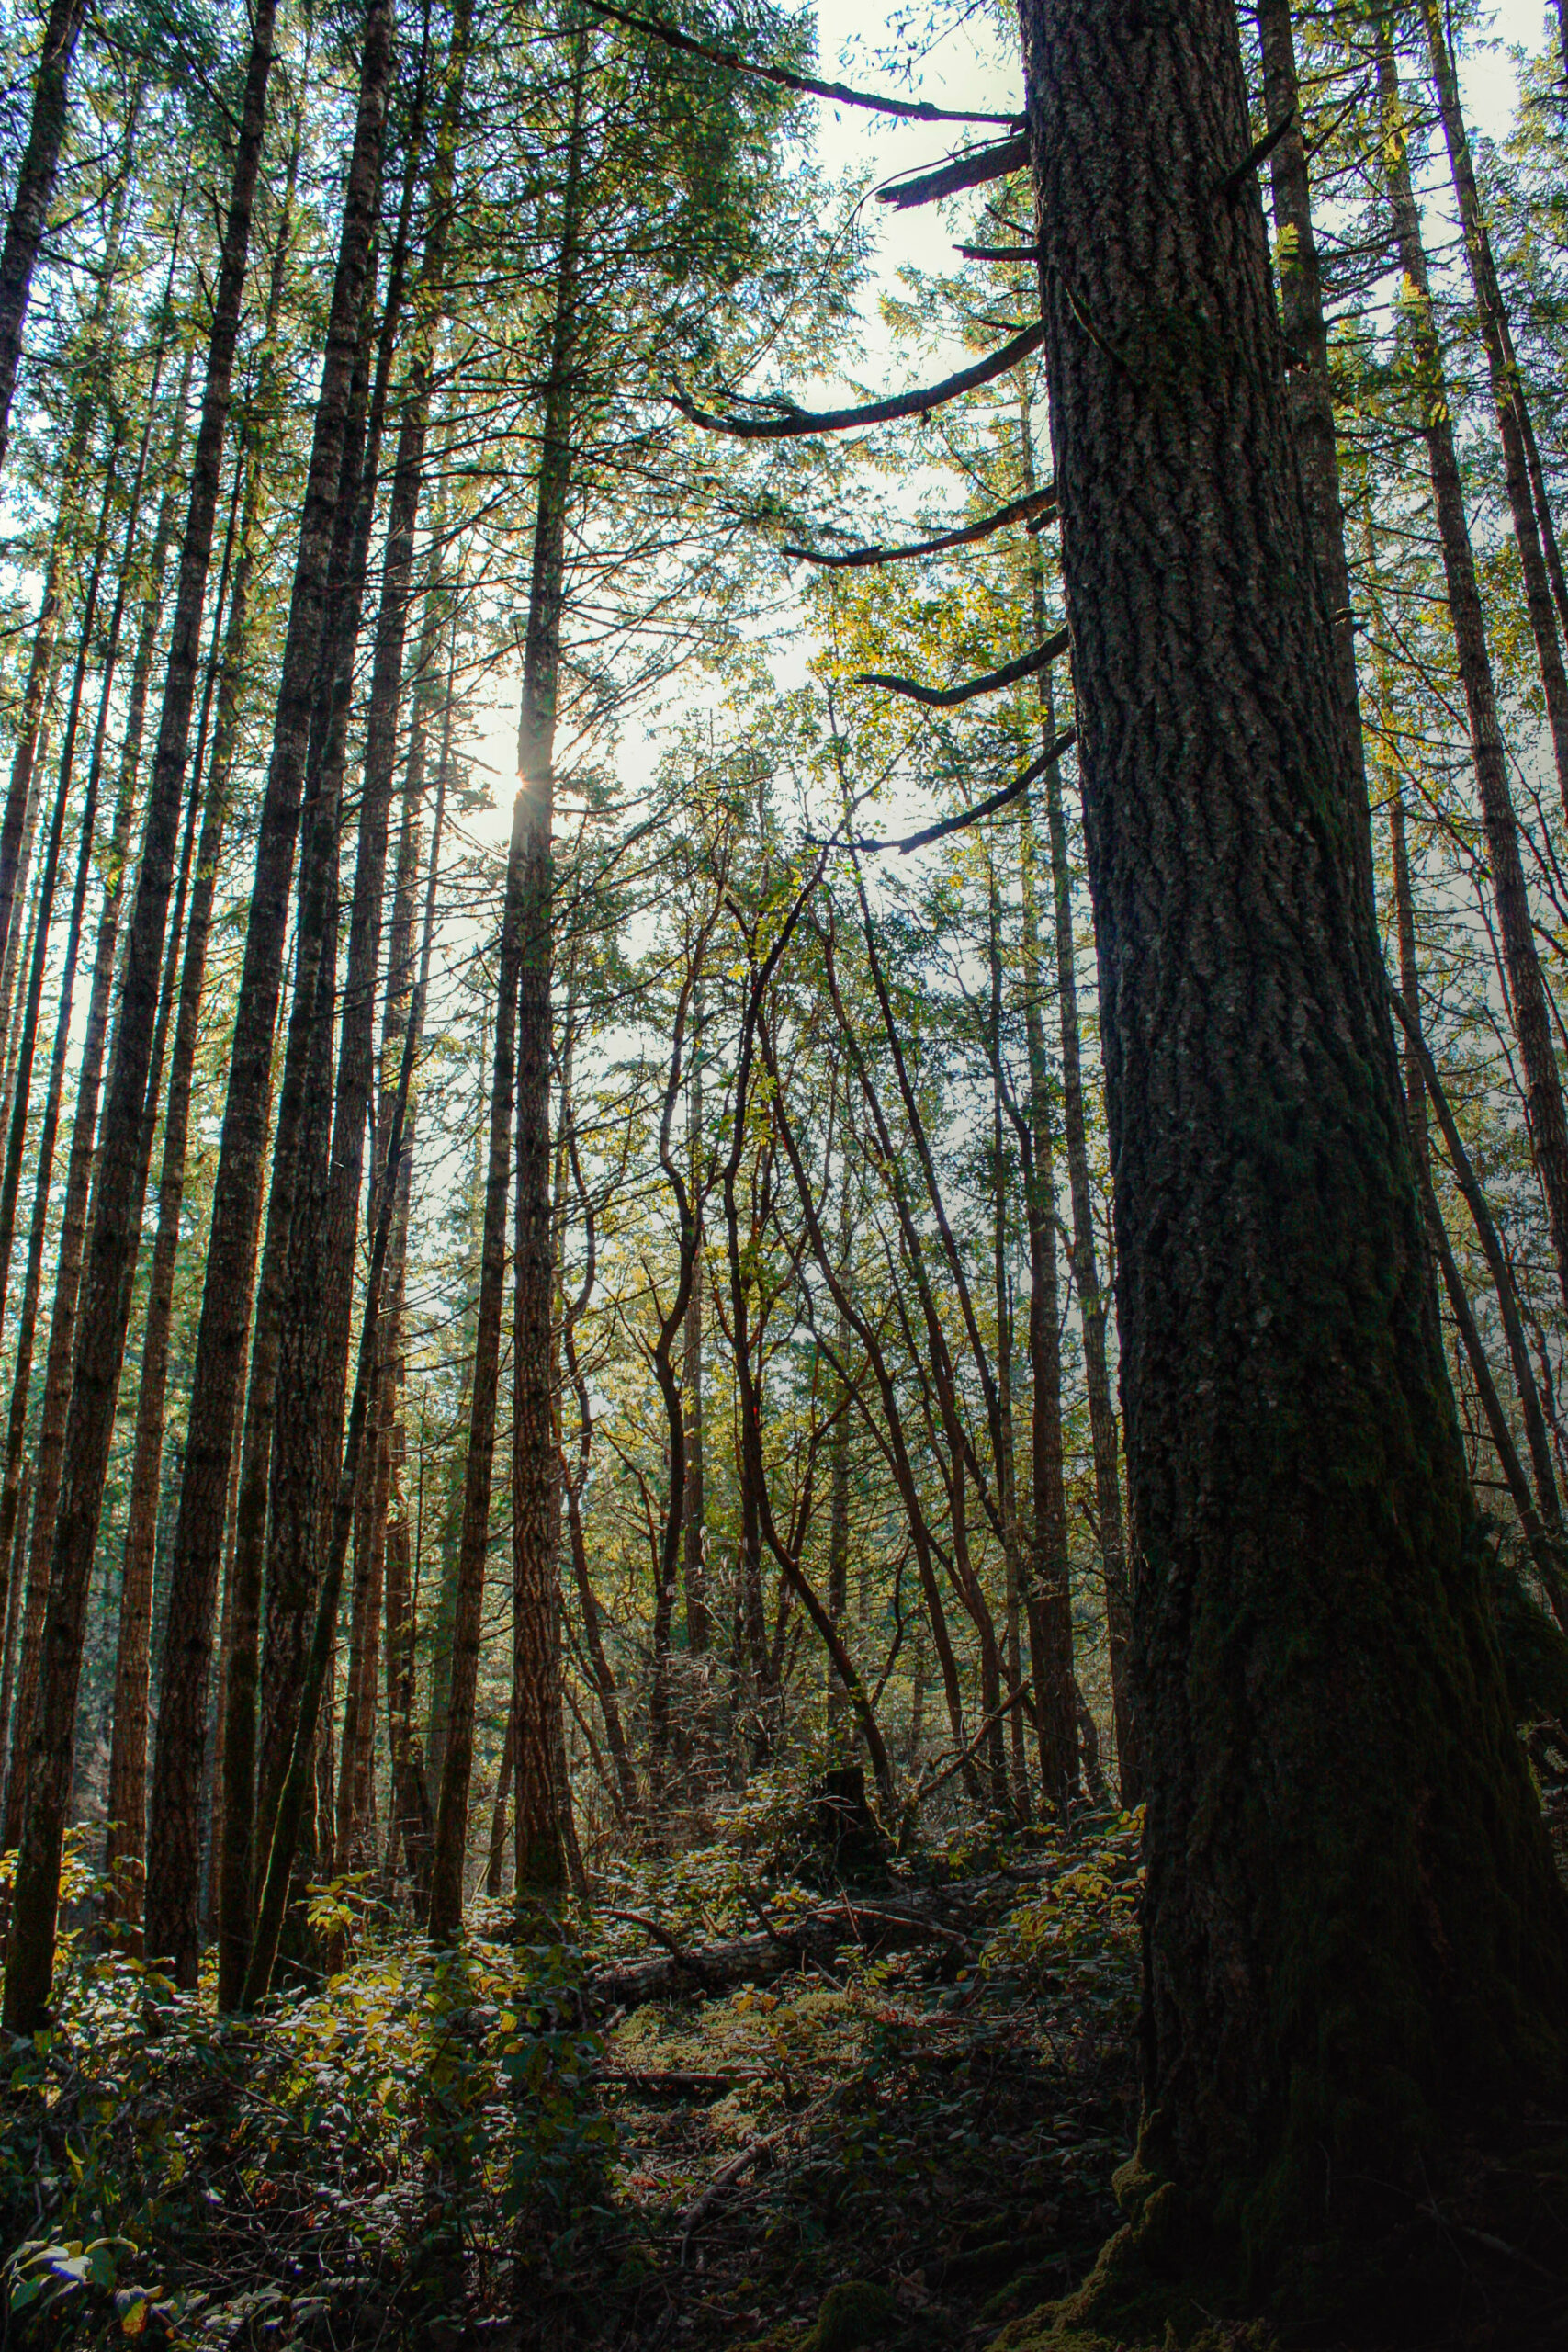

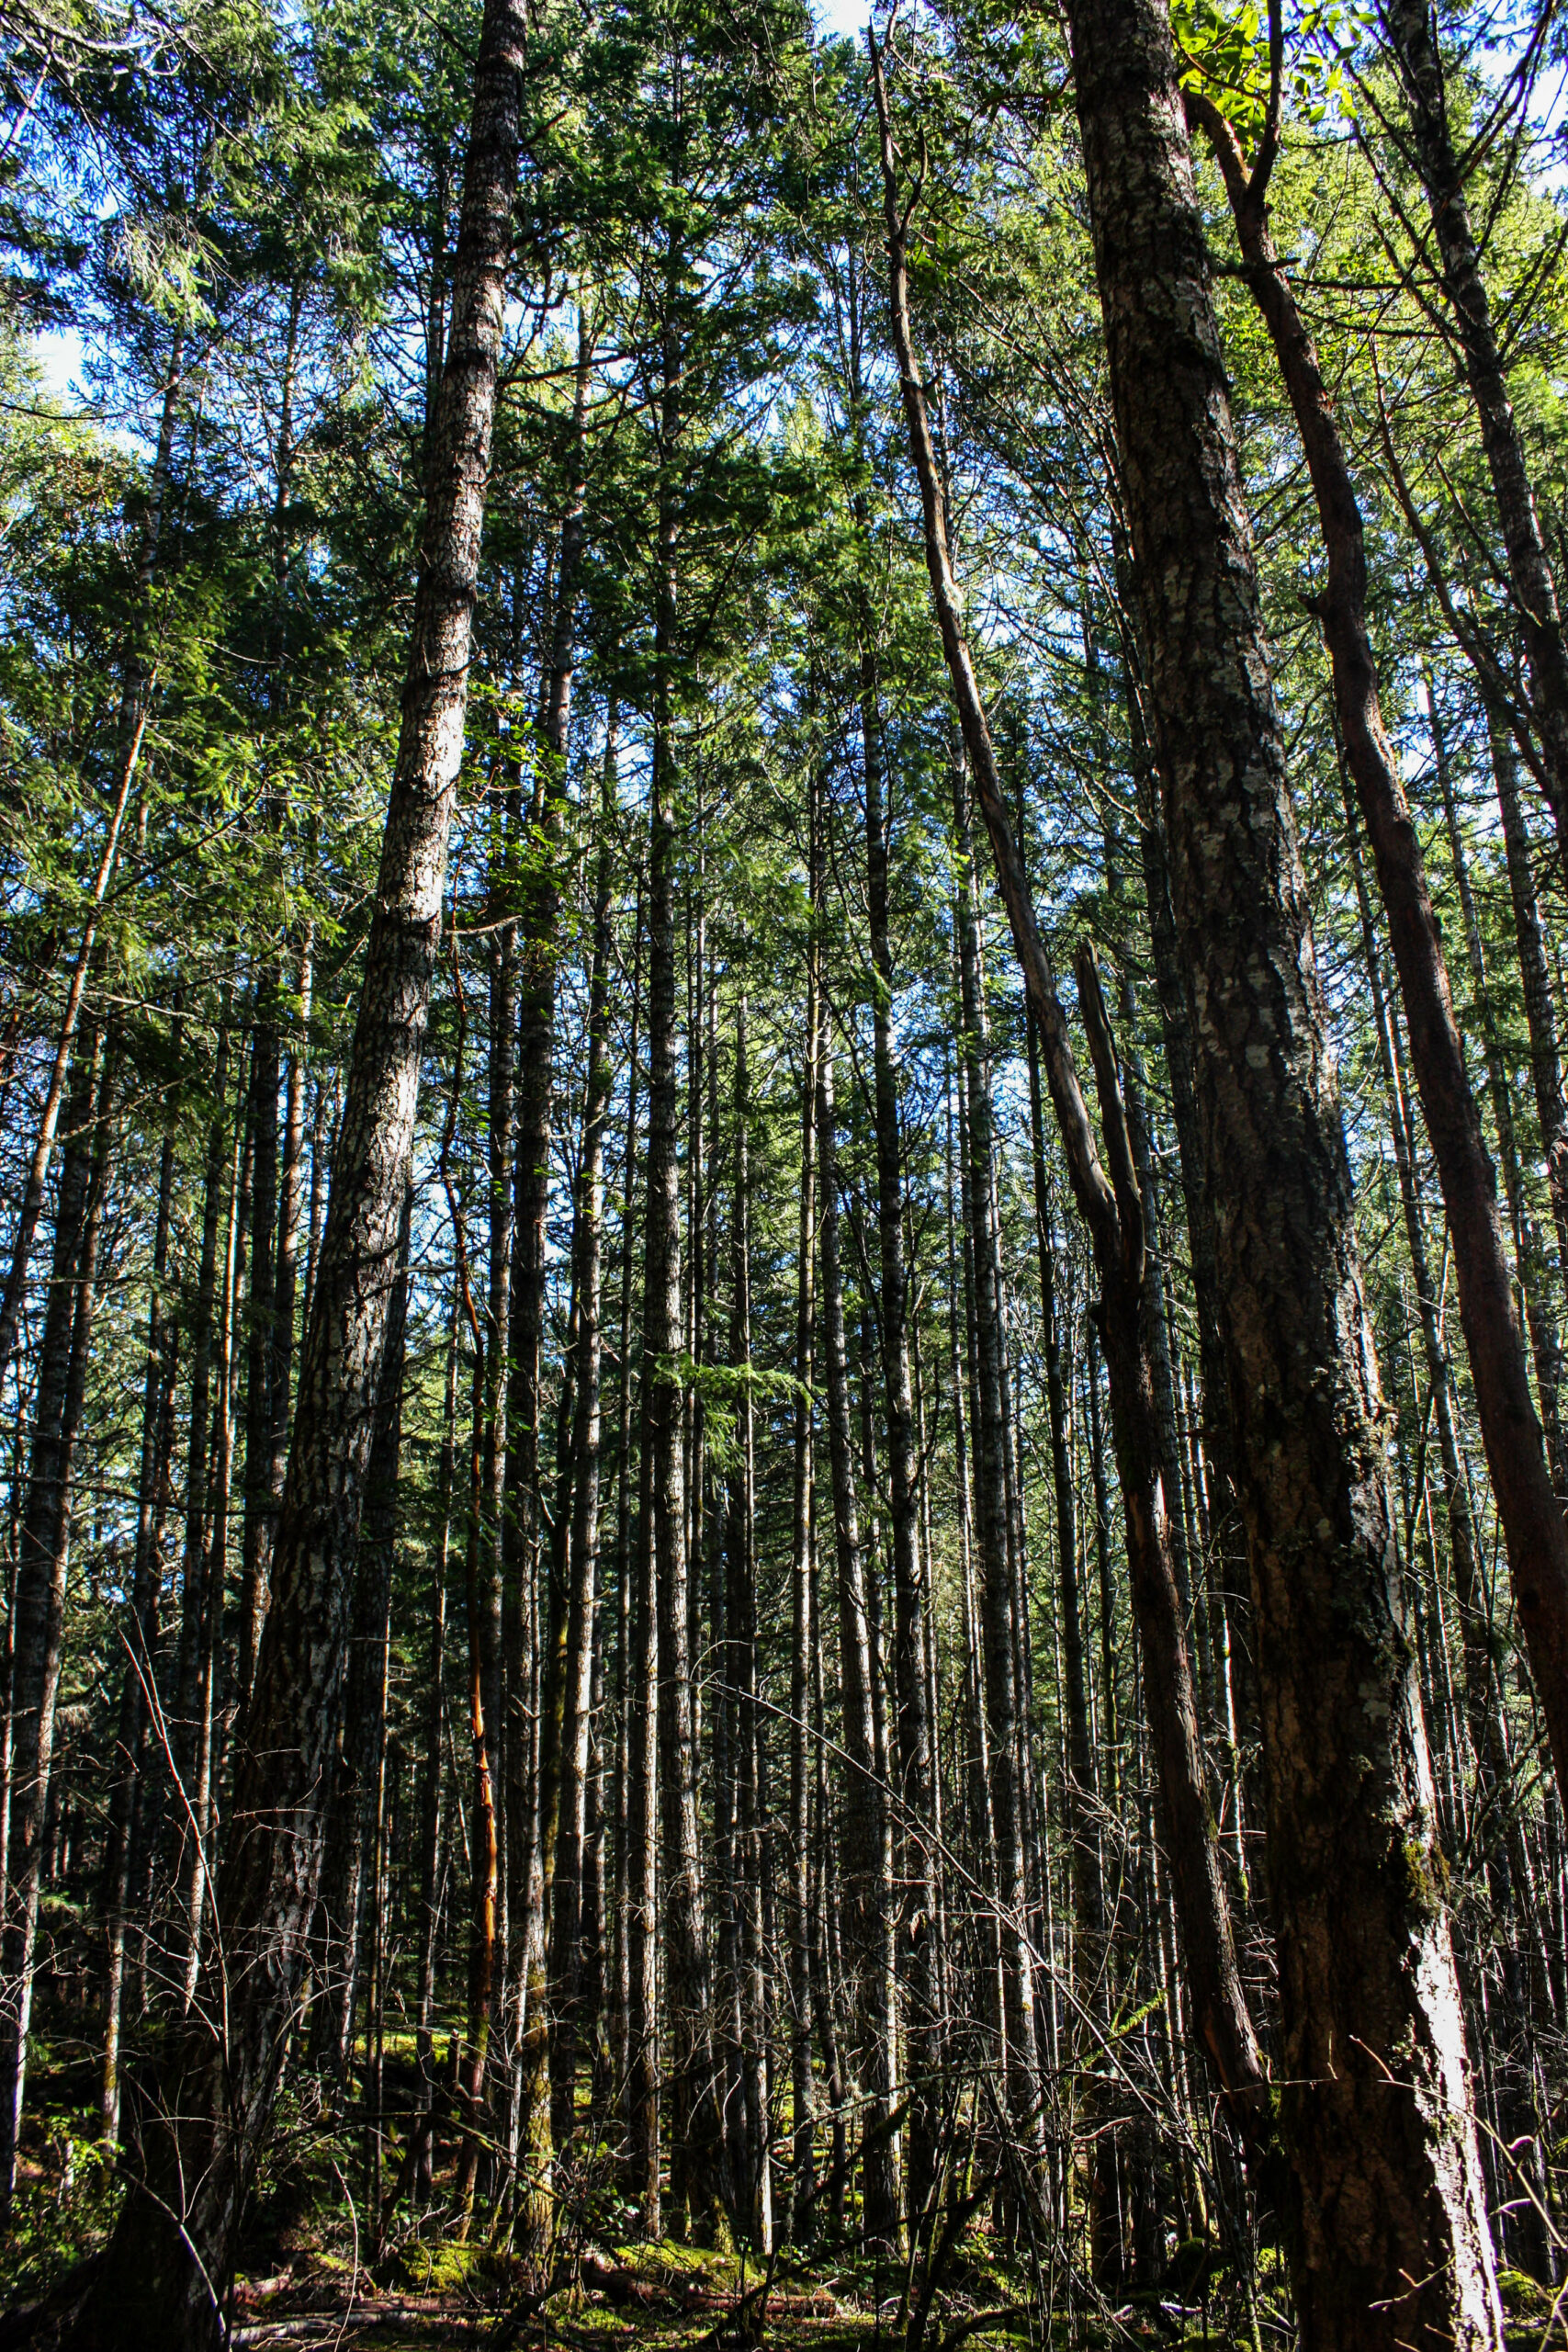
1 – Forest 
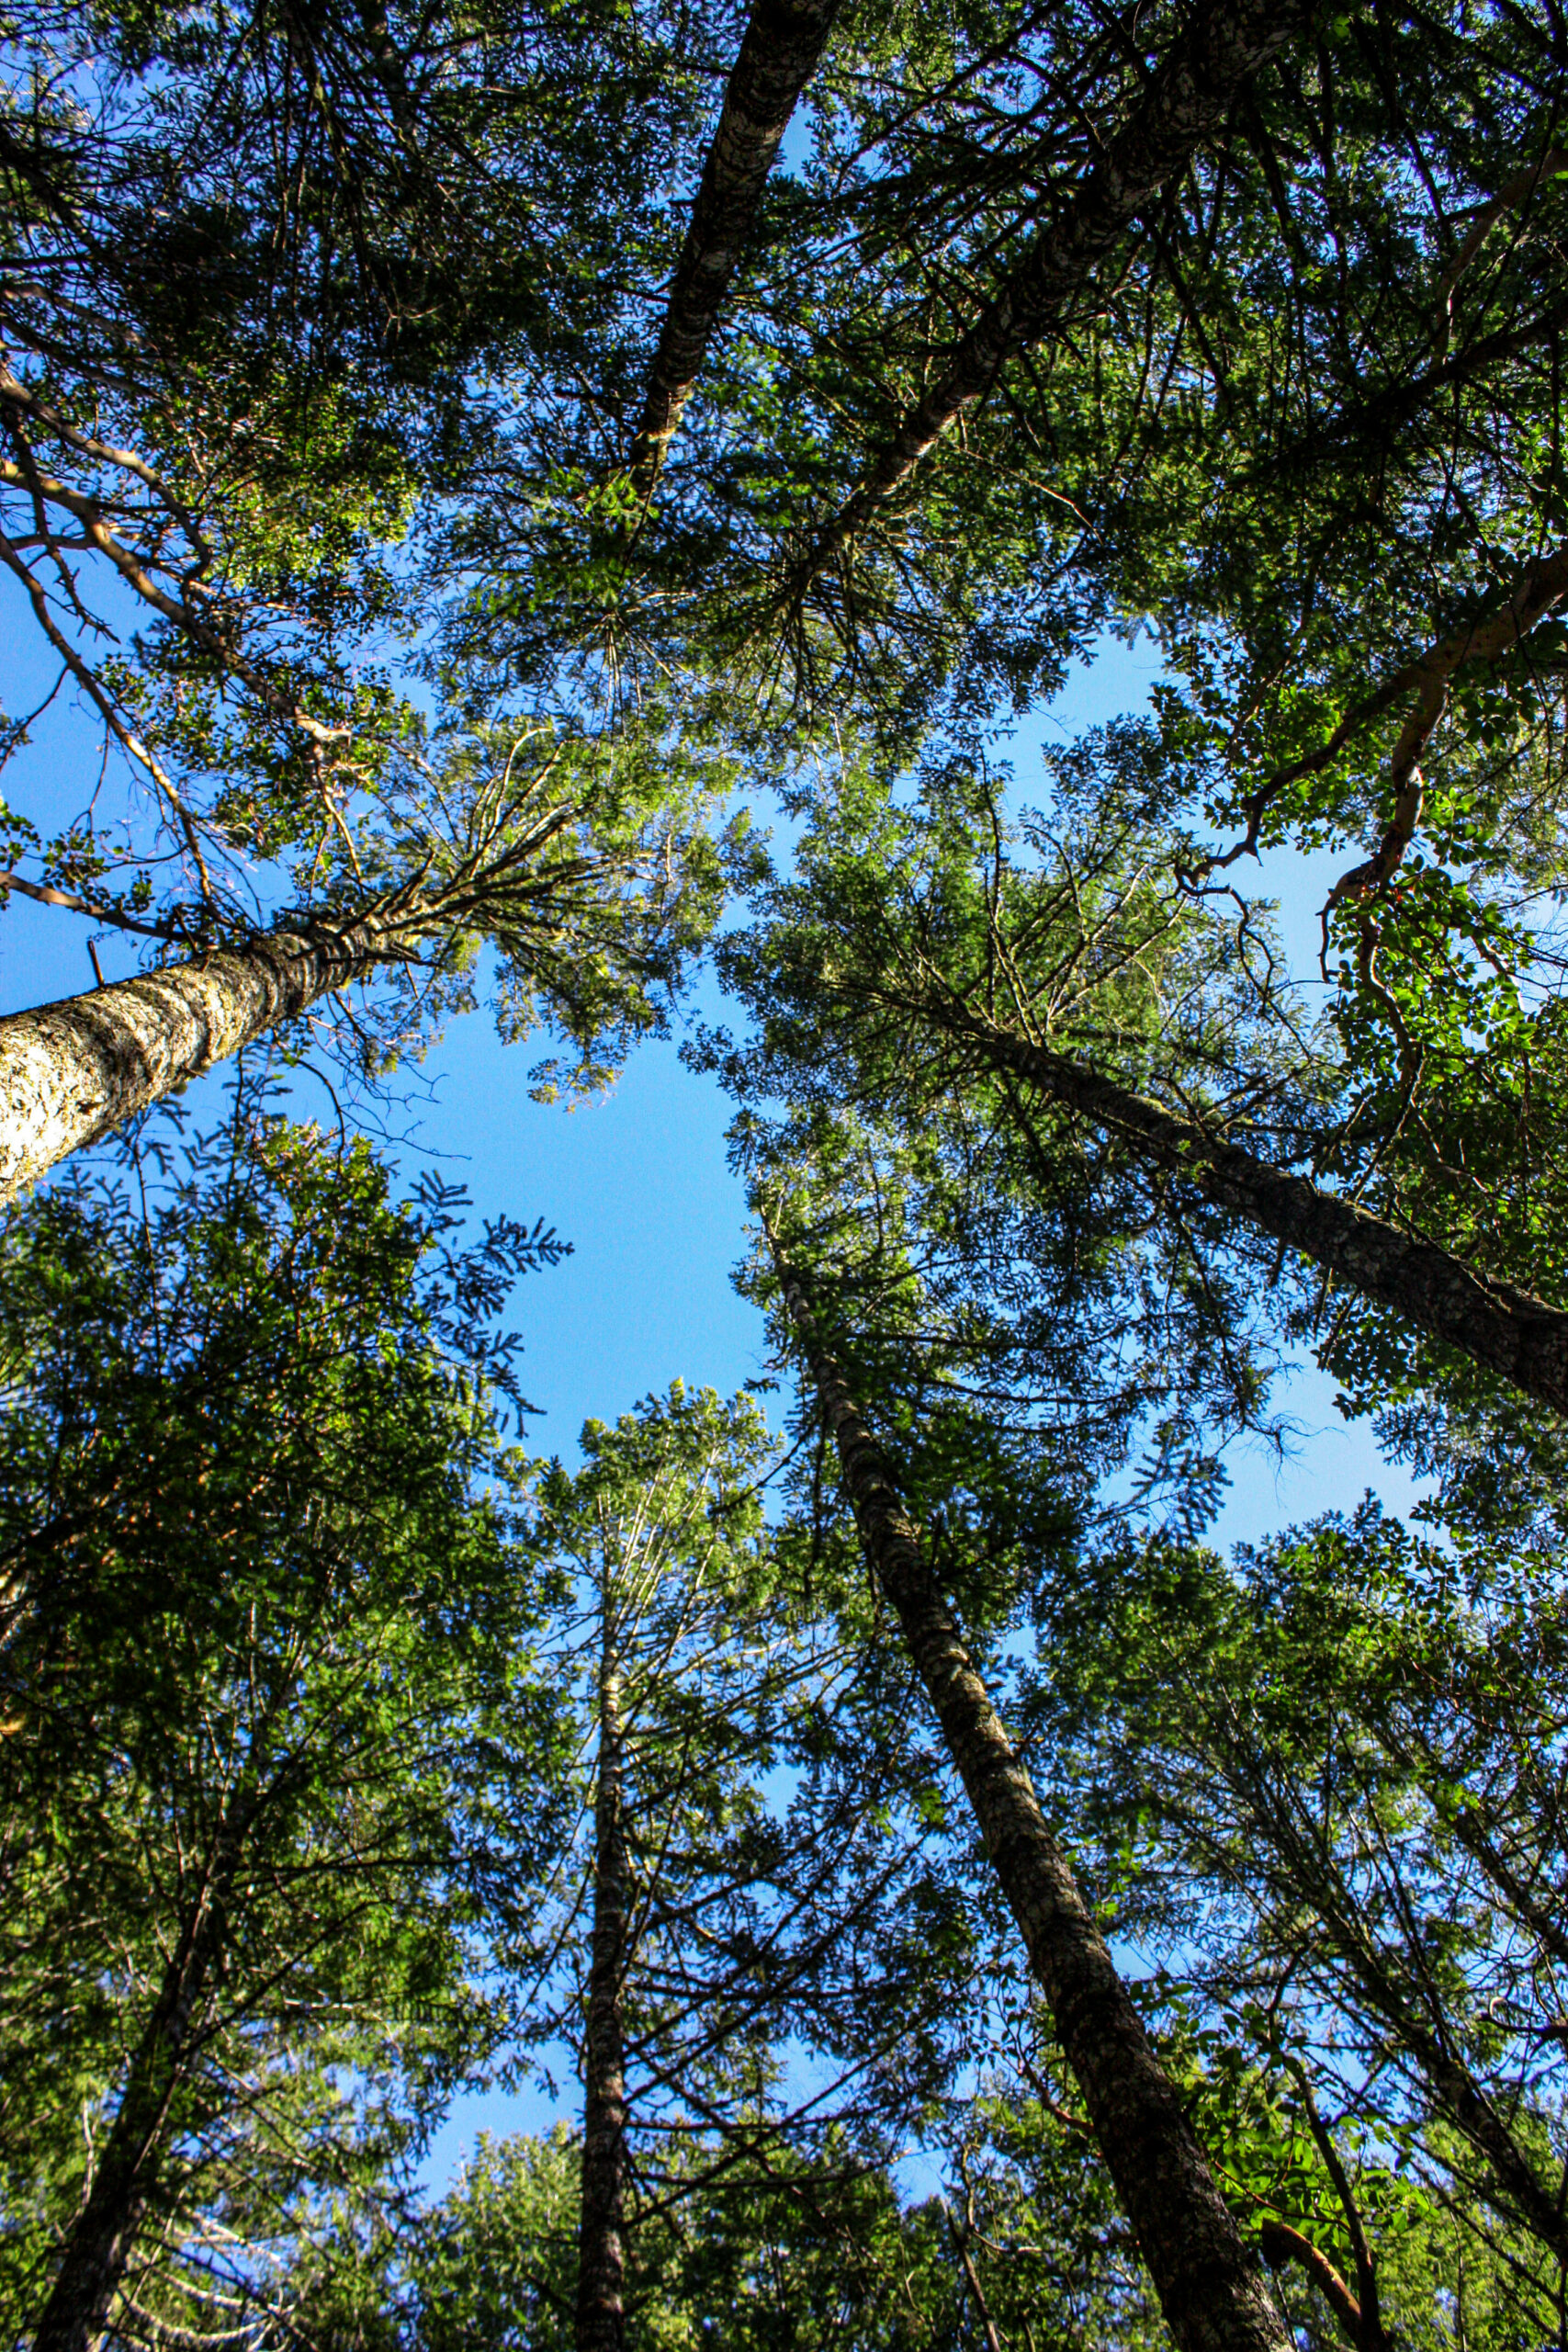
2 – Tree Halo 
3 – Sun Shining through the Trees 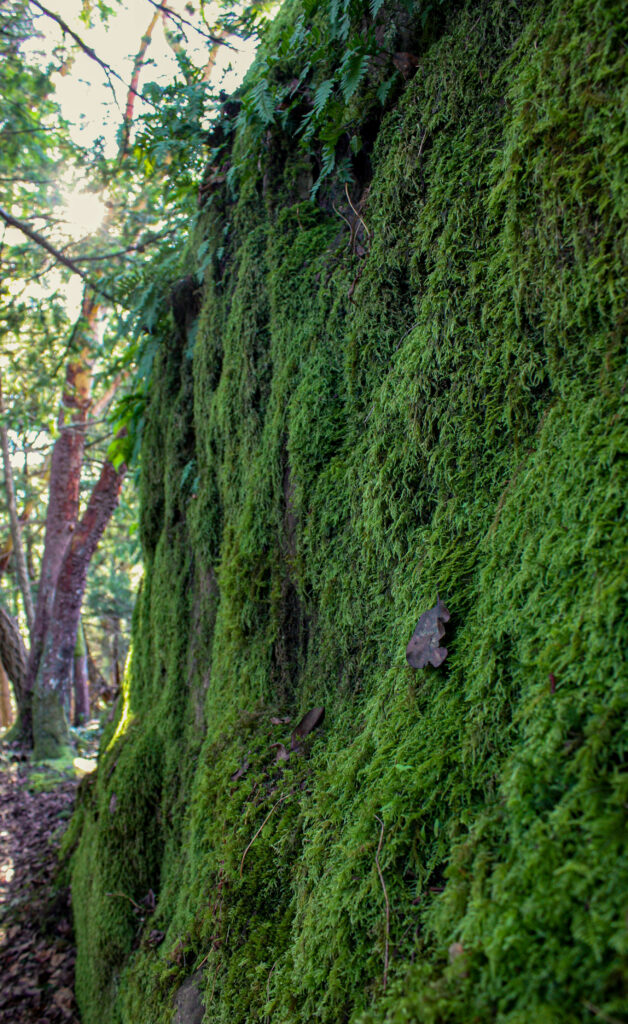
4 – Moss 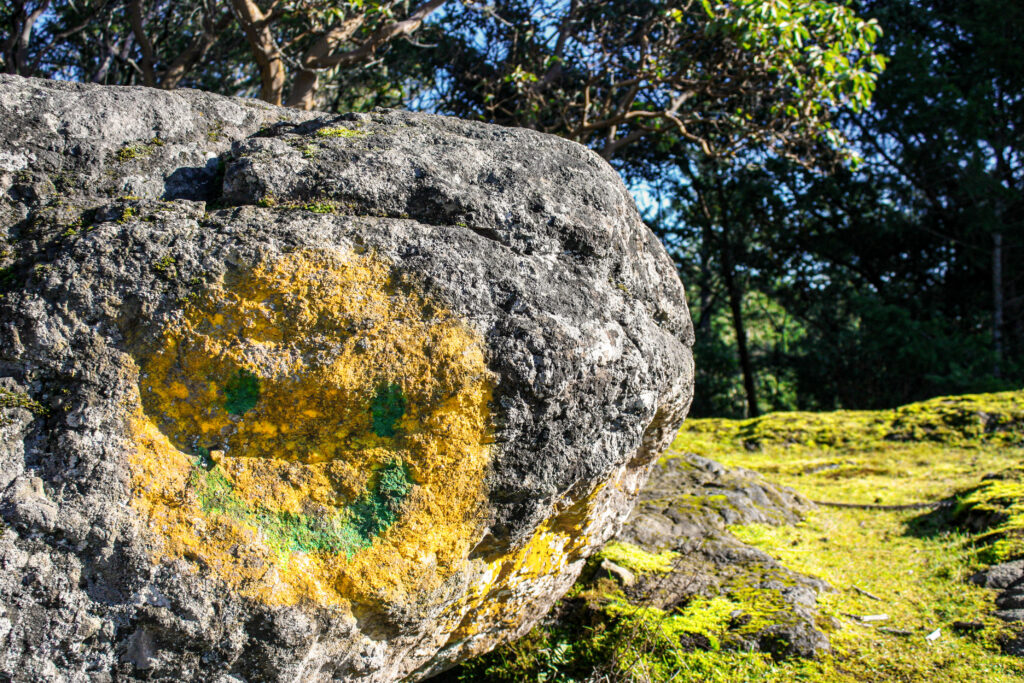
5 – Smiley Face Rock 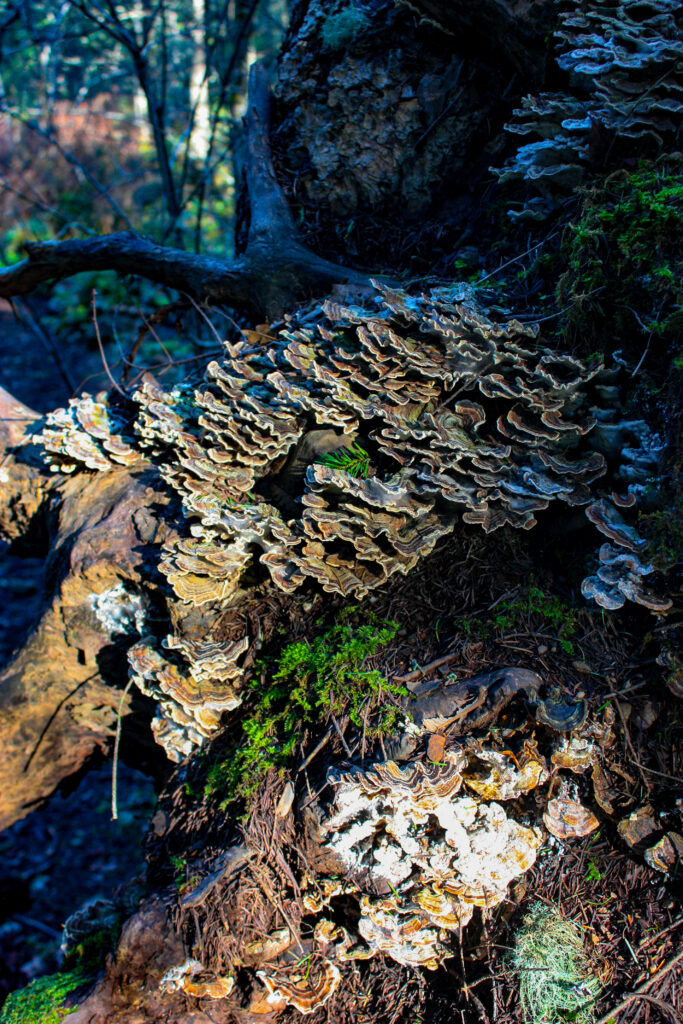
6 – Mushroom Tree Stump 
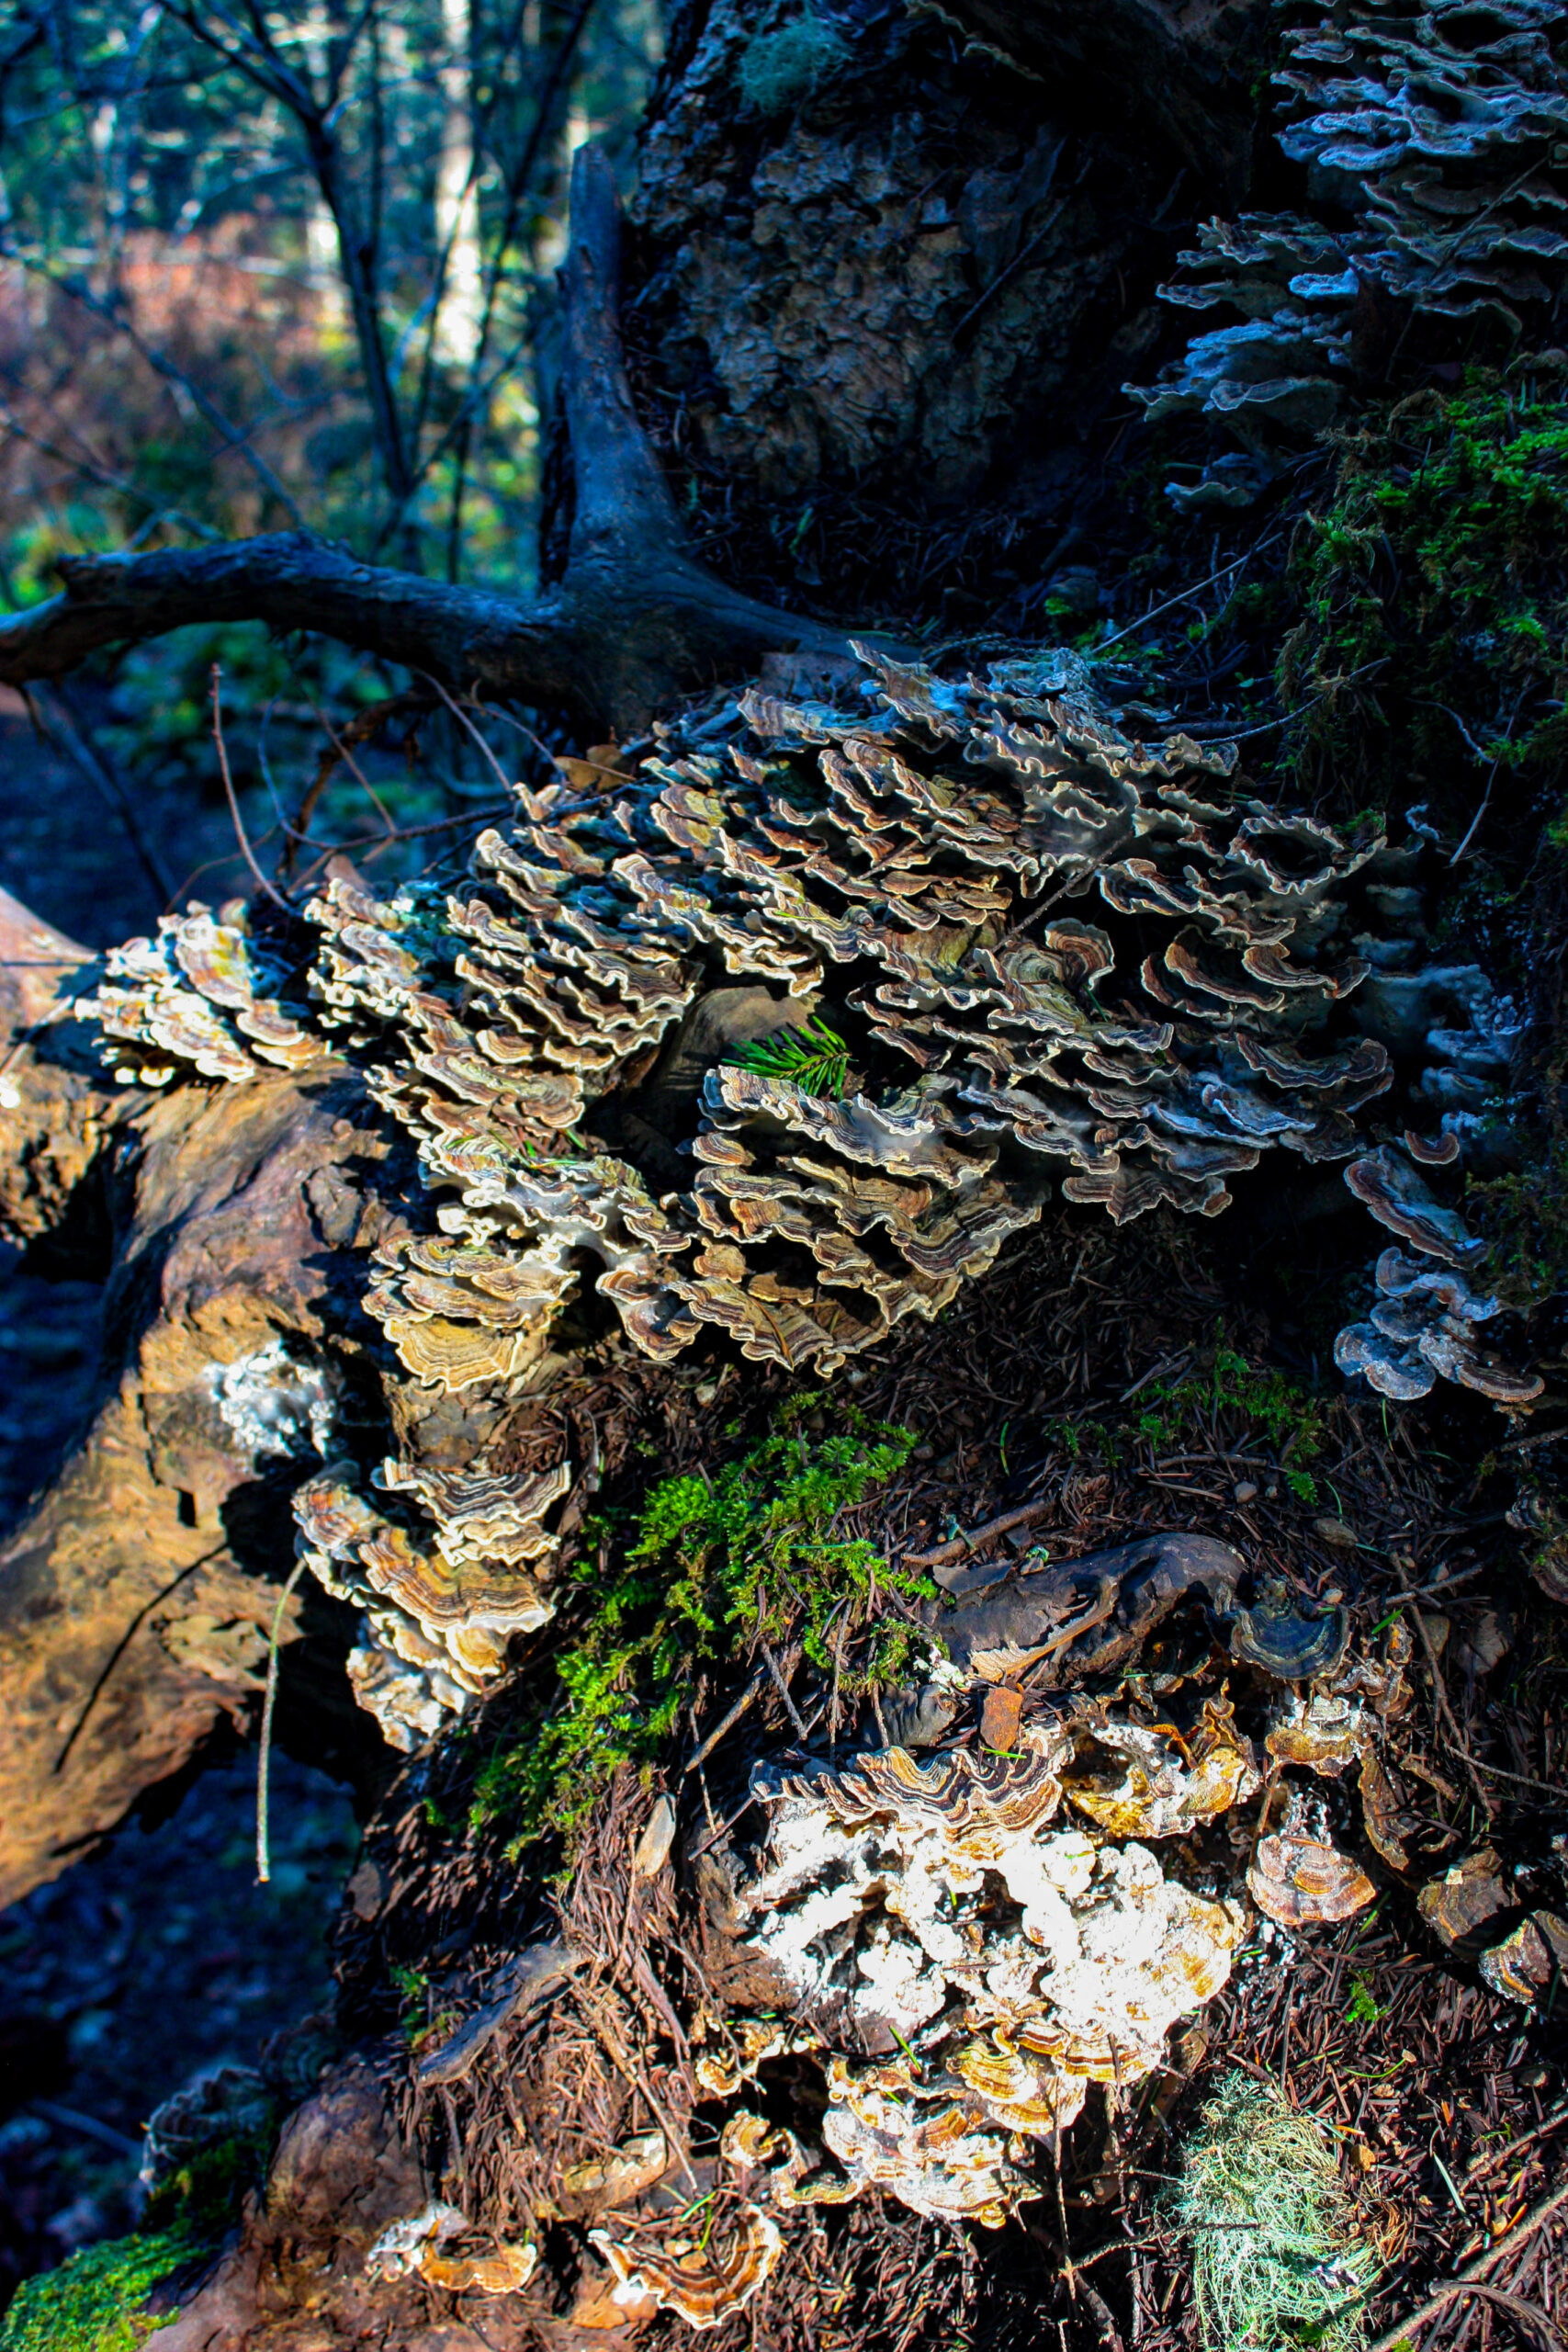
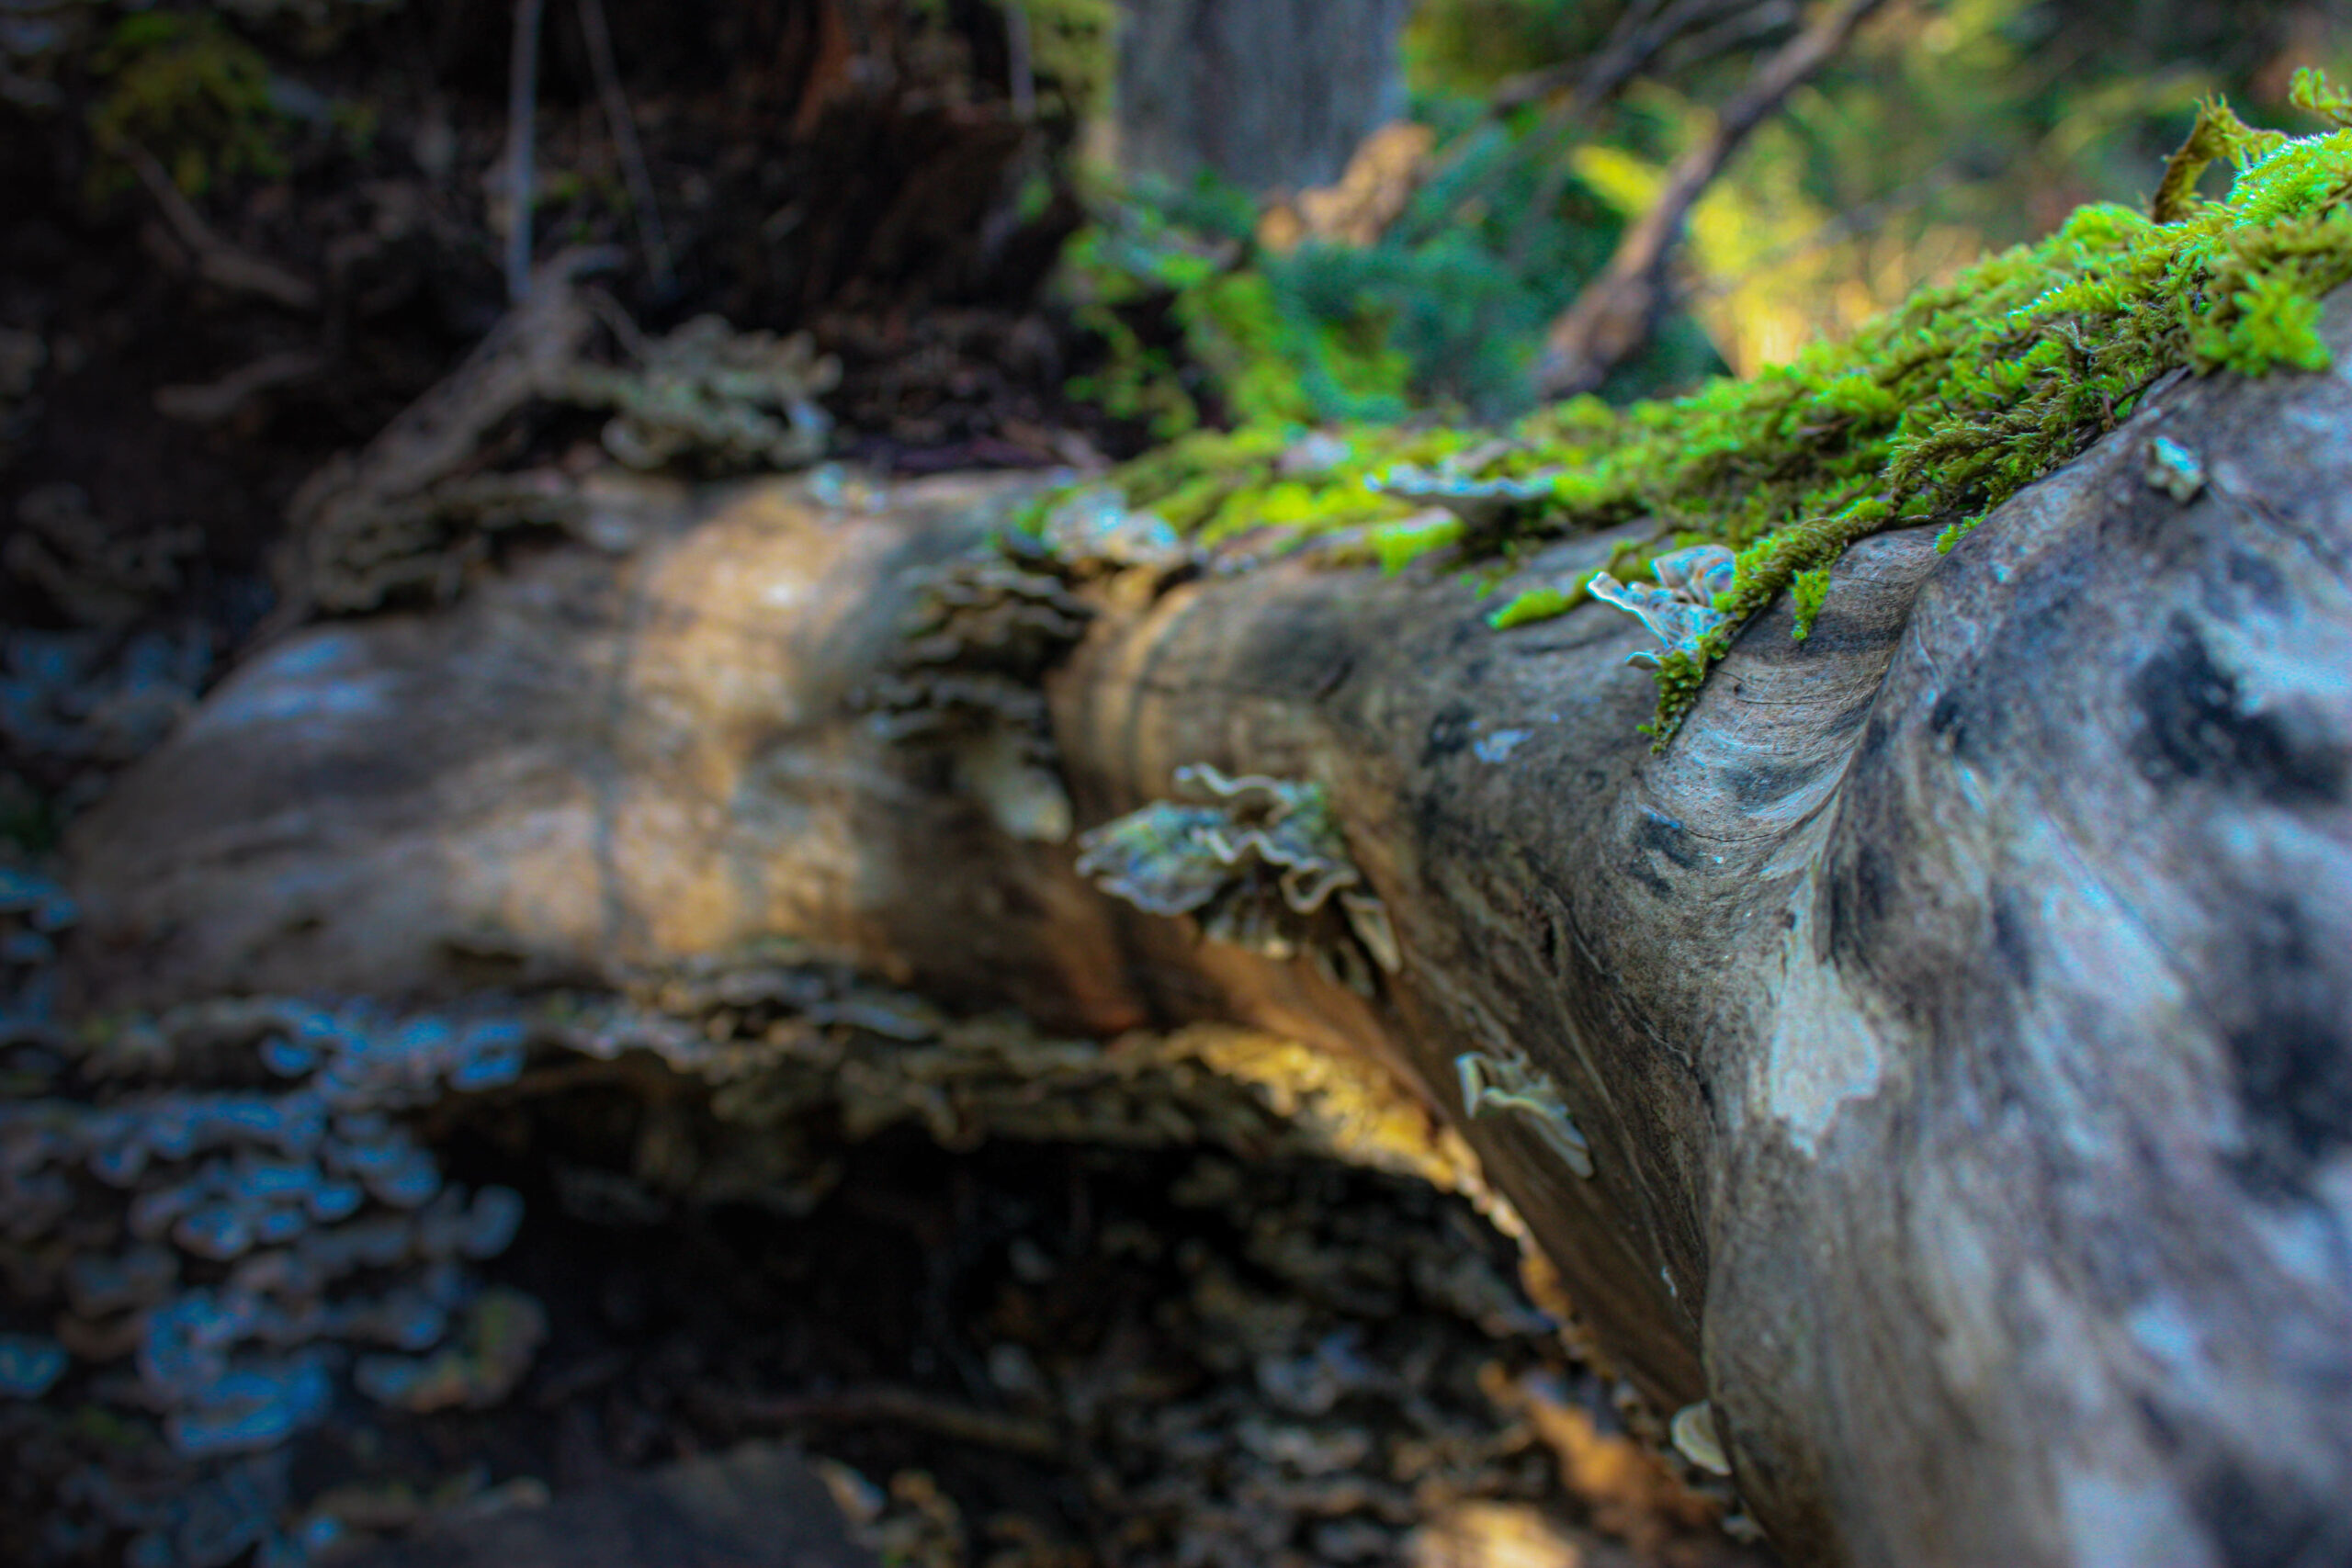
7 – Wavy Log


My image edit intentions below:
- For this image I wanted to create more drama with the lines of the trees and contrast that with the green in the trees and the blue of the sky. I lowered the exposure and heightened the contrast slightly. I lightened the shadows quite a bit and lowered the highlights. I slightly increased the clarity, texture and dehaze. I then went into photoshop, and added a Hue and Saturation mask to the greens in the image and finally added a filter of “soft light” of 60%.
- EXIF Settings: SS 1/160 sec – ISO 400 – f/5
- This image I had the same goal. I wanted to dramatize the blues and the greens in the image to create a stronger contrast. I brought down the exposure and increased the contrast a bit. I lowered the shadows and increased the highlights. I also brought up the texture, dehaze and clarity slightly. In photoshop, I used 2 hue and saturation masks to brighten both the blues and the yellow/greens in the image.
- EXIF Settings: SS 1/800 sec – ISO 800 – f/5
- For this image, I went for a slightly different mood. I wanted to decrease the intensity of the sun exposure coming through the trees. I lowered the highlights quite a bit and increased the shadows quite a bit. I increased the texture and lowered the clarity. In photoshop I added 3 different Hue and saturation masks to increase the yellow, green and blue intensity. I also added a gradient mask which added a lot of mood to photo.
- EXIF Settings: SS 1/400 sec – ISO 800 – f/5
- This image, I wanted to decrease the intensity of the sun shining through and just make the green moss to really pop. I lowered the exposure but increased the contrast. I brought the highlight’s down dramatically and brought up the shadows. I also lowered the black in the photo and slightly increased the white. Texture and haze were both slightly increased and the clarity decreased. In photoshop I added 2 hue and saturation masks to intensify the greens and the yellows. I also added a Lighten filter to 65%.
- EXIF Settings: SS 1/15 sec – ISO 400 – f/5
- For this image, I wanted to make the smiley face more of the focal point in the textured rock. I brought up the contrast slightly, lowered the highlights quite a bit and increased the shadows. In photoshop I added multiple hue and saturation filters. One to lower the intensity of the rock, another one to increase the green shades, another to strengthen the yellow on the rock.
- EXIF Settings: SS 1/800 sec – ISO 400 – f/5
- For this image, I kept with the same theme of brightening and intensifying the colours. I lowered the highlights, increased the shadows and decreased the black within the photo. Texture and clarity were increased slightly and the dehaze was increased dramatically. I also increased the vibrancy and saturation quite a bit. In photoshop, I again added, hue and saturation masks. One to intensify the blues and another for the greens.
- EXIF Settings: SS 1/40 sec -ISO 400 – f/5
- For this final image, I wanted to continue with the same mood and intensify all the colours. I brought the exposure down quite a bit increased the contrast slightly. The highlights are lowered and shadows were increased quite a bit. I also intensified the texture in this image to bring out the texture of the wood. I brought down the clarity and added a dehaze to the image and also increased the vibrancy. In photoshop, I added a hue and saturation mask to increase the green vibrancy. I put a gradient mask on this photo to darken the left side of the image and added a final brightness mask to the image to brighten the right side and add a contrast.
- EXIF Settings: SS 1/15 sec – ISO 400 – f/5