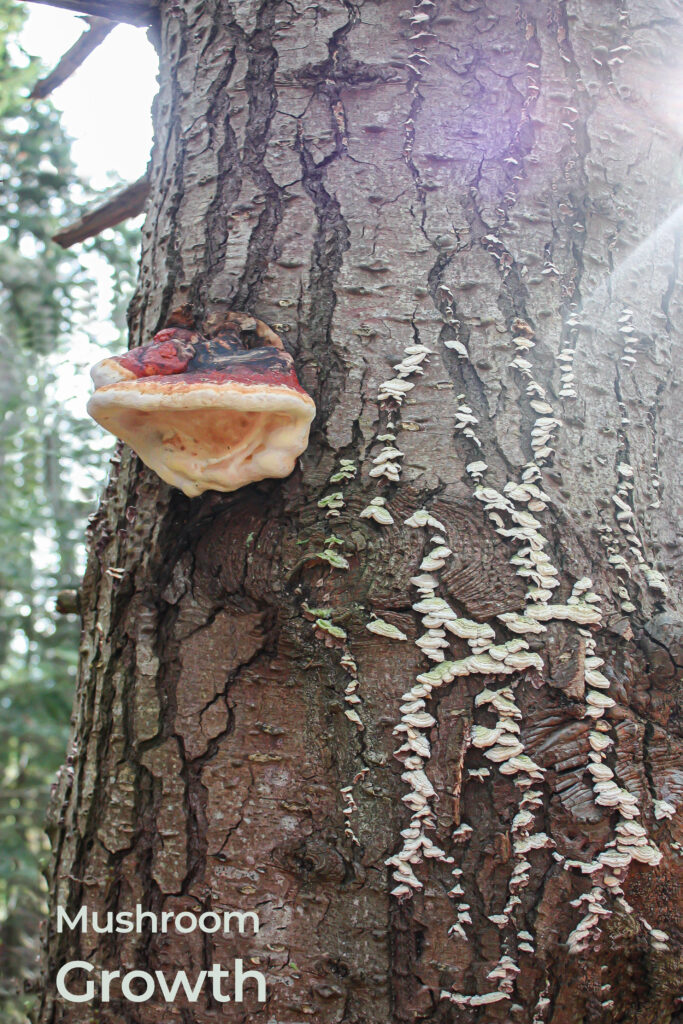
For the first image in the Companion Pieces assignment, the “mushroom growth”, I brought up the exposure +38 and brought the contrast up to +25. The Highlights were brought down the all the way to -80, and also lowered the shadows to -20. Texture put at +42, I also brought up the vibrancy to +20. I added a Hue and saturation mask in Photoshop to bring out the red shades in the tree. I also added a brightness and contrast mask and lowered the brightness by -9 and increased the contrast by 20. I also removed a lot of branches that were originally in the photo with the clone stamp tool.
EXIF Settings: SS 1/80 sec – ISO 400 – f/5 – Spot metering
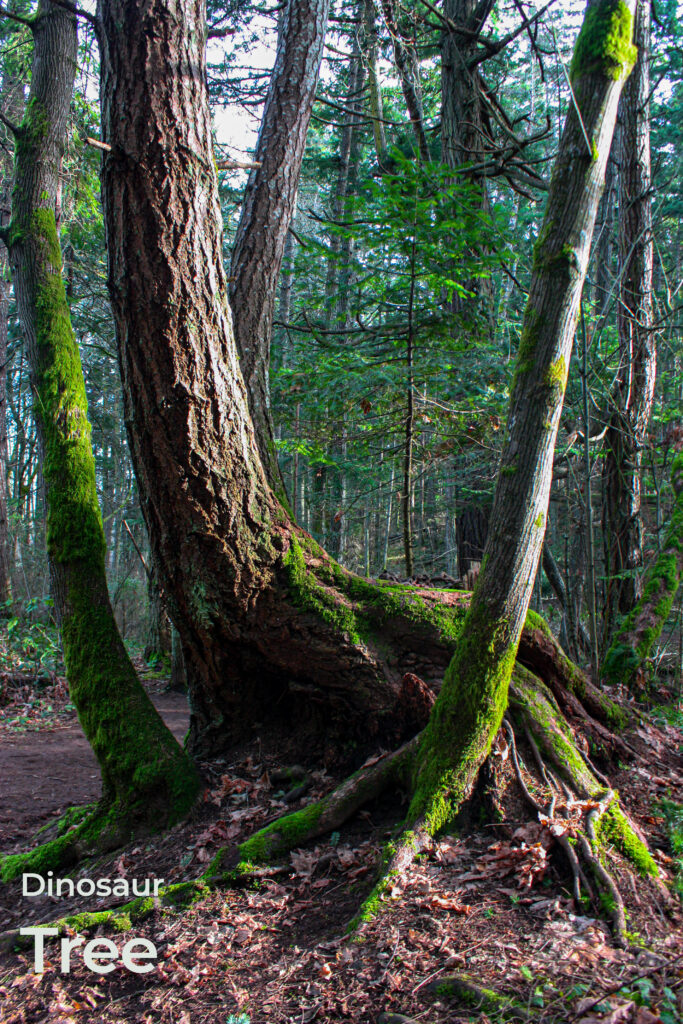
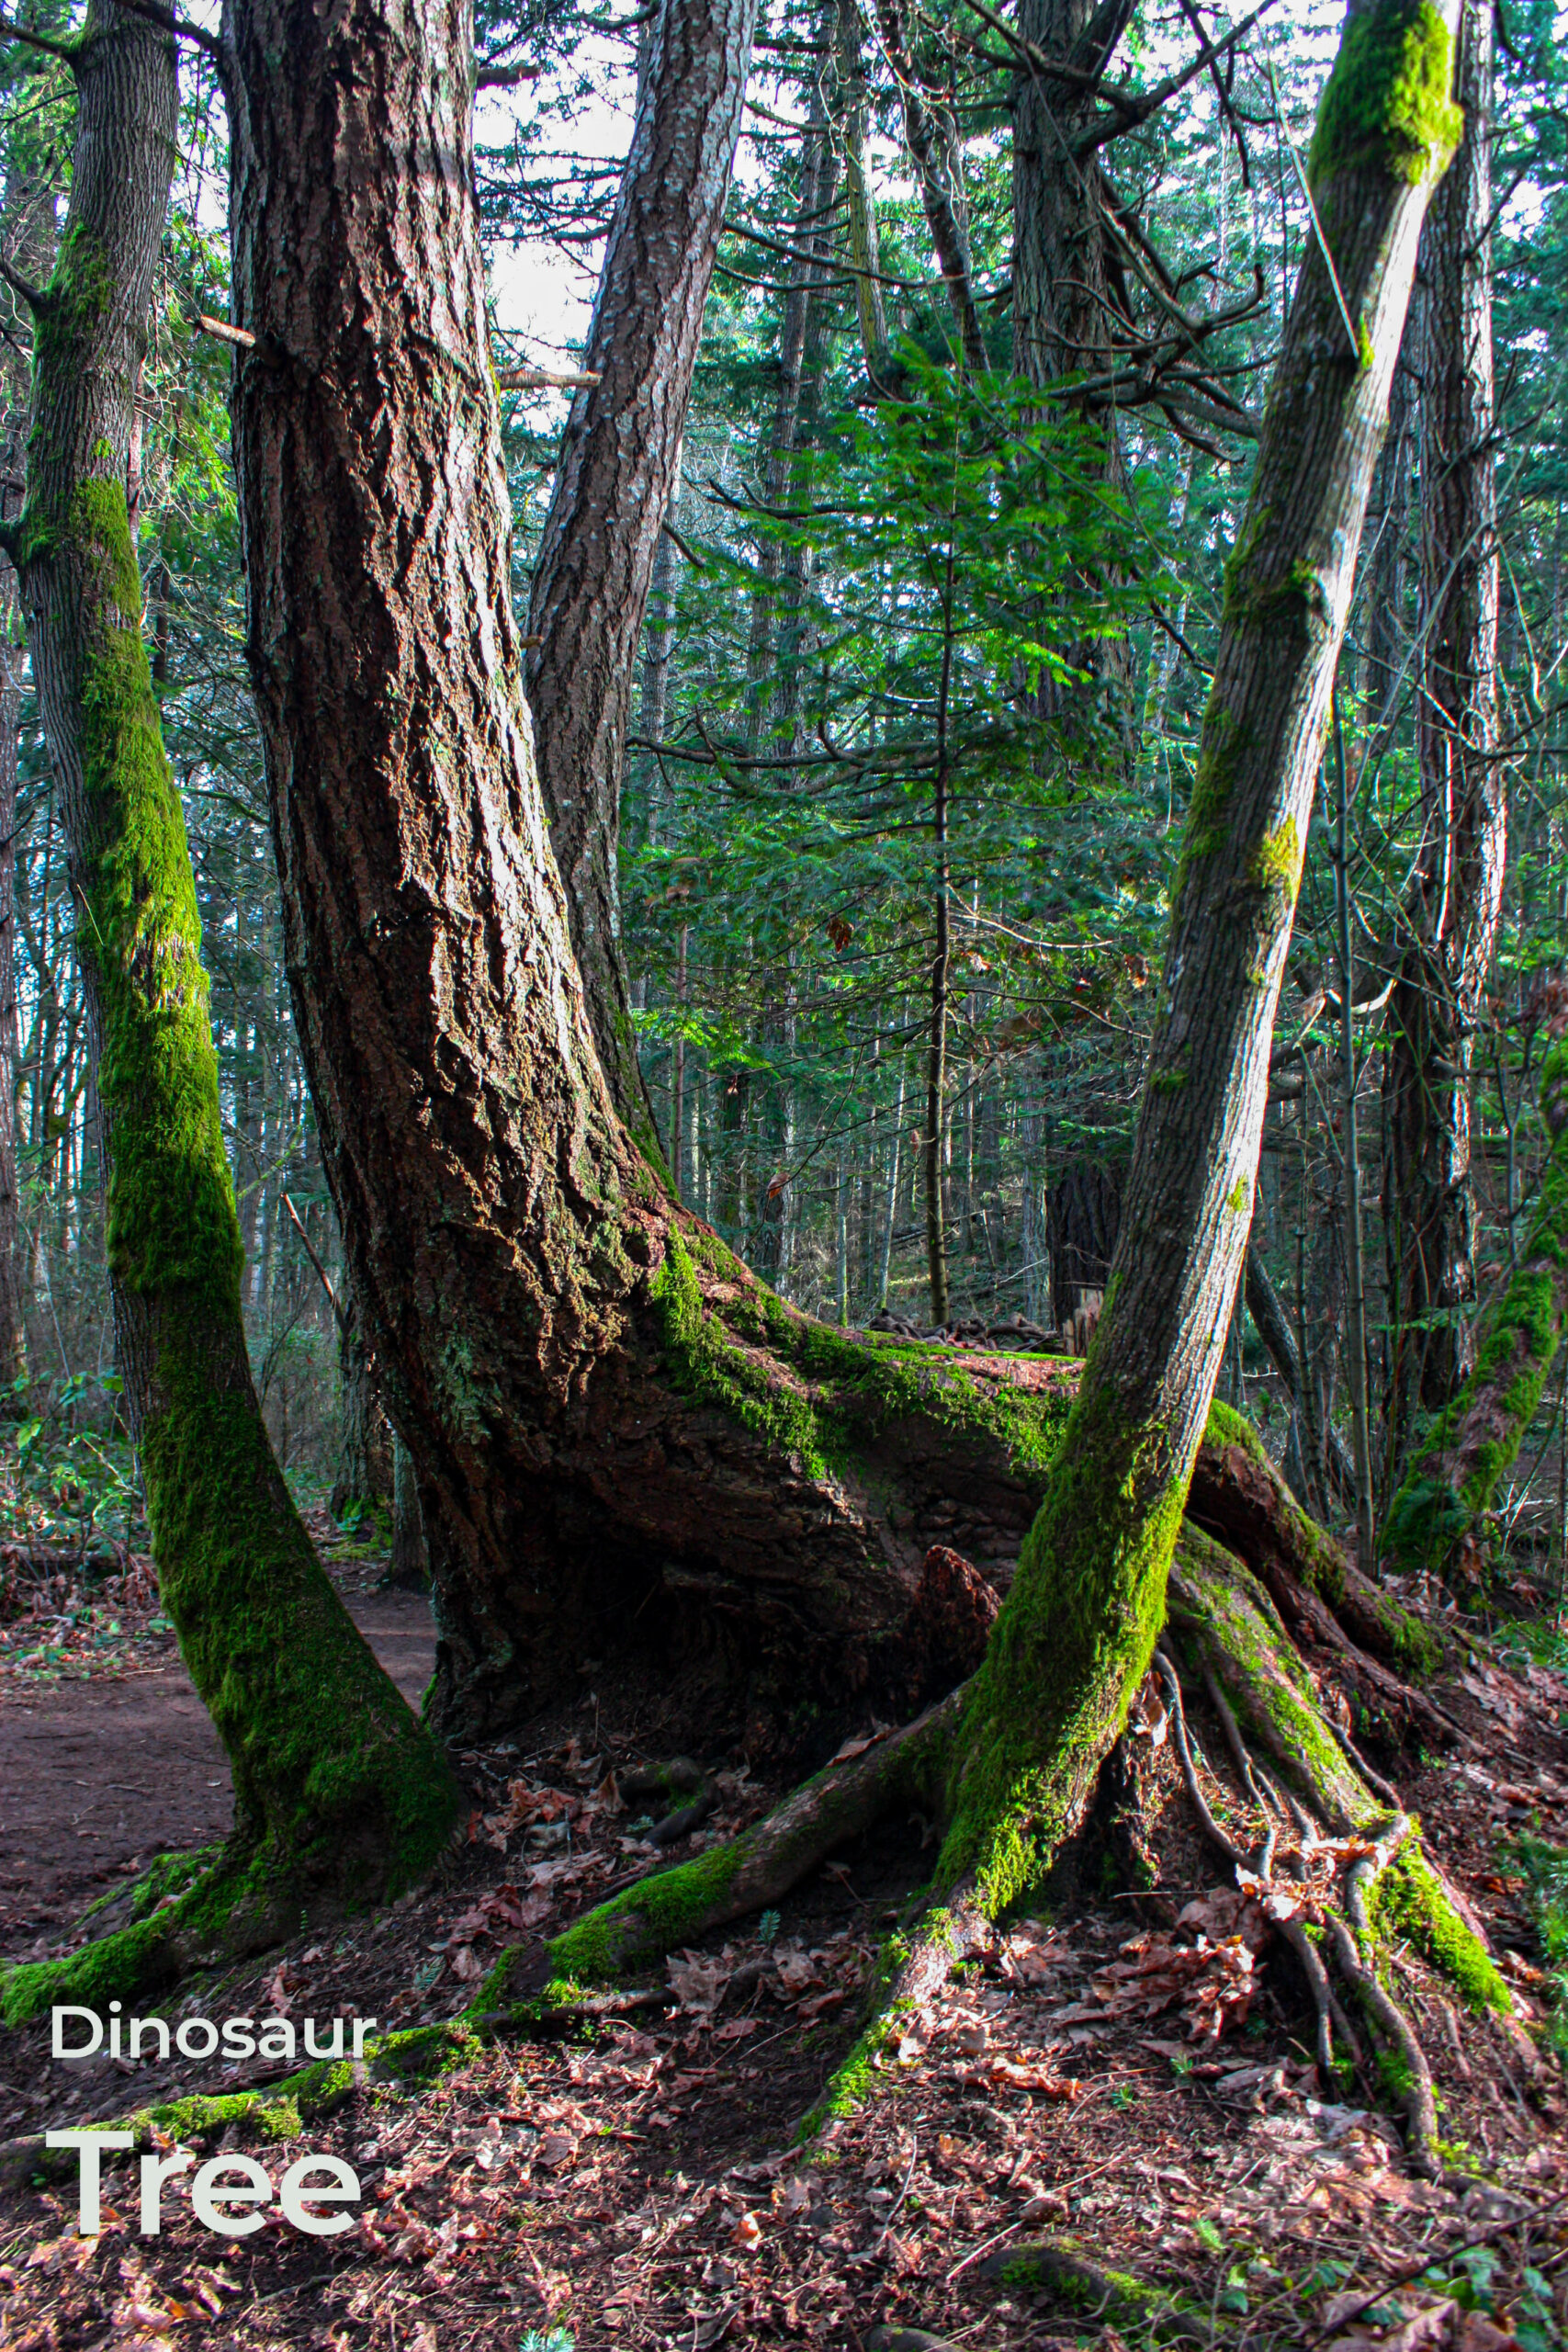
For the “Dinosaur Tree” image, the highlights were brought down to -75 and shadows increased to +31. I also slightly increased the white to +15 and lowered the black to -23. Texture was increased to bring out the detail in the moss on the tree stump. I also increased dehaze to +27 to blur the background. In photoshop I added a Hue and Saturation level to bring out the green in the trees and foliage. I added another brightness and contrast mask to lower the glare on the tree trunks. Finally another Hue and saturation mask to bring out the red in the tree trunk and the ground.
EXIF Settings: SS 1/50 sec – ISO 400 – f/5 – Partial Metering
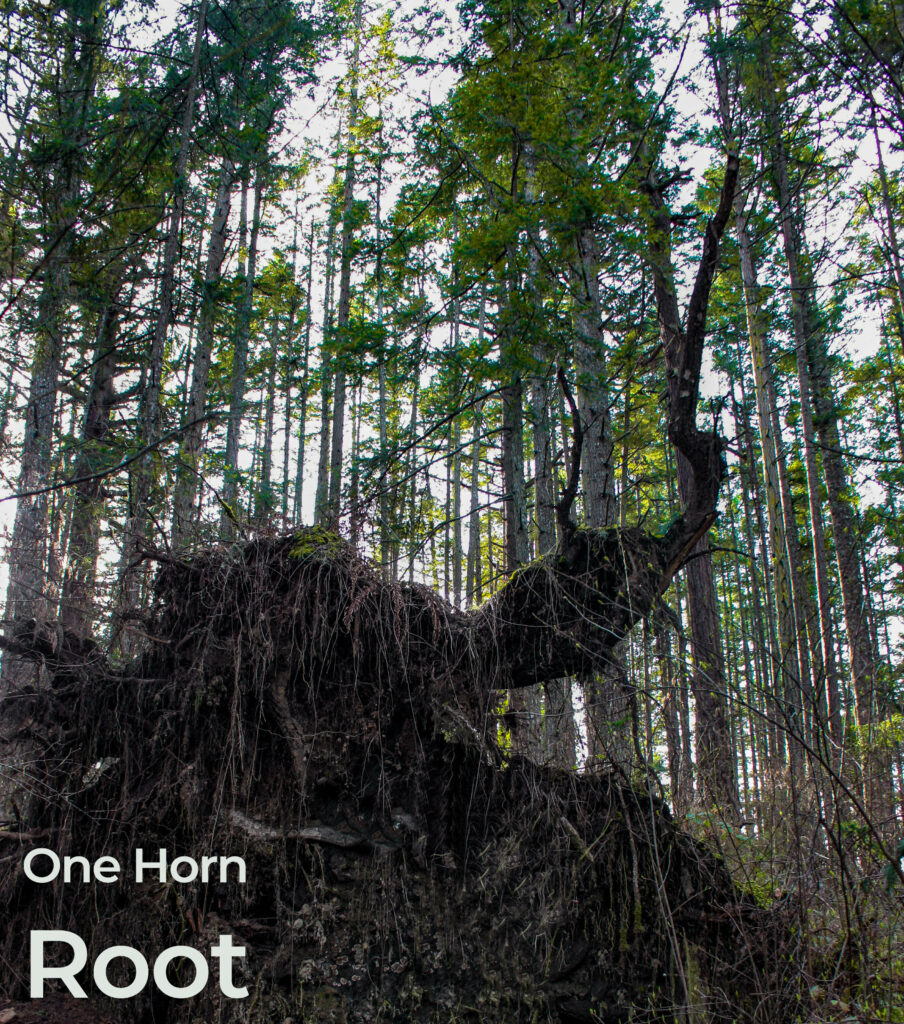
For this image, I called “one horn tree”, I lowered the brightness to -63 and increased the contrast to +19. I lowered the highlights and increased the shadows to +78. I wanted the root to stand out by having a gloomy effect. I decreased both the white and the black of the image by -44 and -23. Clarity was brought up and as well as the dehaze. In photoshop I added an hue and saturation layer to bring out the green/yellow in the trees. I put another hue and saturation mask to mute the tree trunks in the background. Finally added a mask around the tree root and brought in a deeper dark brown.
EXIF Settings: One Horn Root: SS 1/40 sec – ISO 400 – f/5 – Partial Metering
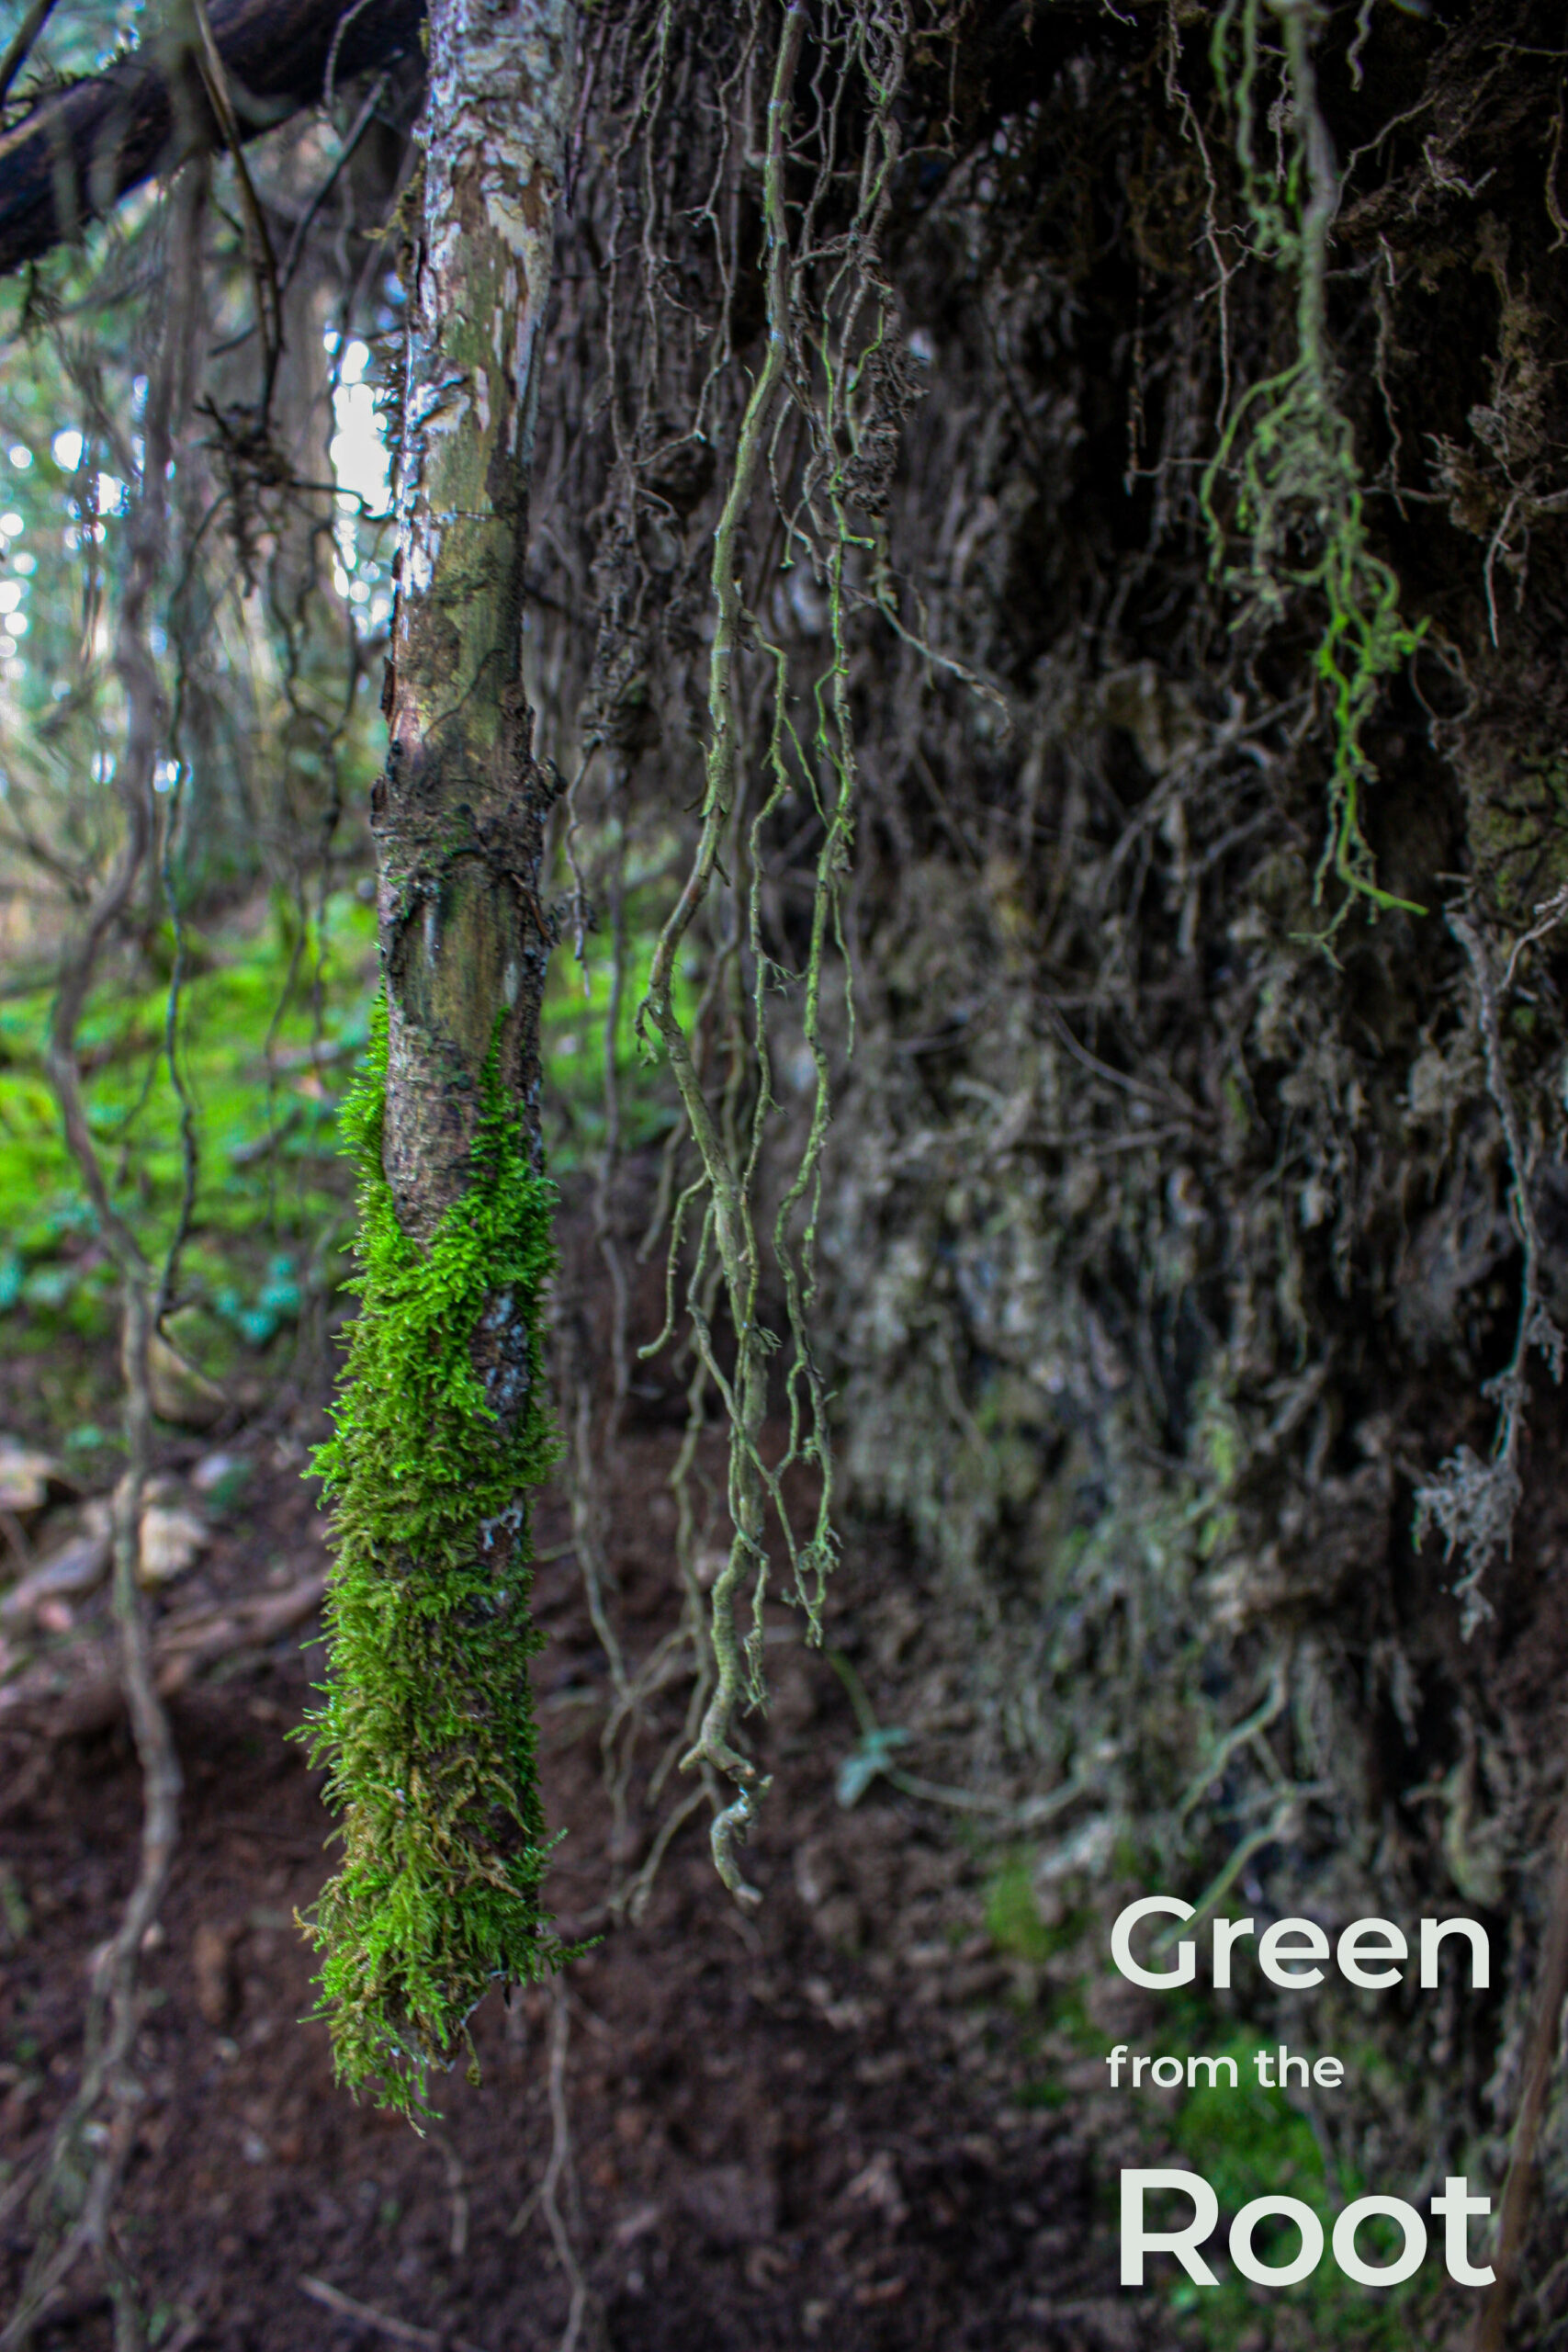
This image “green from the root”. I started with exposure and lowered it to -85 and the contrast to +16. I wanted to bring down the brightness coming from the background. I also lowered the highlights intensely to -90 and increased shadows to +59, I wanted to even out the dark background to allow the forefront object to pop. I increased the texture, clarity and the dehaze to +46, +16 and +25. I brought up the vibrancy to +31, and also the saturation to +6. I felt like the edits in LRC were good enough and did use any other photoshop edits, except for the text.
EXIF Settings: SS 1/10 sec – ISO 400 – f/5 – Spot Metering
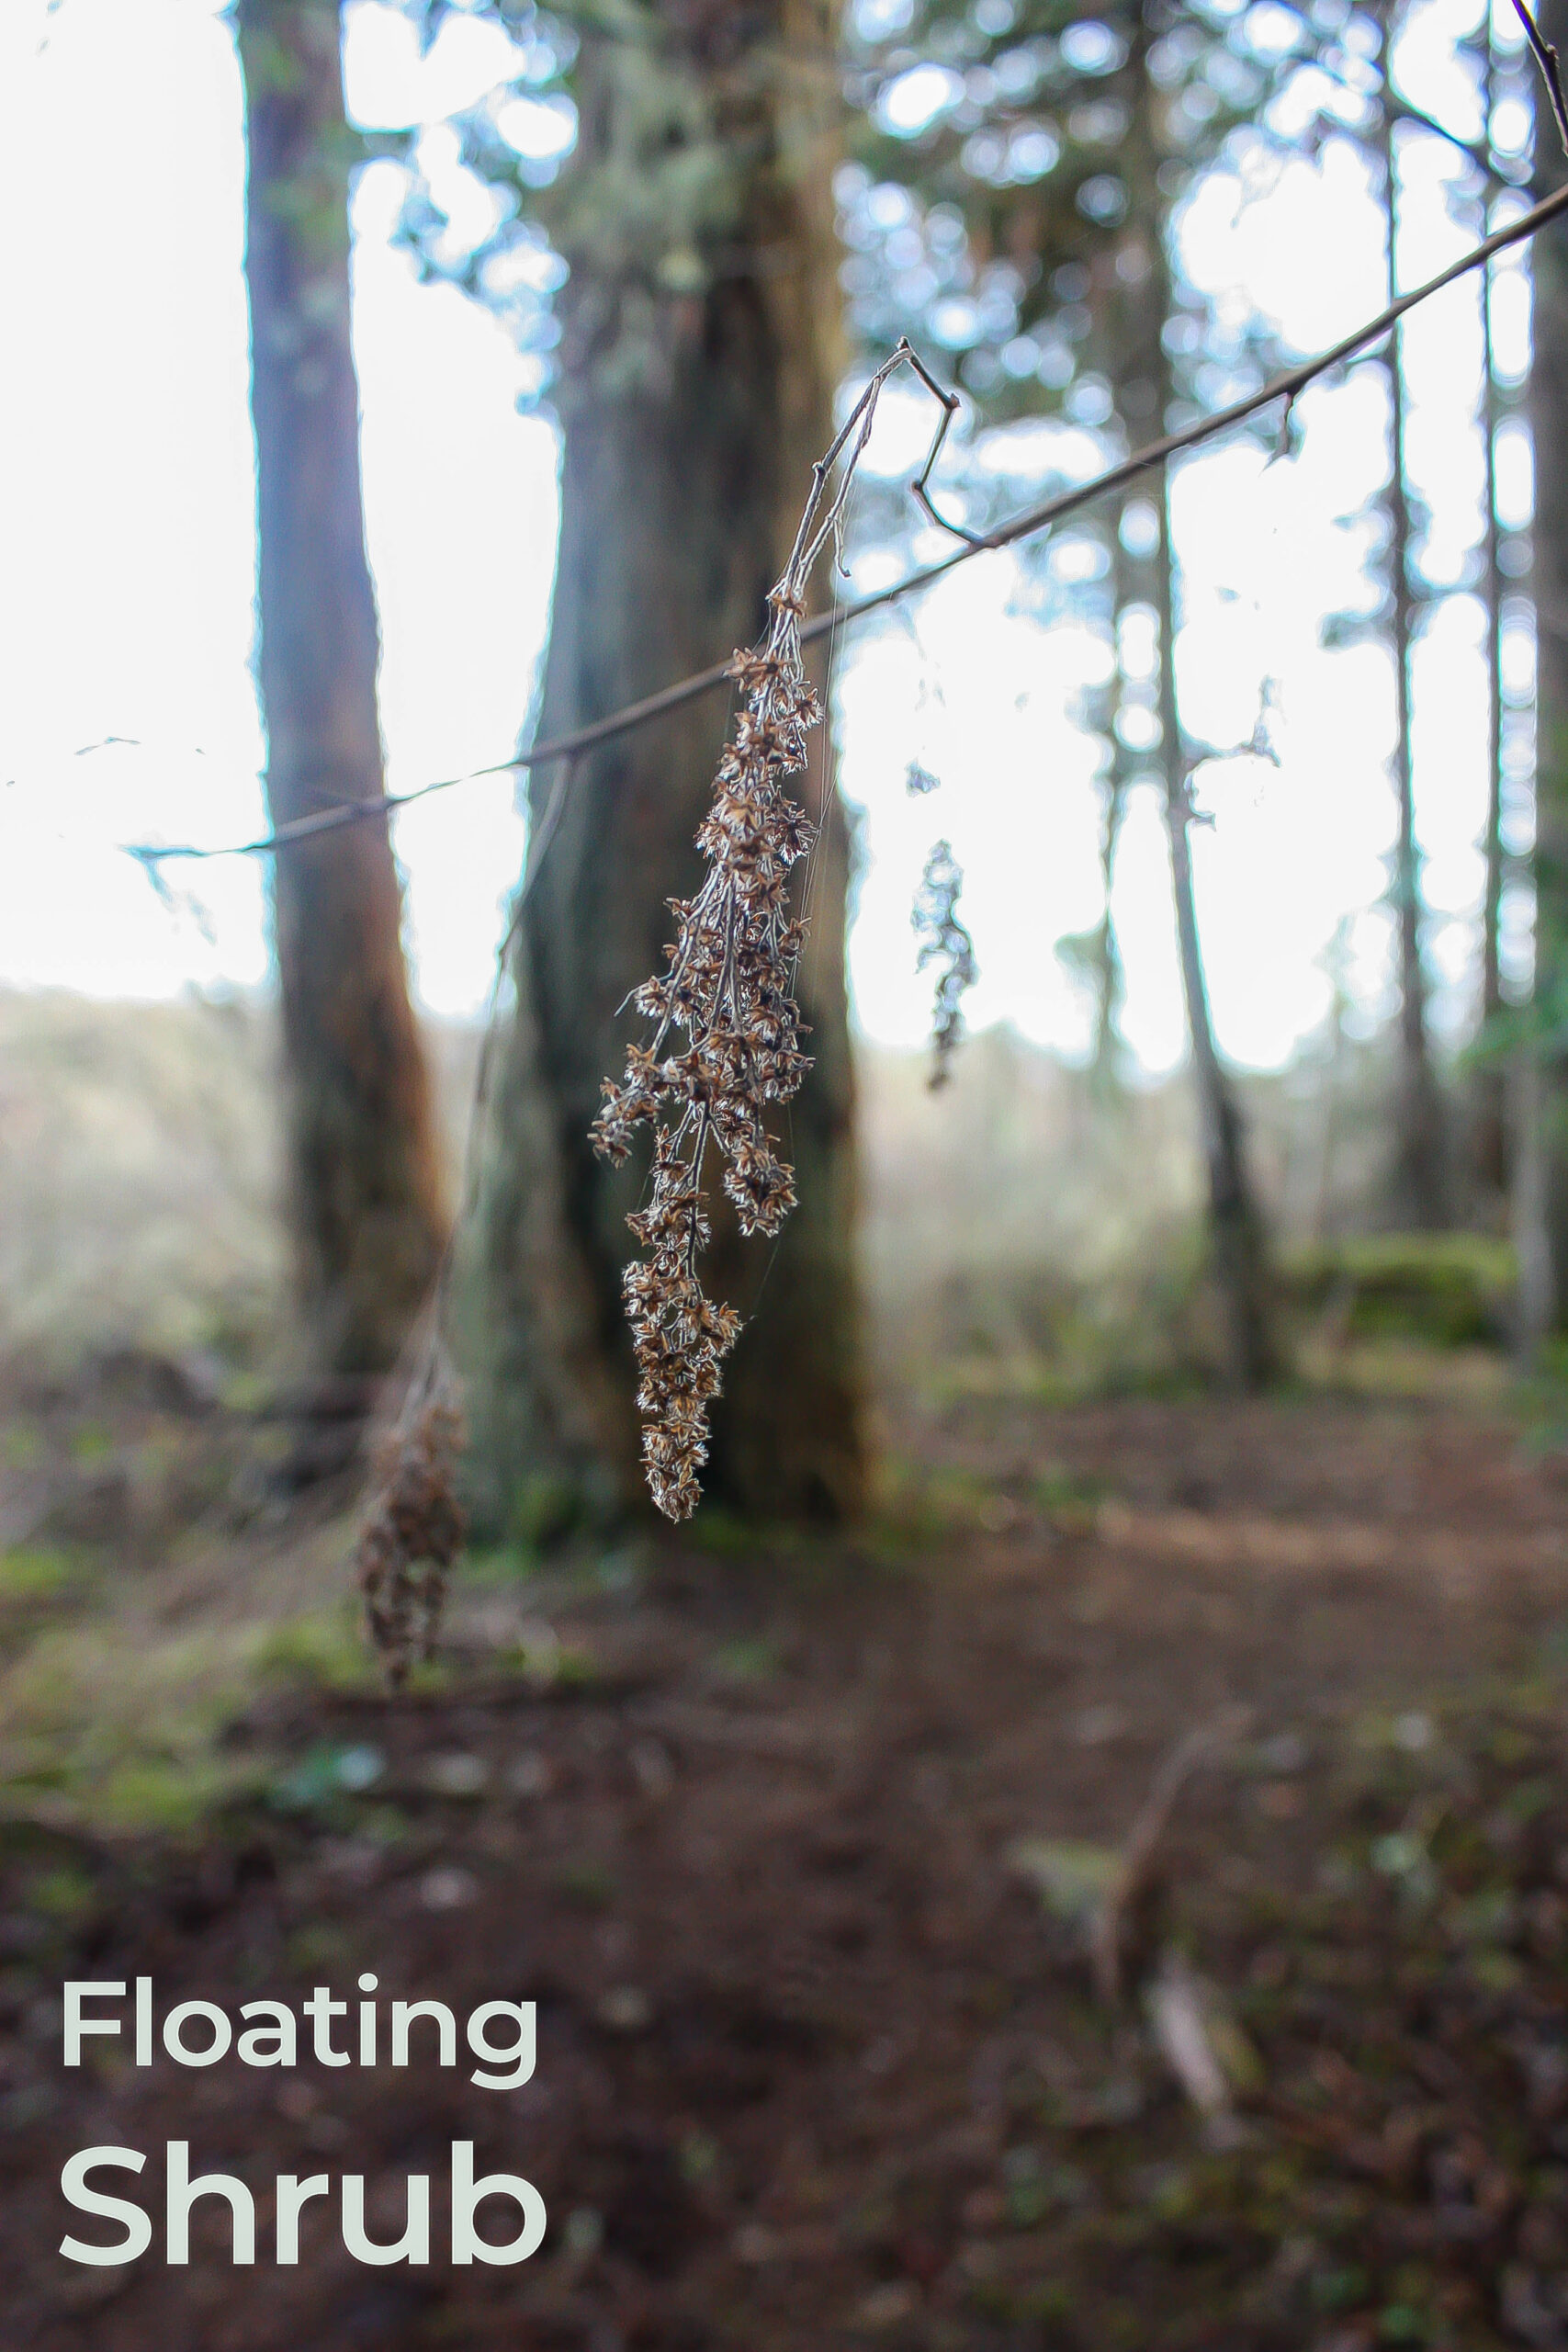
For this image, “Floating shrub”, I wanted to highlight the foliage in the center. In LRC I lowered the exposure slightly to -14 and increased the contrast to +6. Highlights were brought down to -86, and +25 to the shadow, and lowered the black to -30. I also increased the texture to +12, lowered the clarity to -15 and the dehaze to +15. In photoshop I added a hue and saturation mask to increase the brown hues in the trail of the image. I added another HS mask to increase the intensity of the brown in the shrub.
EXIF Settings: SS 1/50 sec – ISO 400 – f/5 – Spot Metering
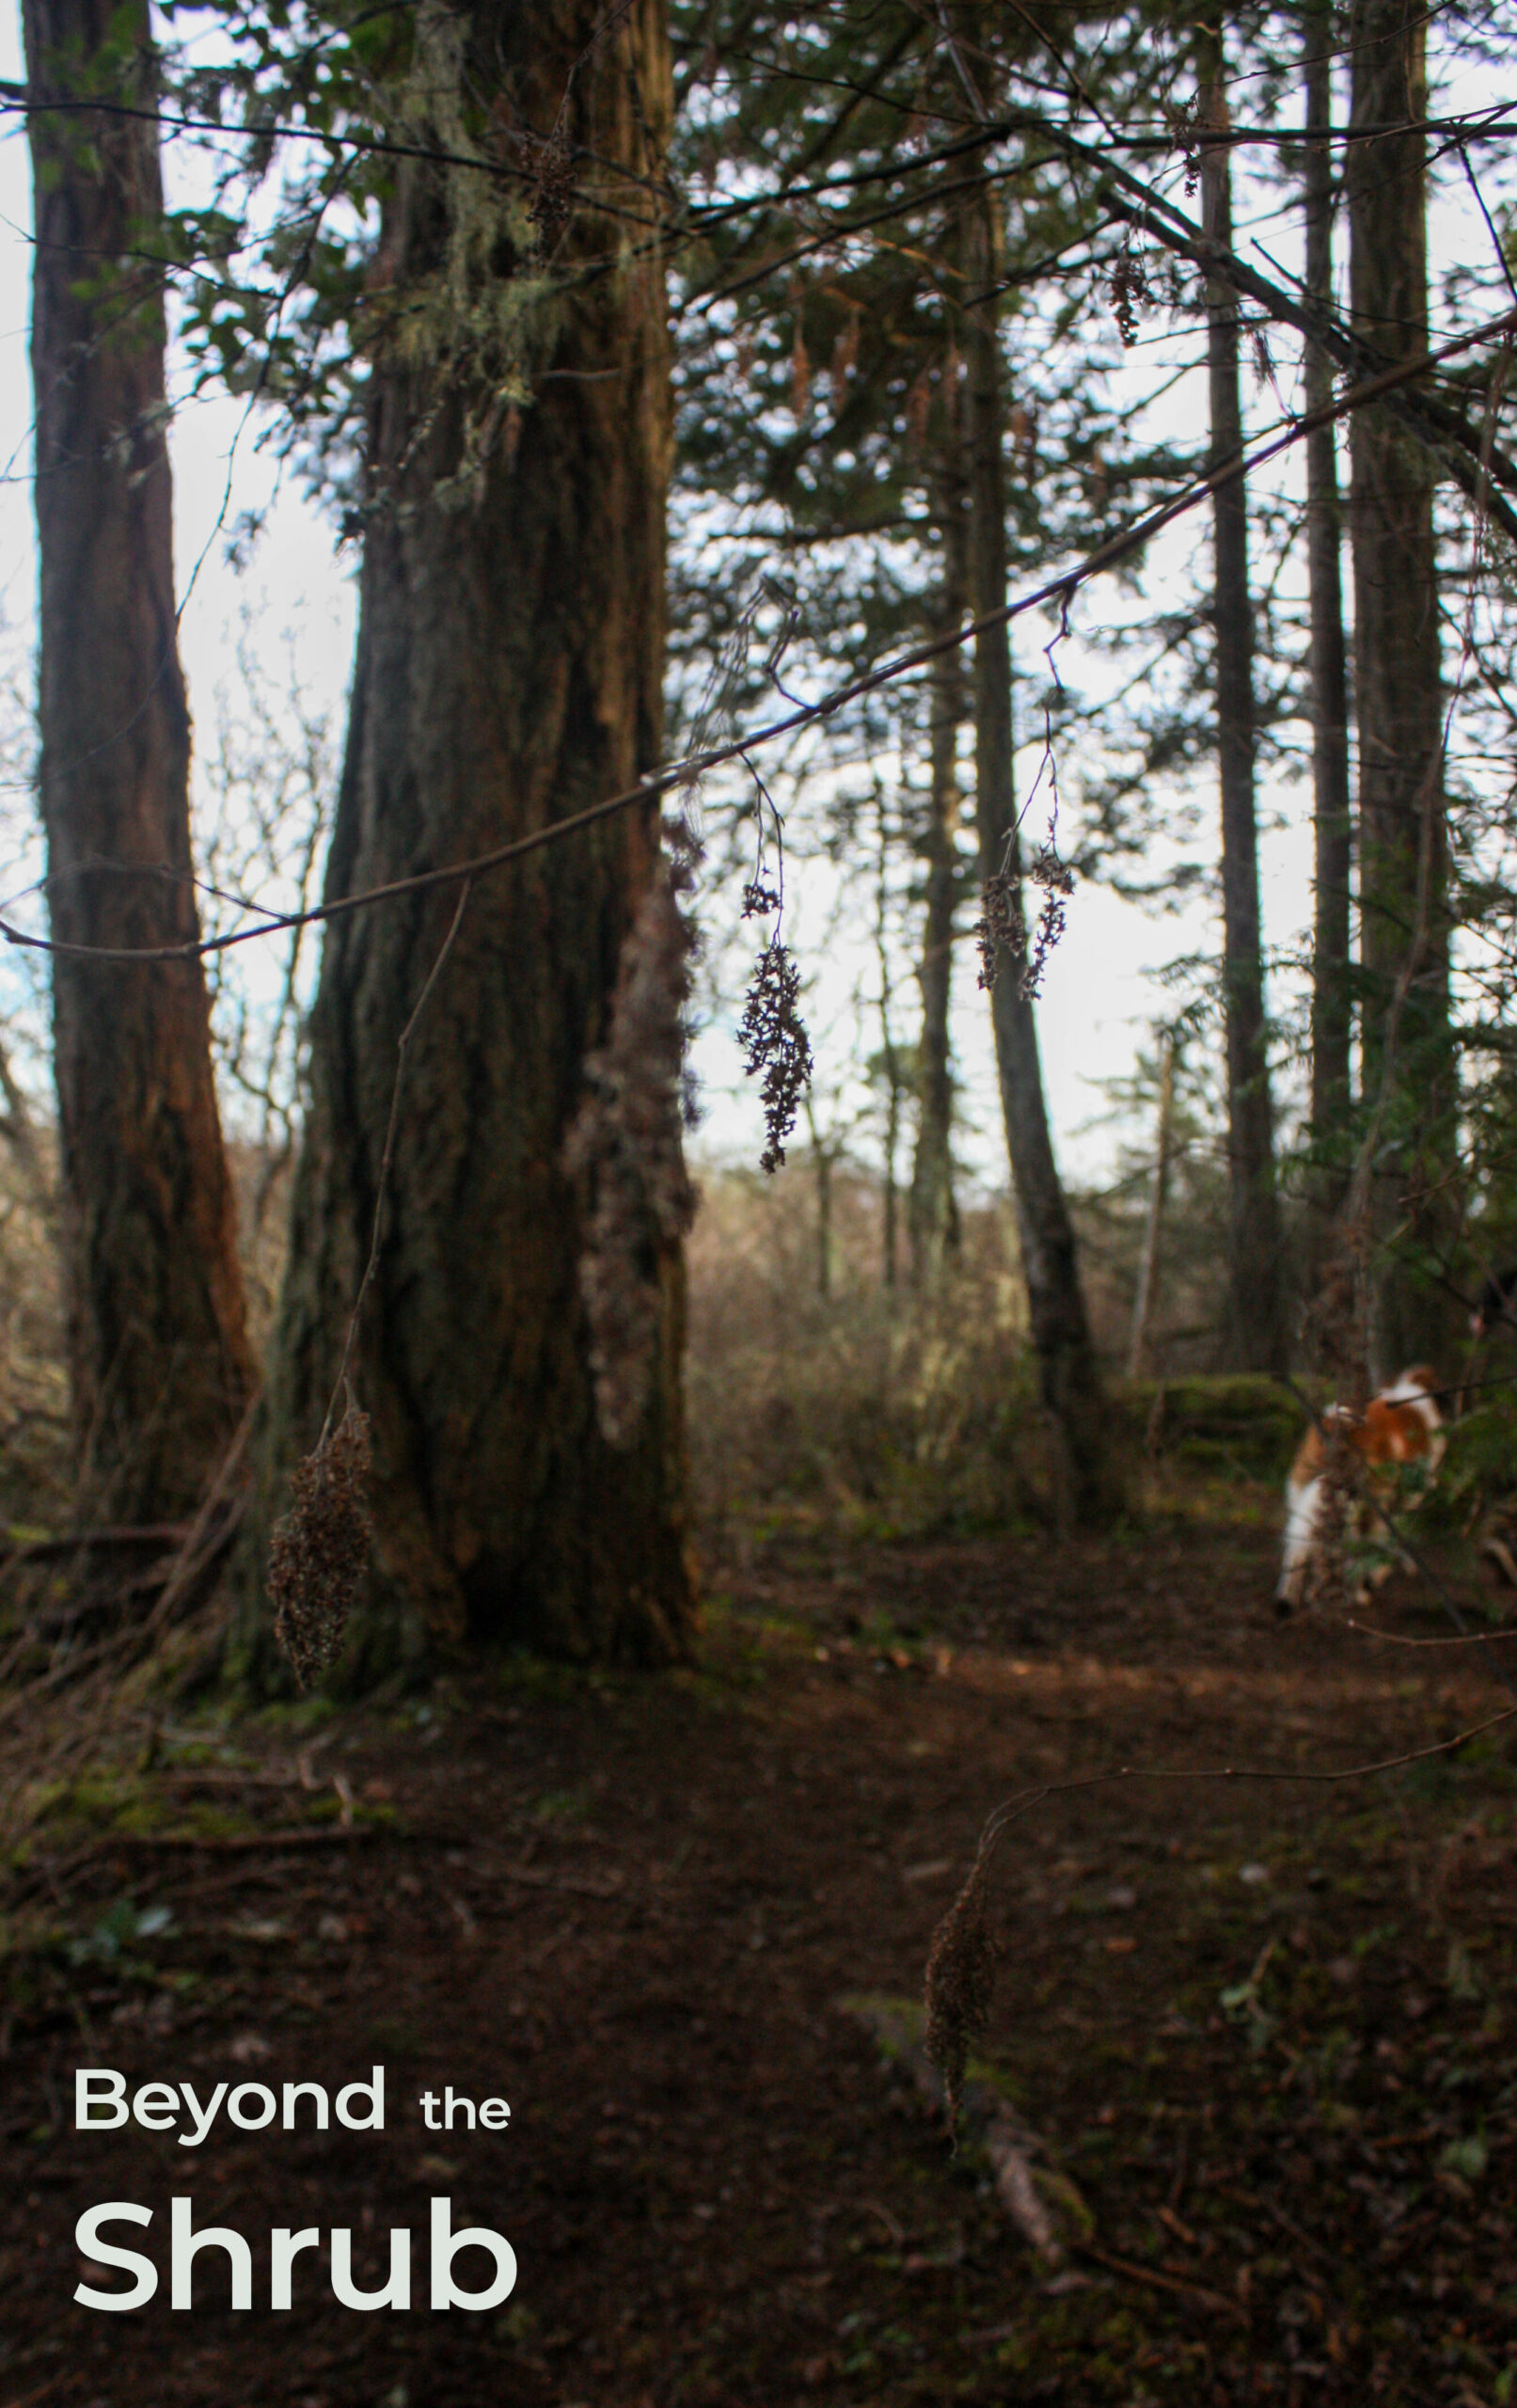
This image I called “beyond the shrub”, was taken at the same angle but focused on a different shrub with my dog in the background. I slightly increased exposure and contrast to +7, and lowered the highlights down to -67. I increased shadows to +52 which brought out the tree trunk and trail more. In photoshop I added a HS mask to bring out the rich dark browns of the image.
EXIF Settings: SS 1/320 sec – ISO 400 – f/5 – Spot Metering