Independent Project

Project Image

Written Reflection:

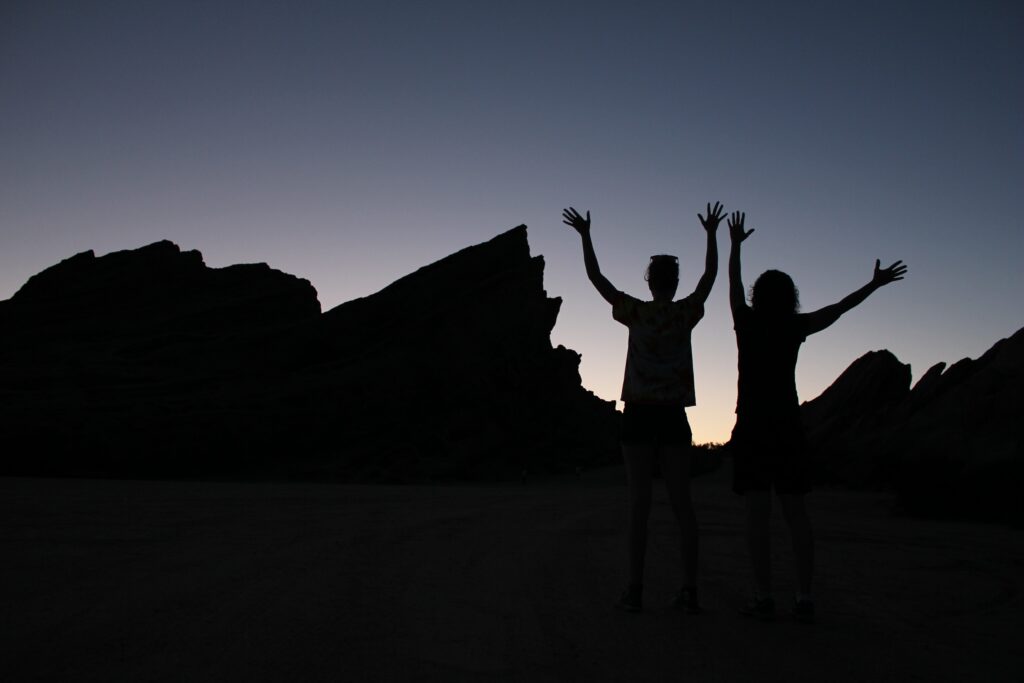
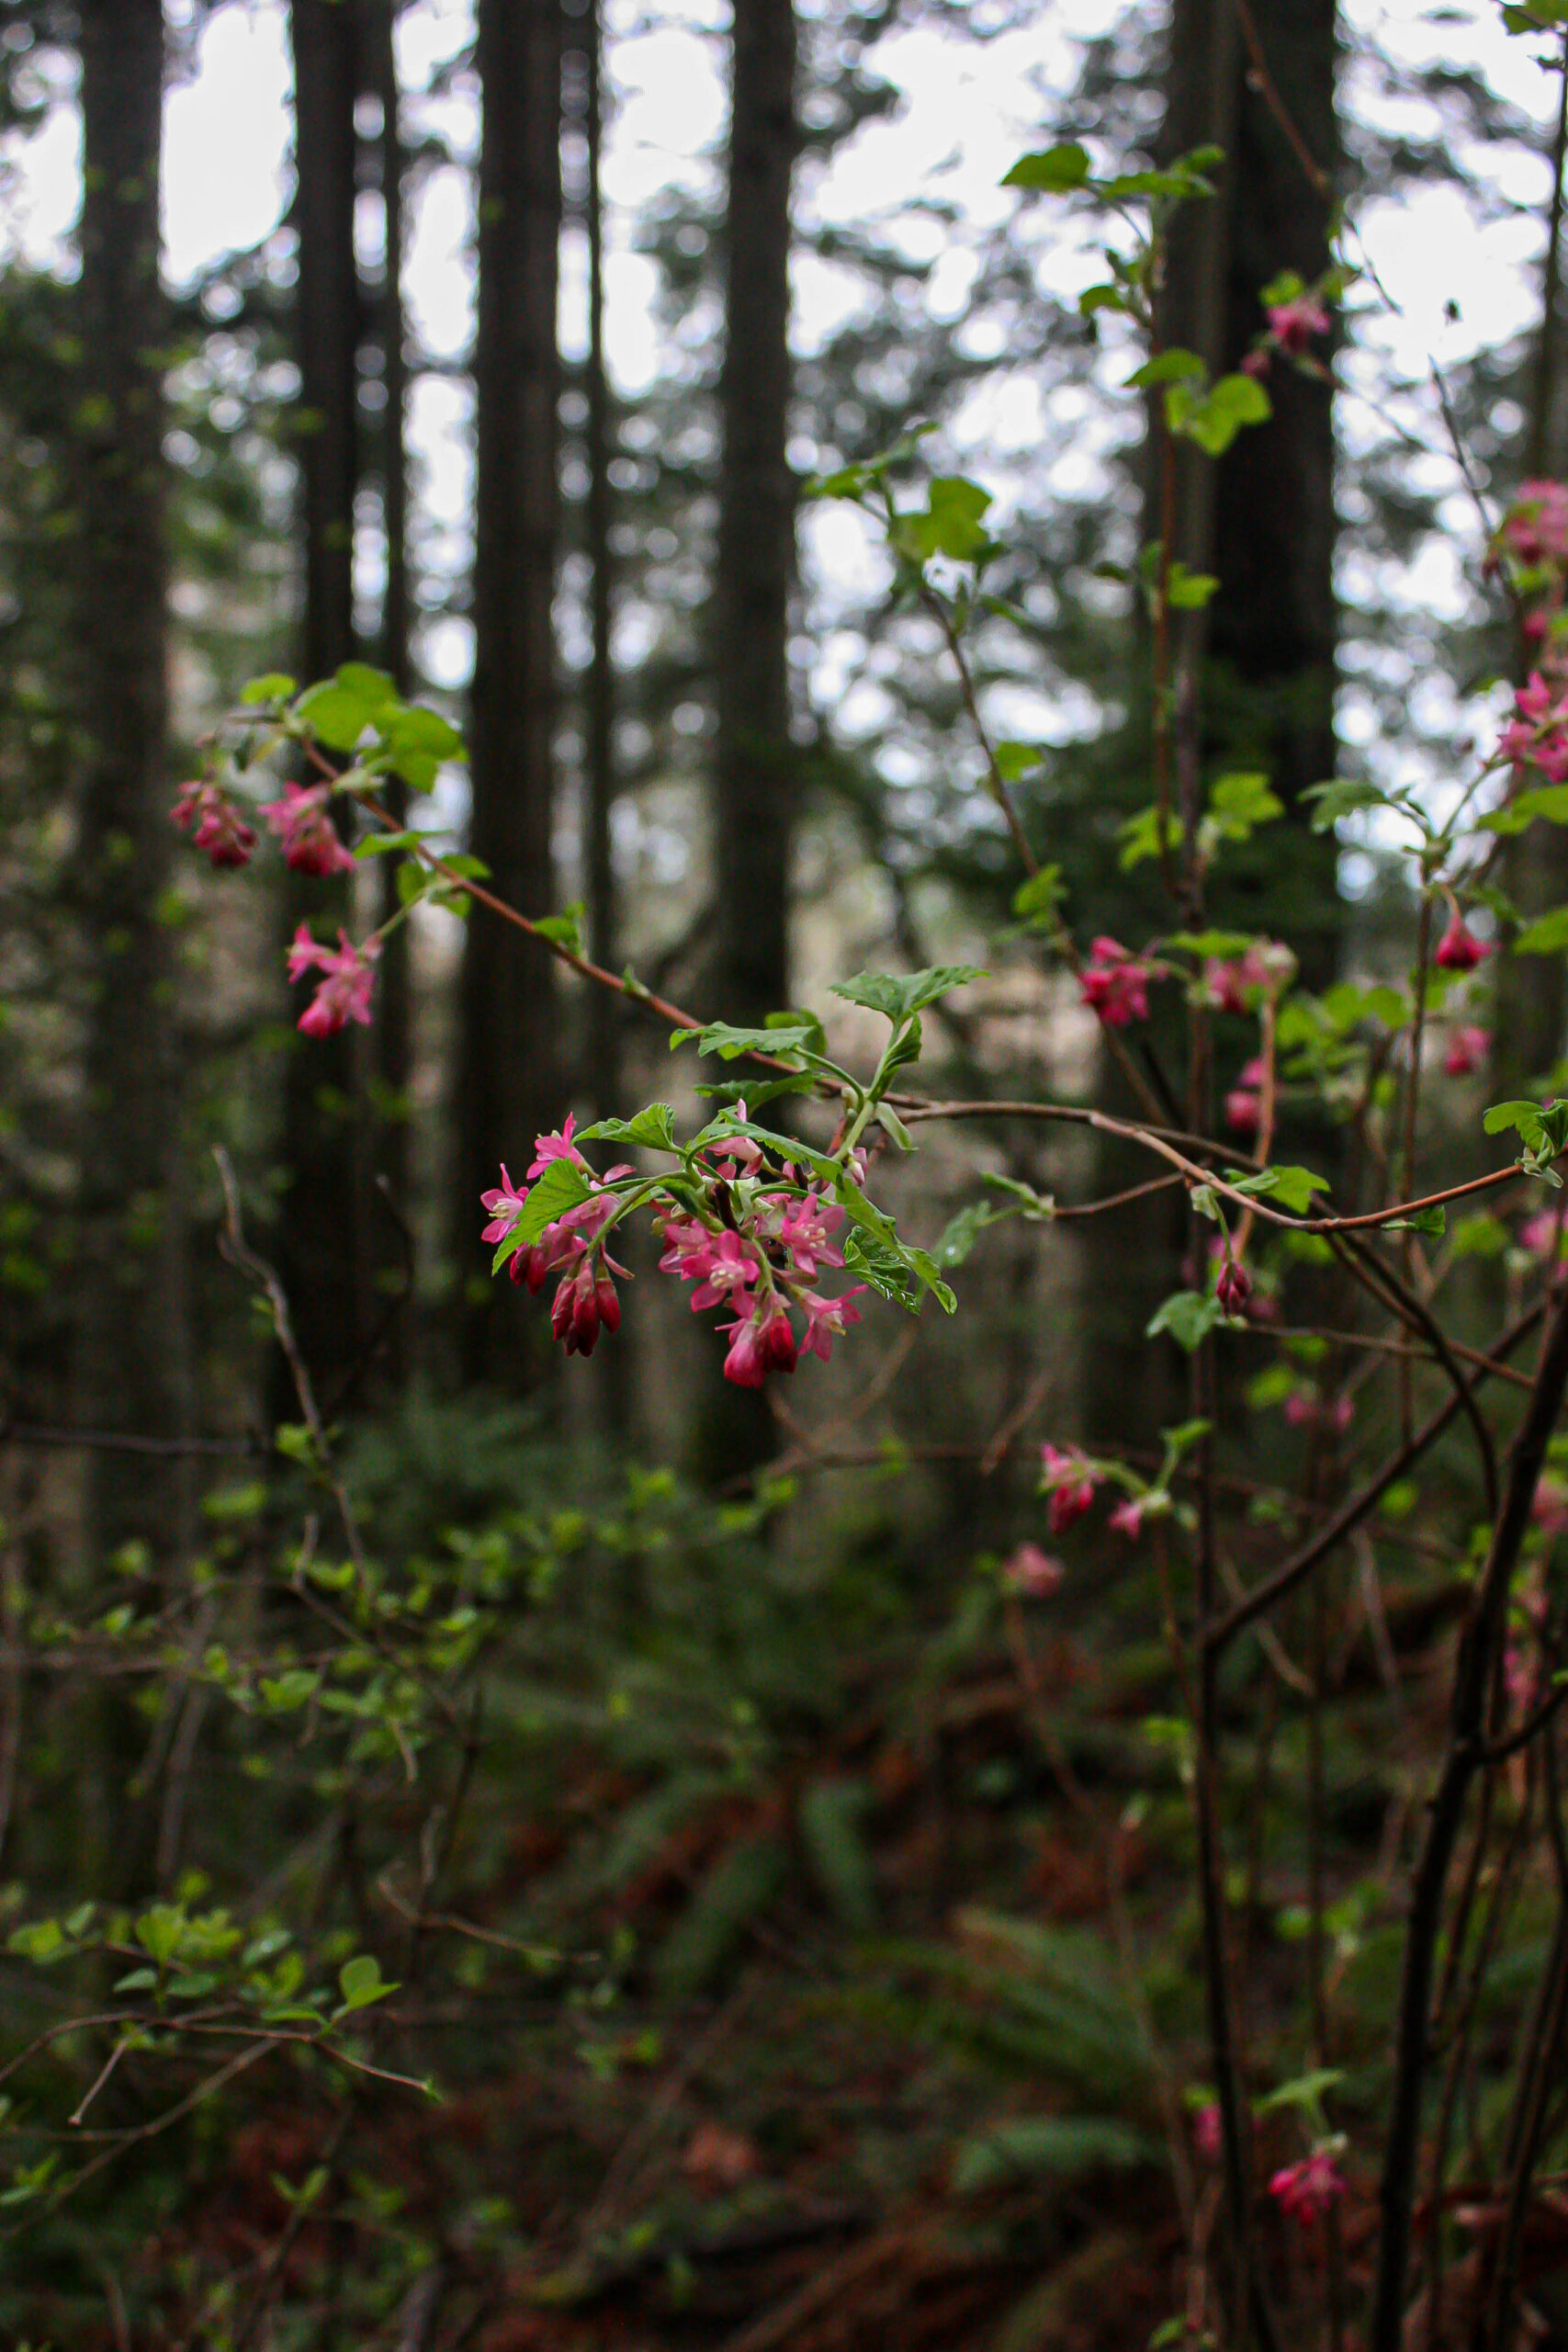
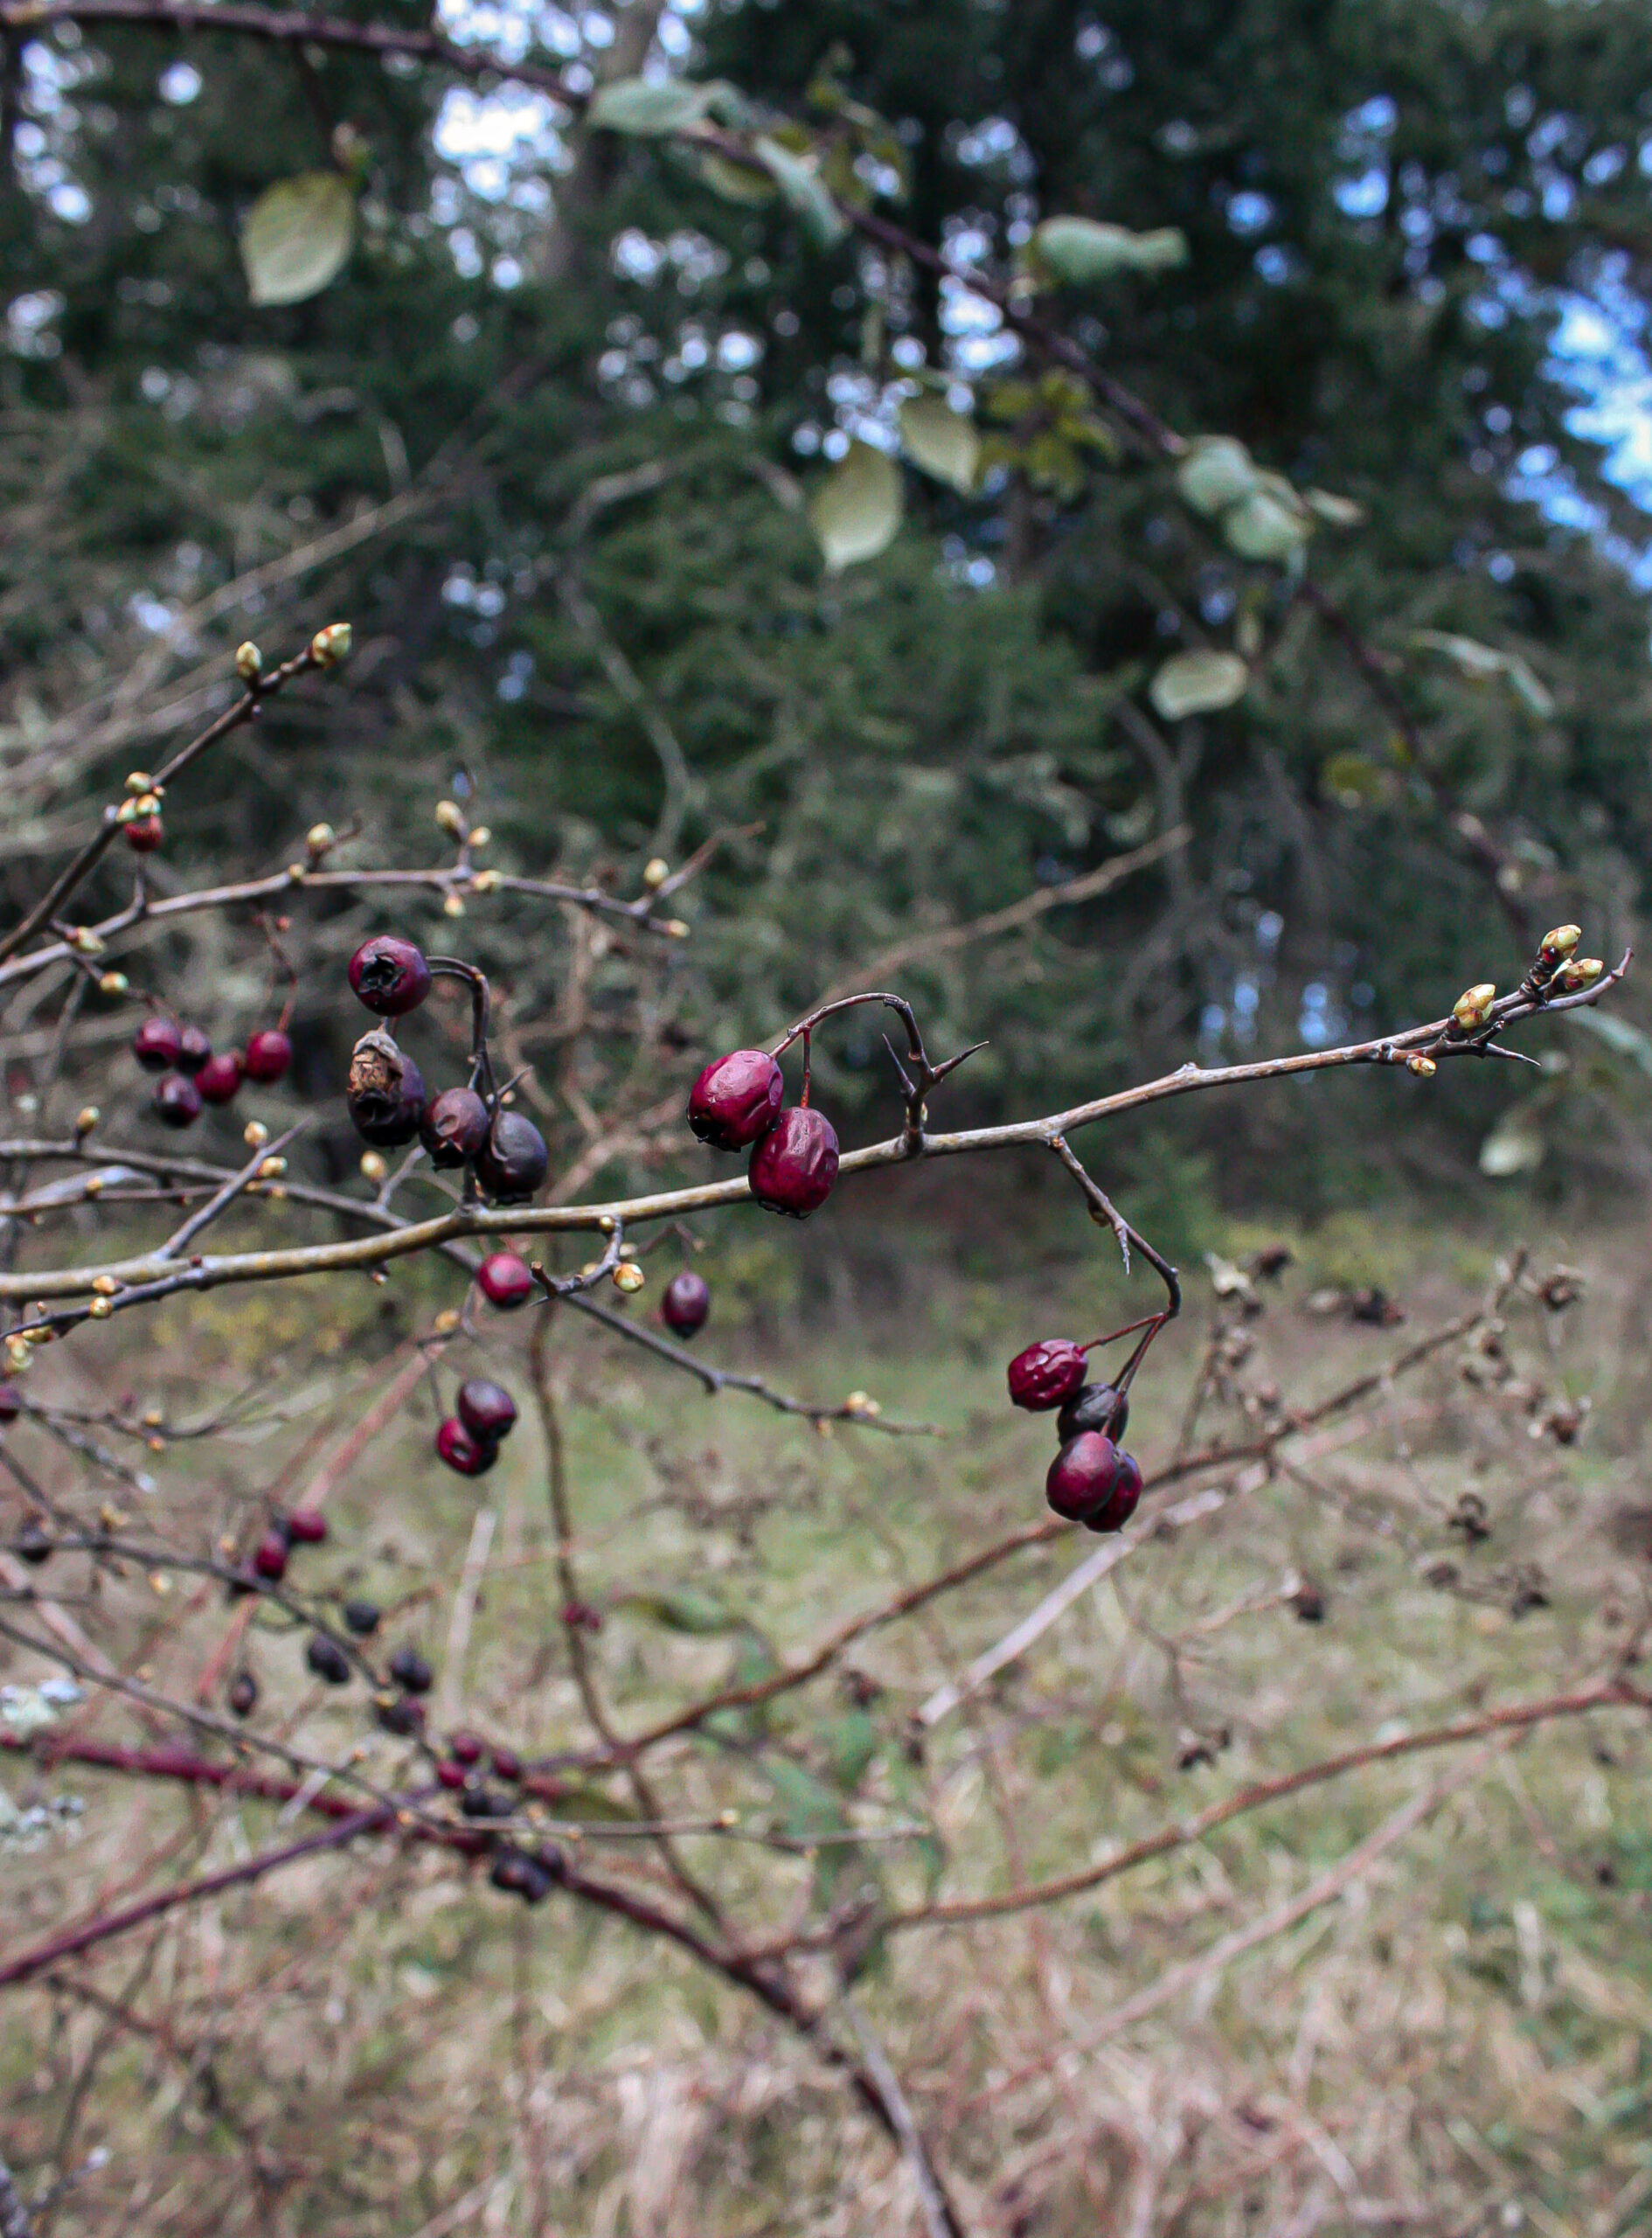
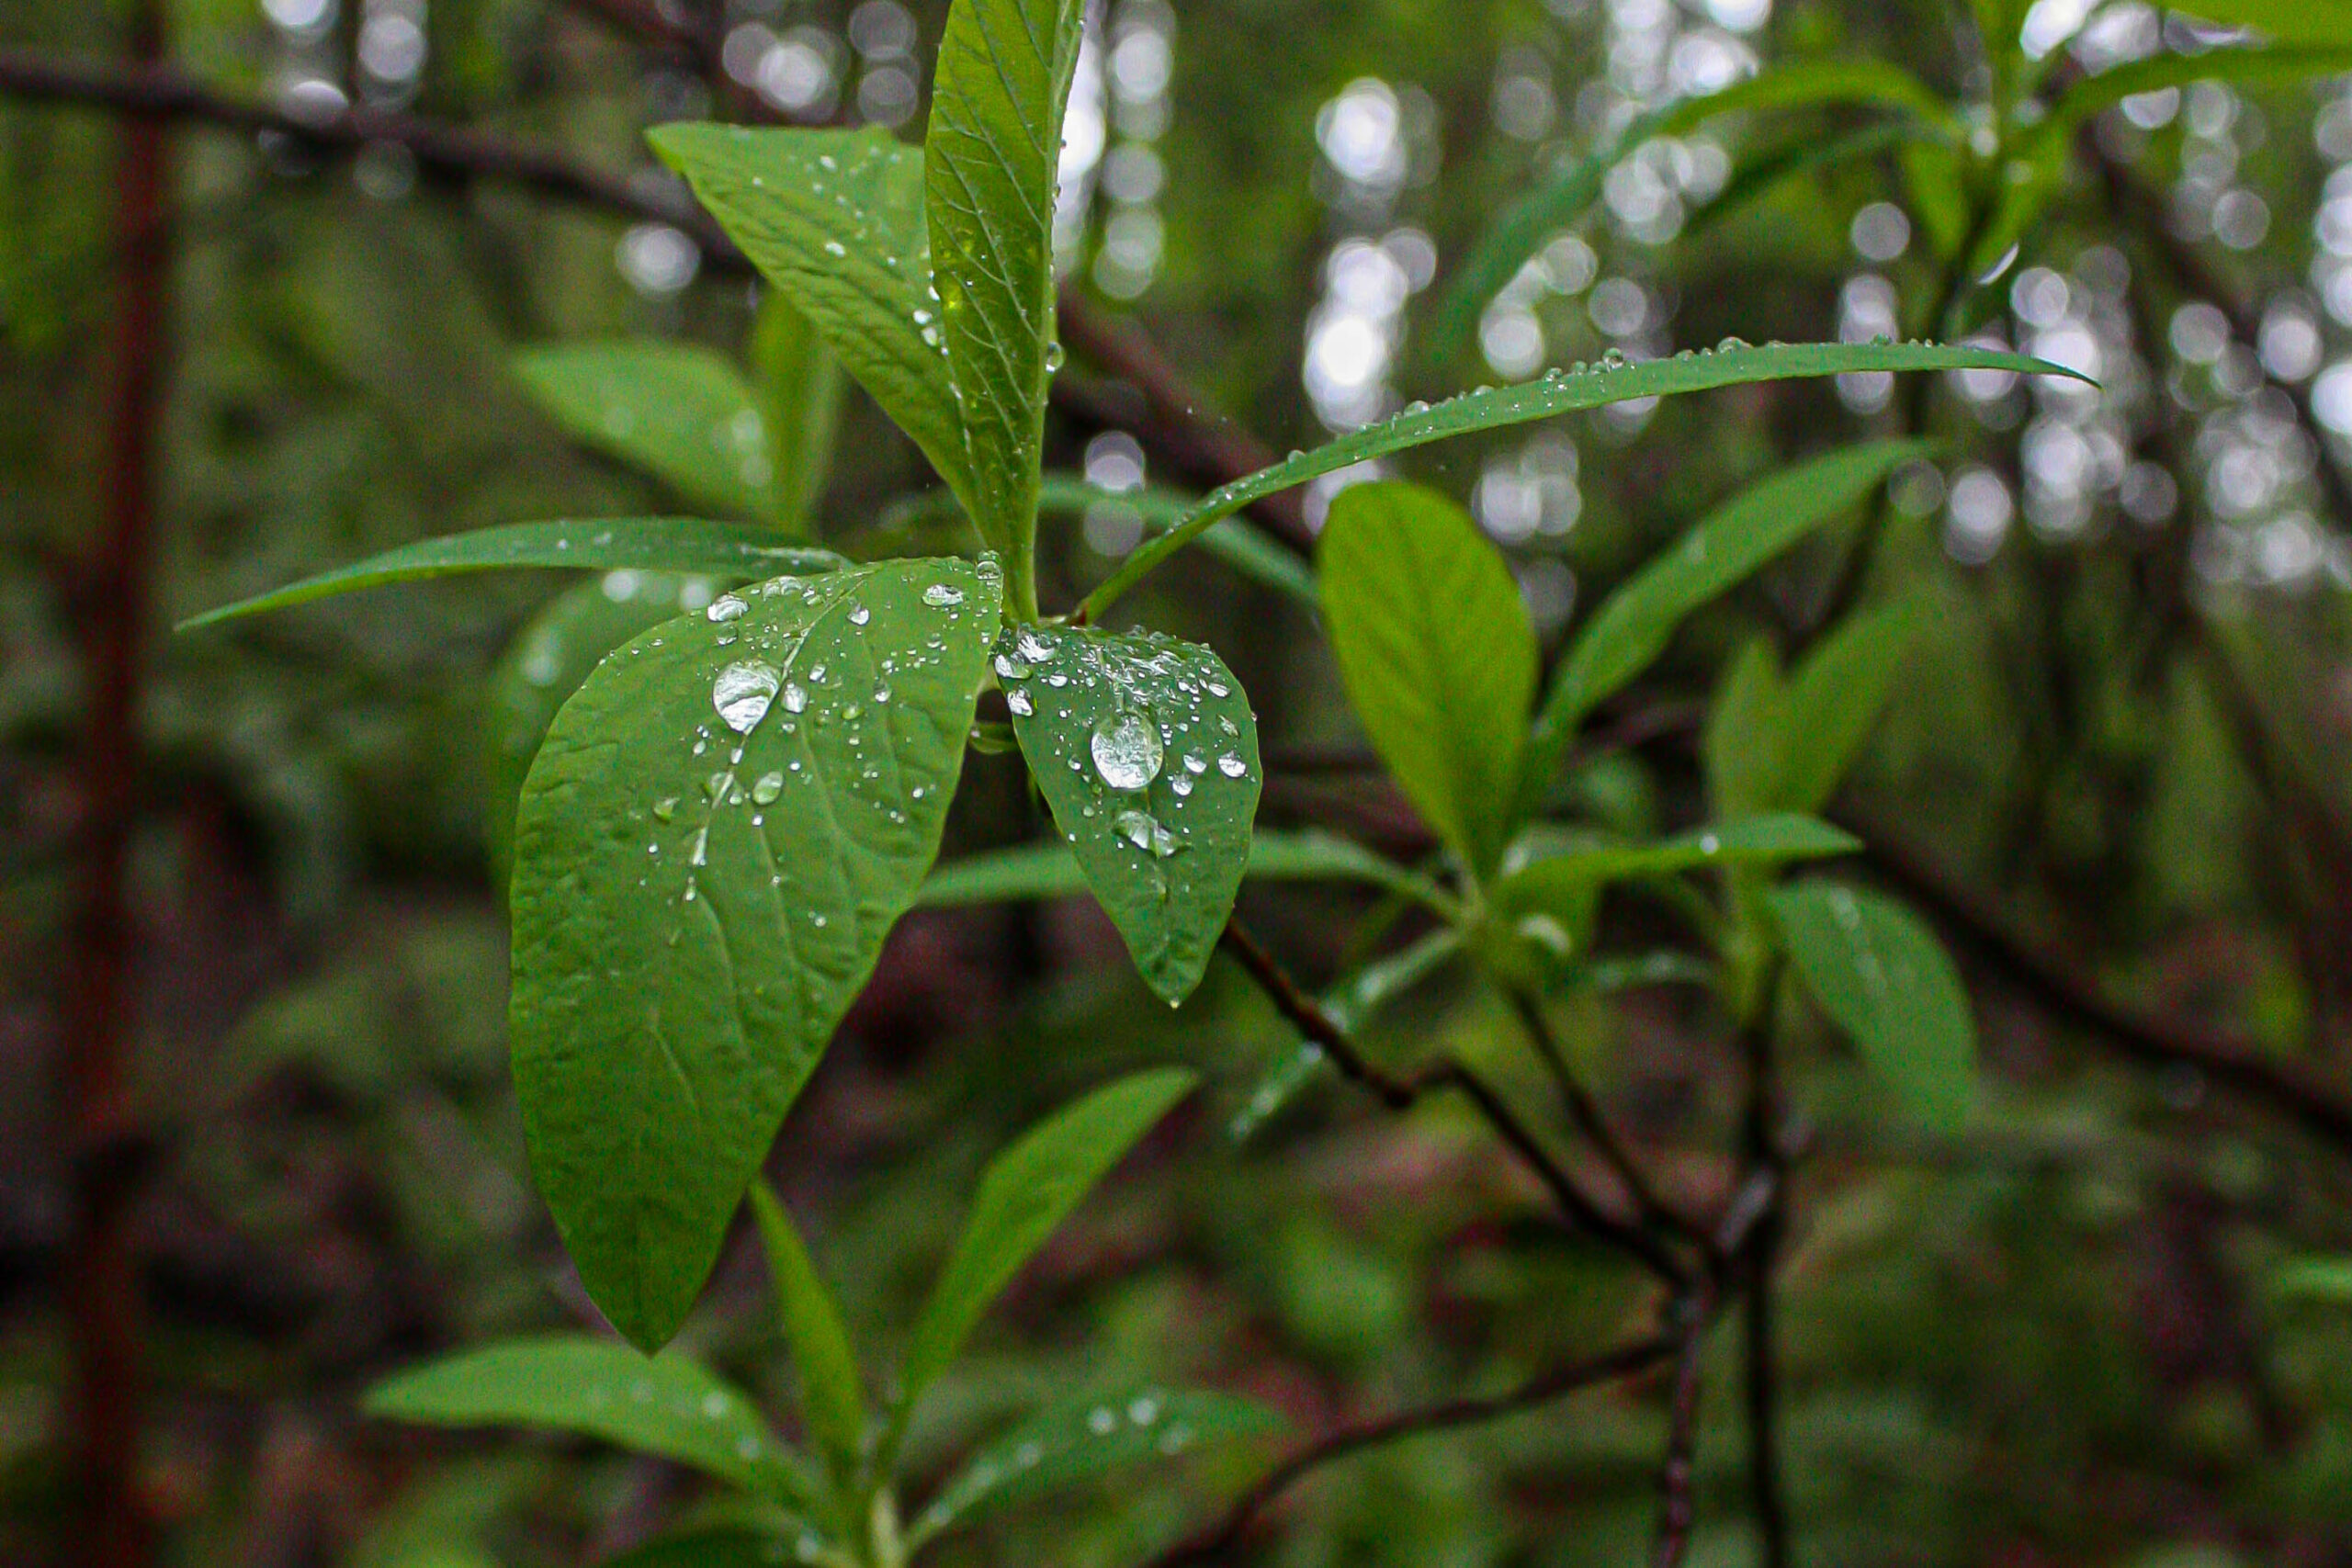
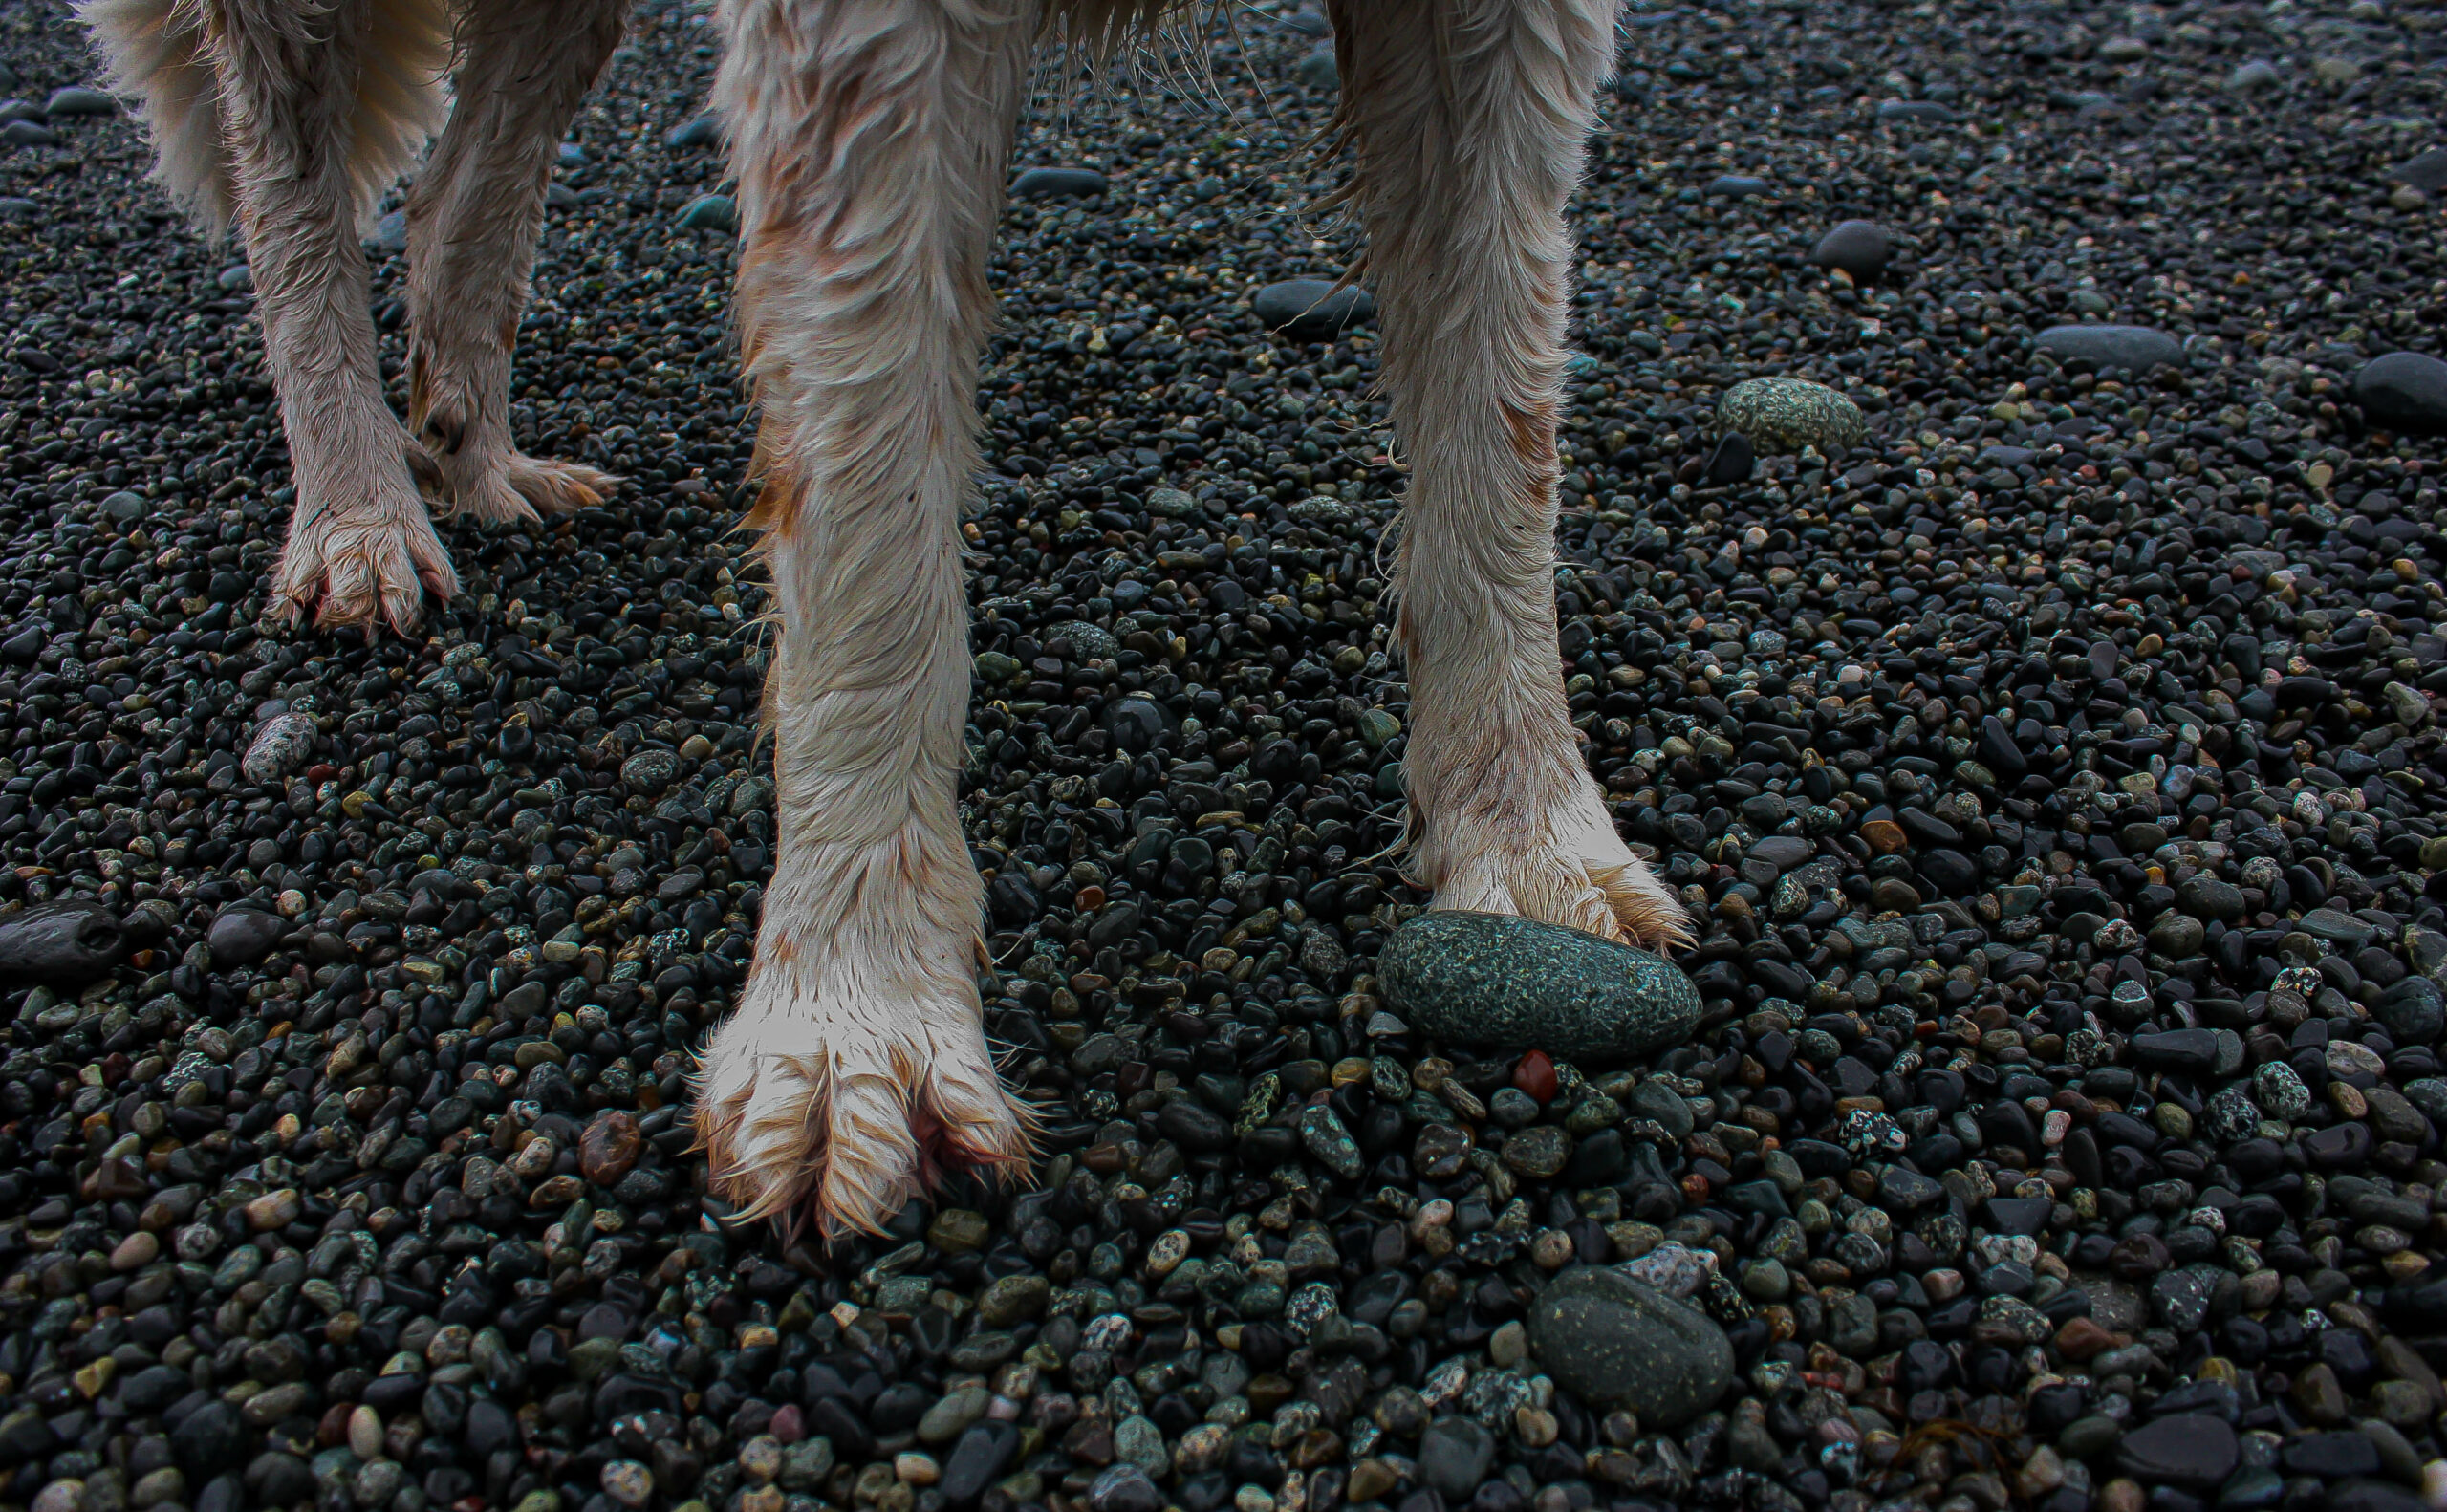
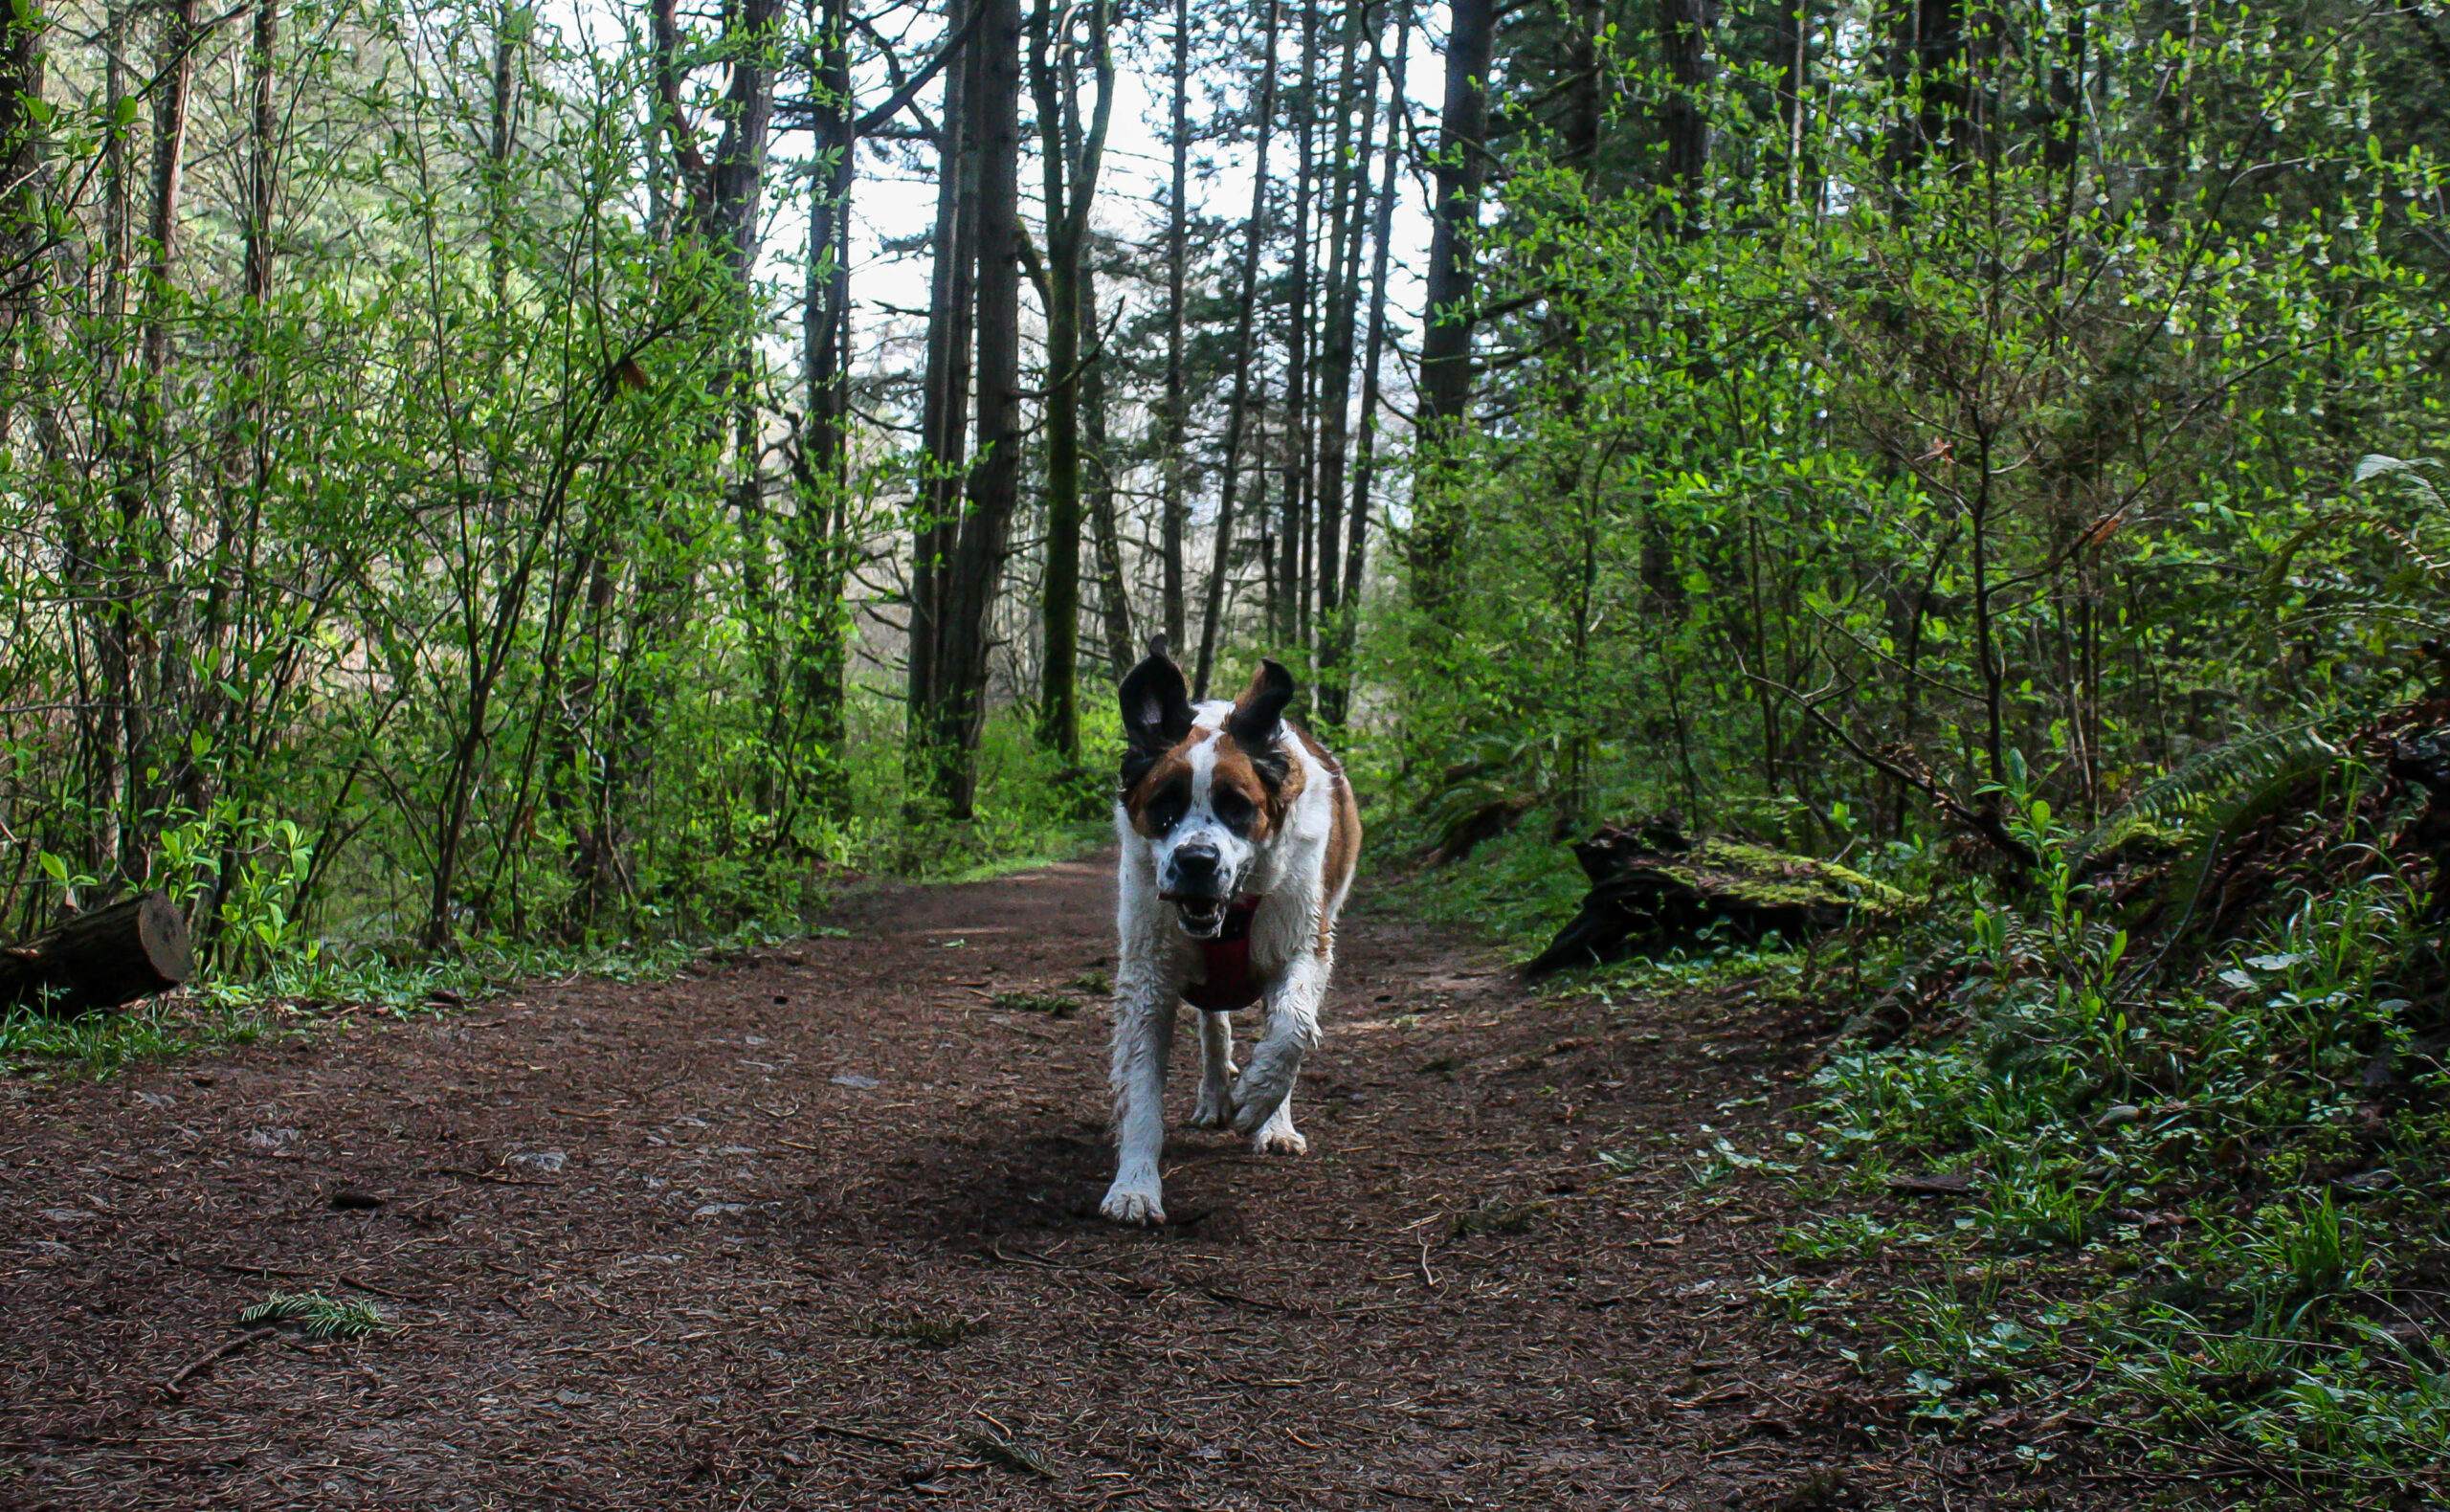
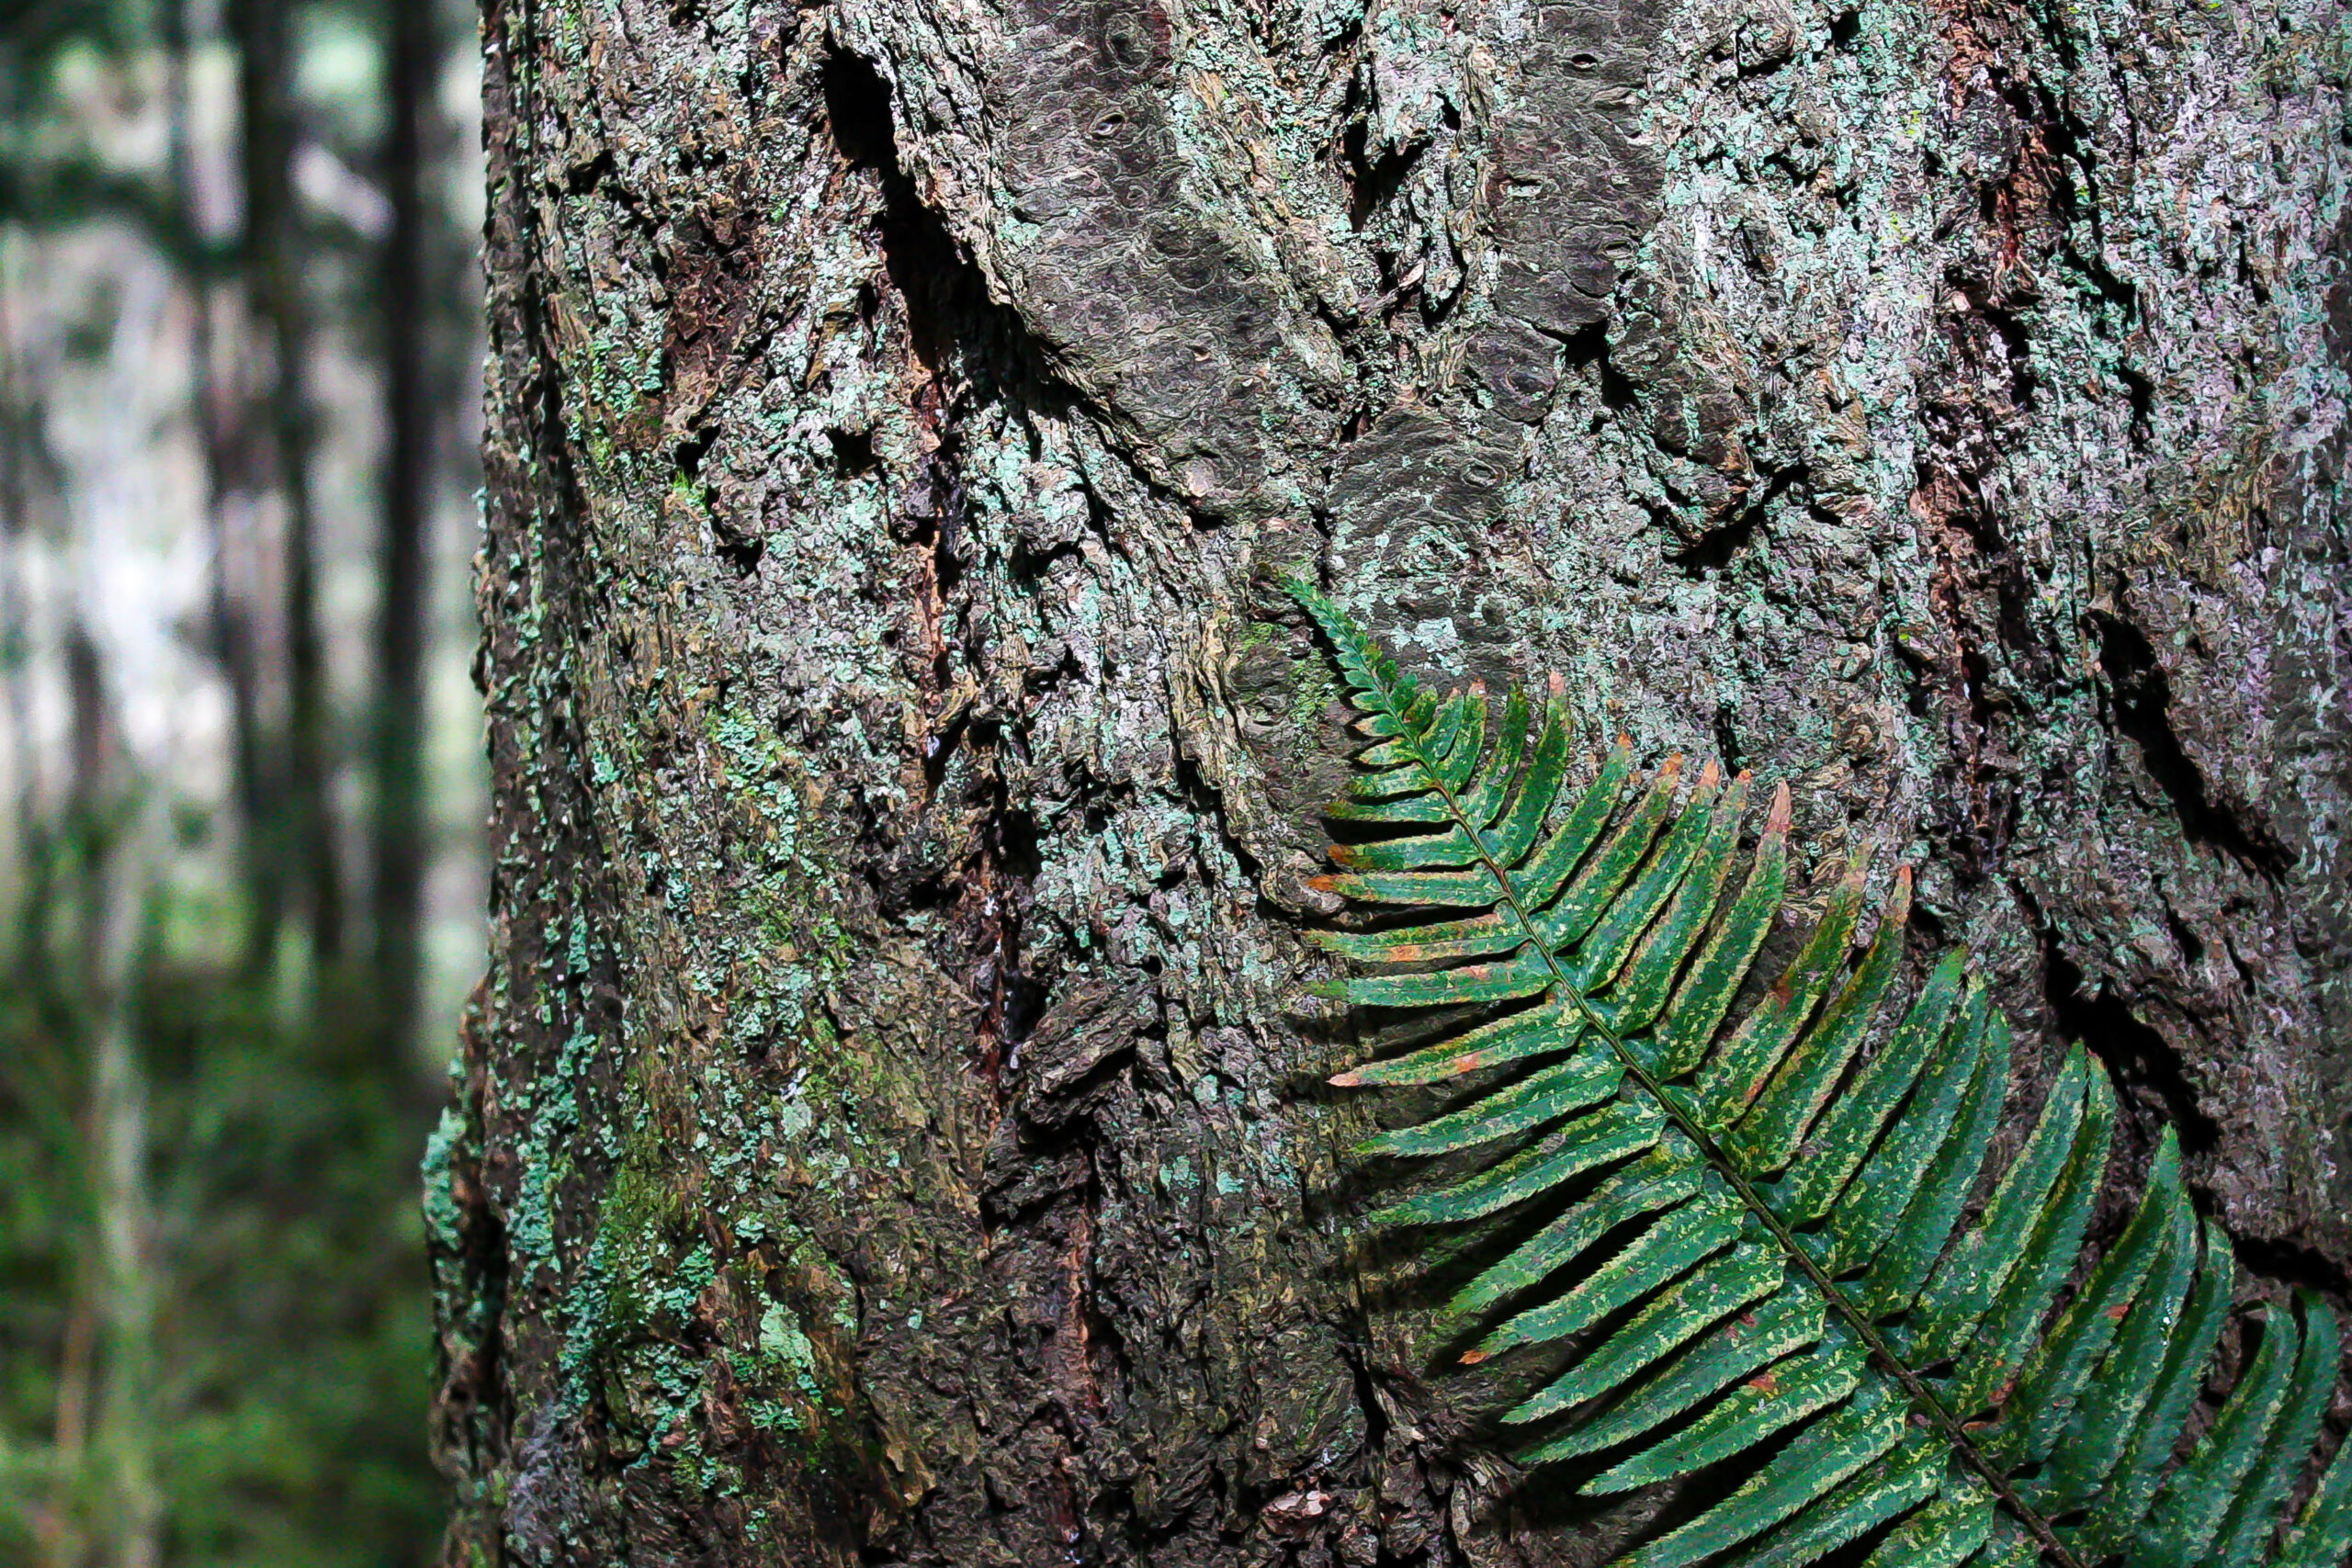
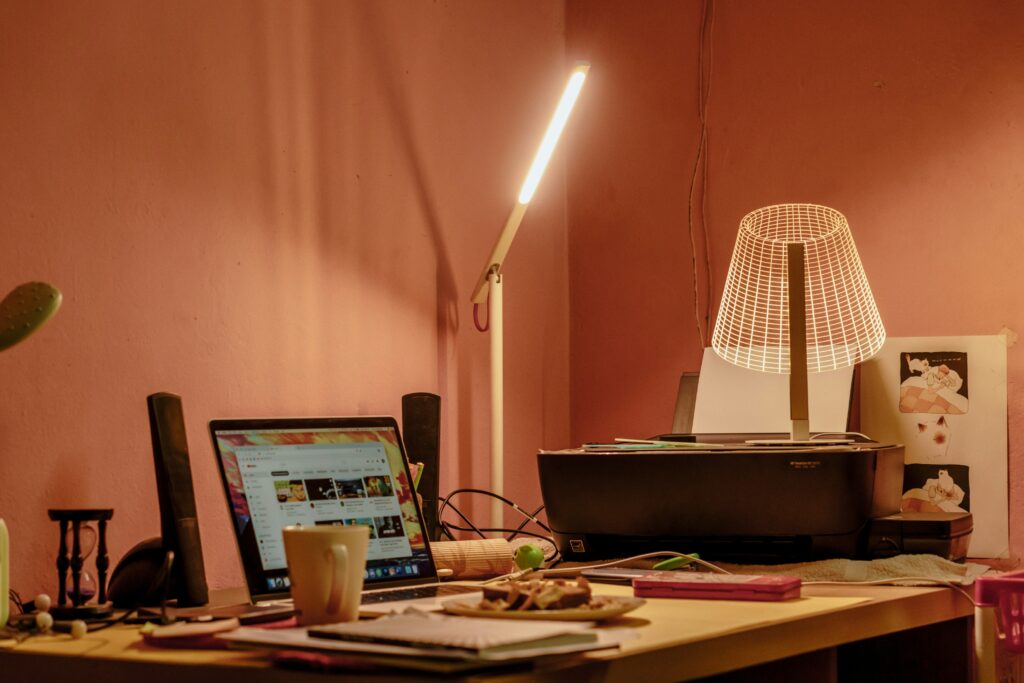
The intent of this project was to explore themes of perfectionism. Through my own explorations I learned of the theory “Done is better than perfect” and it stuck with me. I wanted to share my version of it through this independant project using the space around me. I personally enjoy watching YouTube videos and vlog content and I pulled a lot of inspiration from that style of video. When it came time for filming, I tried to be really creative by capturing the space in my office with varying shots and angles. I was focused on my desk as it was a focal point and main filming area for the video. The room was intended to feel cluttered and messy, with a feeling of heaviness and procrastination. I loosely followed the storyboard I created, but allowed myself to be creative when I began the filming process. The desk cleaning section was my most challenging to film, and I ended up re doing it multiple times. Looking back, I would have done things differently while filming to get a super clean result but I’m still happy with how it turned out. The later half of the video was filmed on another day and I wanted it to have a fresh energy with a wardrobe change and a different variation of shots. Throughout the couple of weeks, I captured clips of nature that I felt inspired by and added it to my video which I think provided variation.

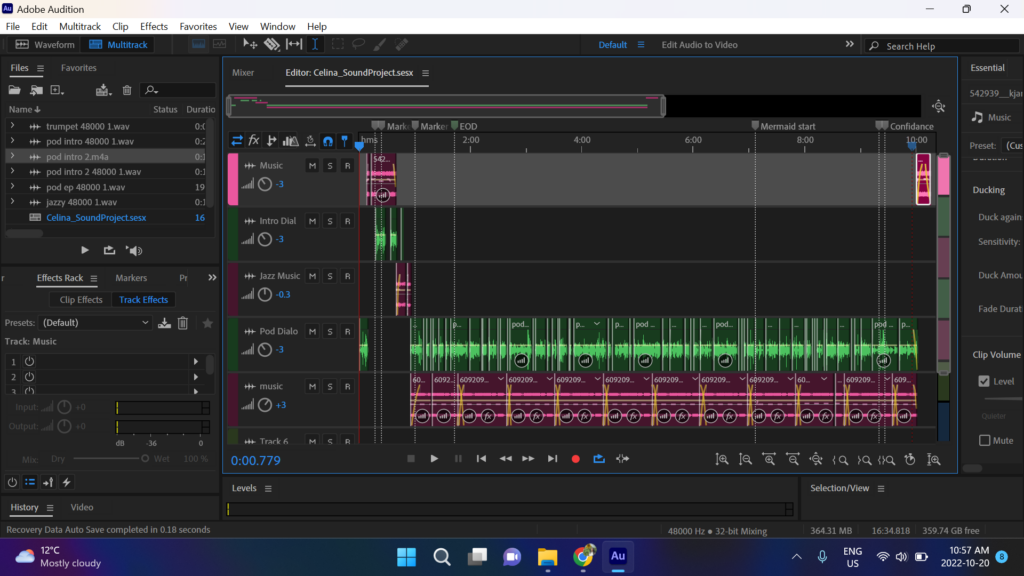
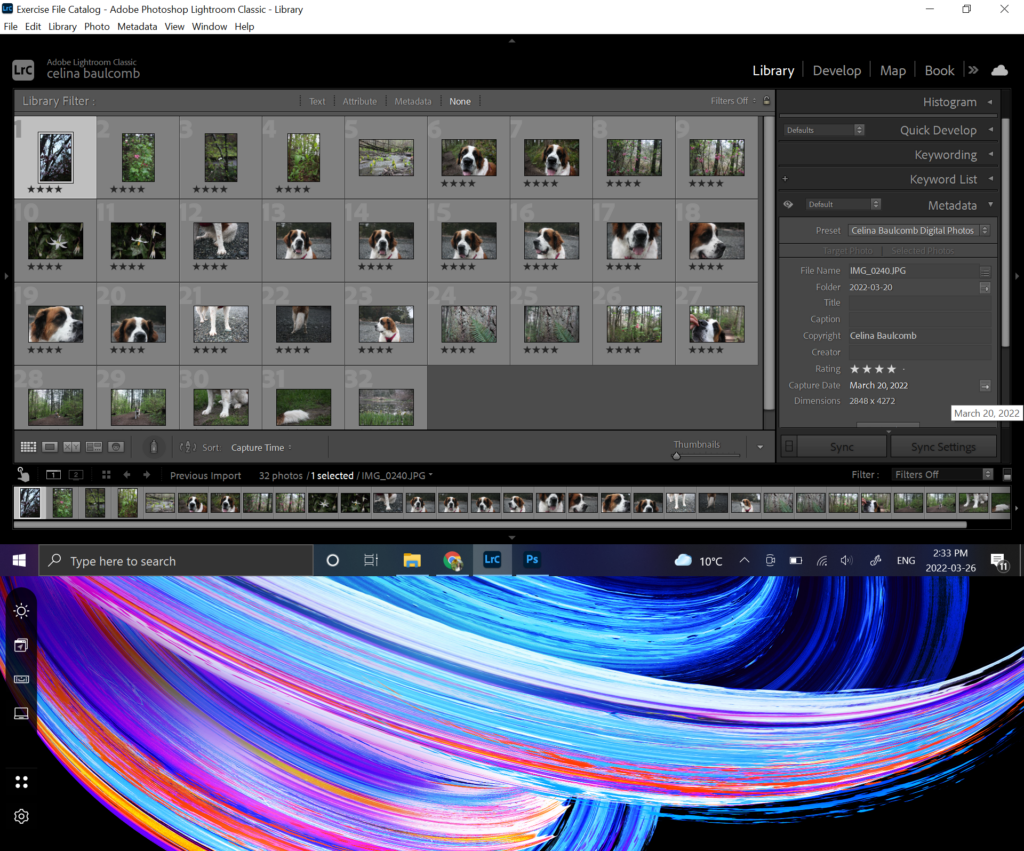
The editing is when it all came together. I knew I wanted to have ambient music in the background for the first half and it would transition to more upbeat music in the second half as the mood progressed. I paired it with a recording of myself talking about the ‘Done is Better Than Perfect’ theory (Thank you Chat GPT for helping me write the script) and practiced speaking slowly and with more emotion than I normally would. I found another YouTuber who edited one of her videos using this rolling text while speaking trick and felt it was exactly what I needed for mine. I found various old film textures that I layered throughout which added a richness to the video. The first split screen section I knew I wanted to flow with the theme of the video and I edited the clips so they were varied speed durations and I edited them together so they would appear and disappear at different times which gave it a very slow and blue vibe. I added the second split screen section because I had multiple close up shots where I wanted to show productivity, and I edited it in the same format for consistency and cohesion.

The ending of the video was a challenge to edit to have the same energy and I played around with editing the shots until I was happy. I added more rolling text sections to the end section for continuity and consistency. Lastly, I added a couple sound effects to areas that needed more emphasis and continued to tweak and edit the sounds of video until I was happy. I enjoyed working on this project so much, I’m really proud of what I was able to accomplish, and I felt like it was a challenge in the best way. Thank you and I hope you enjoy!

Project Timeline + Media Library

Watch Video Below:

Celina’s Independant Project – Done Is Better Than Perfect

Concept + Format:

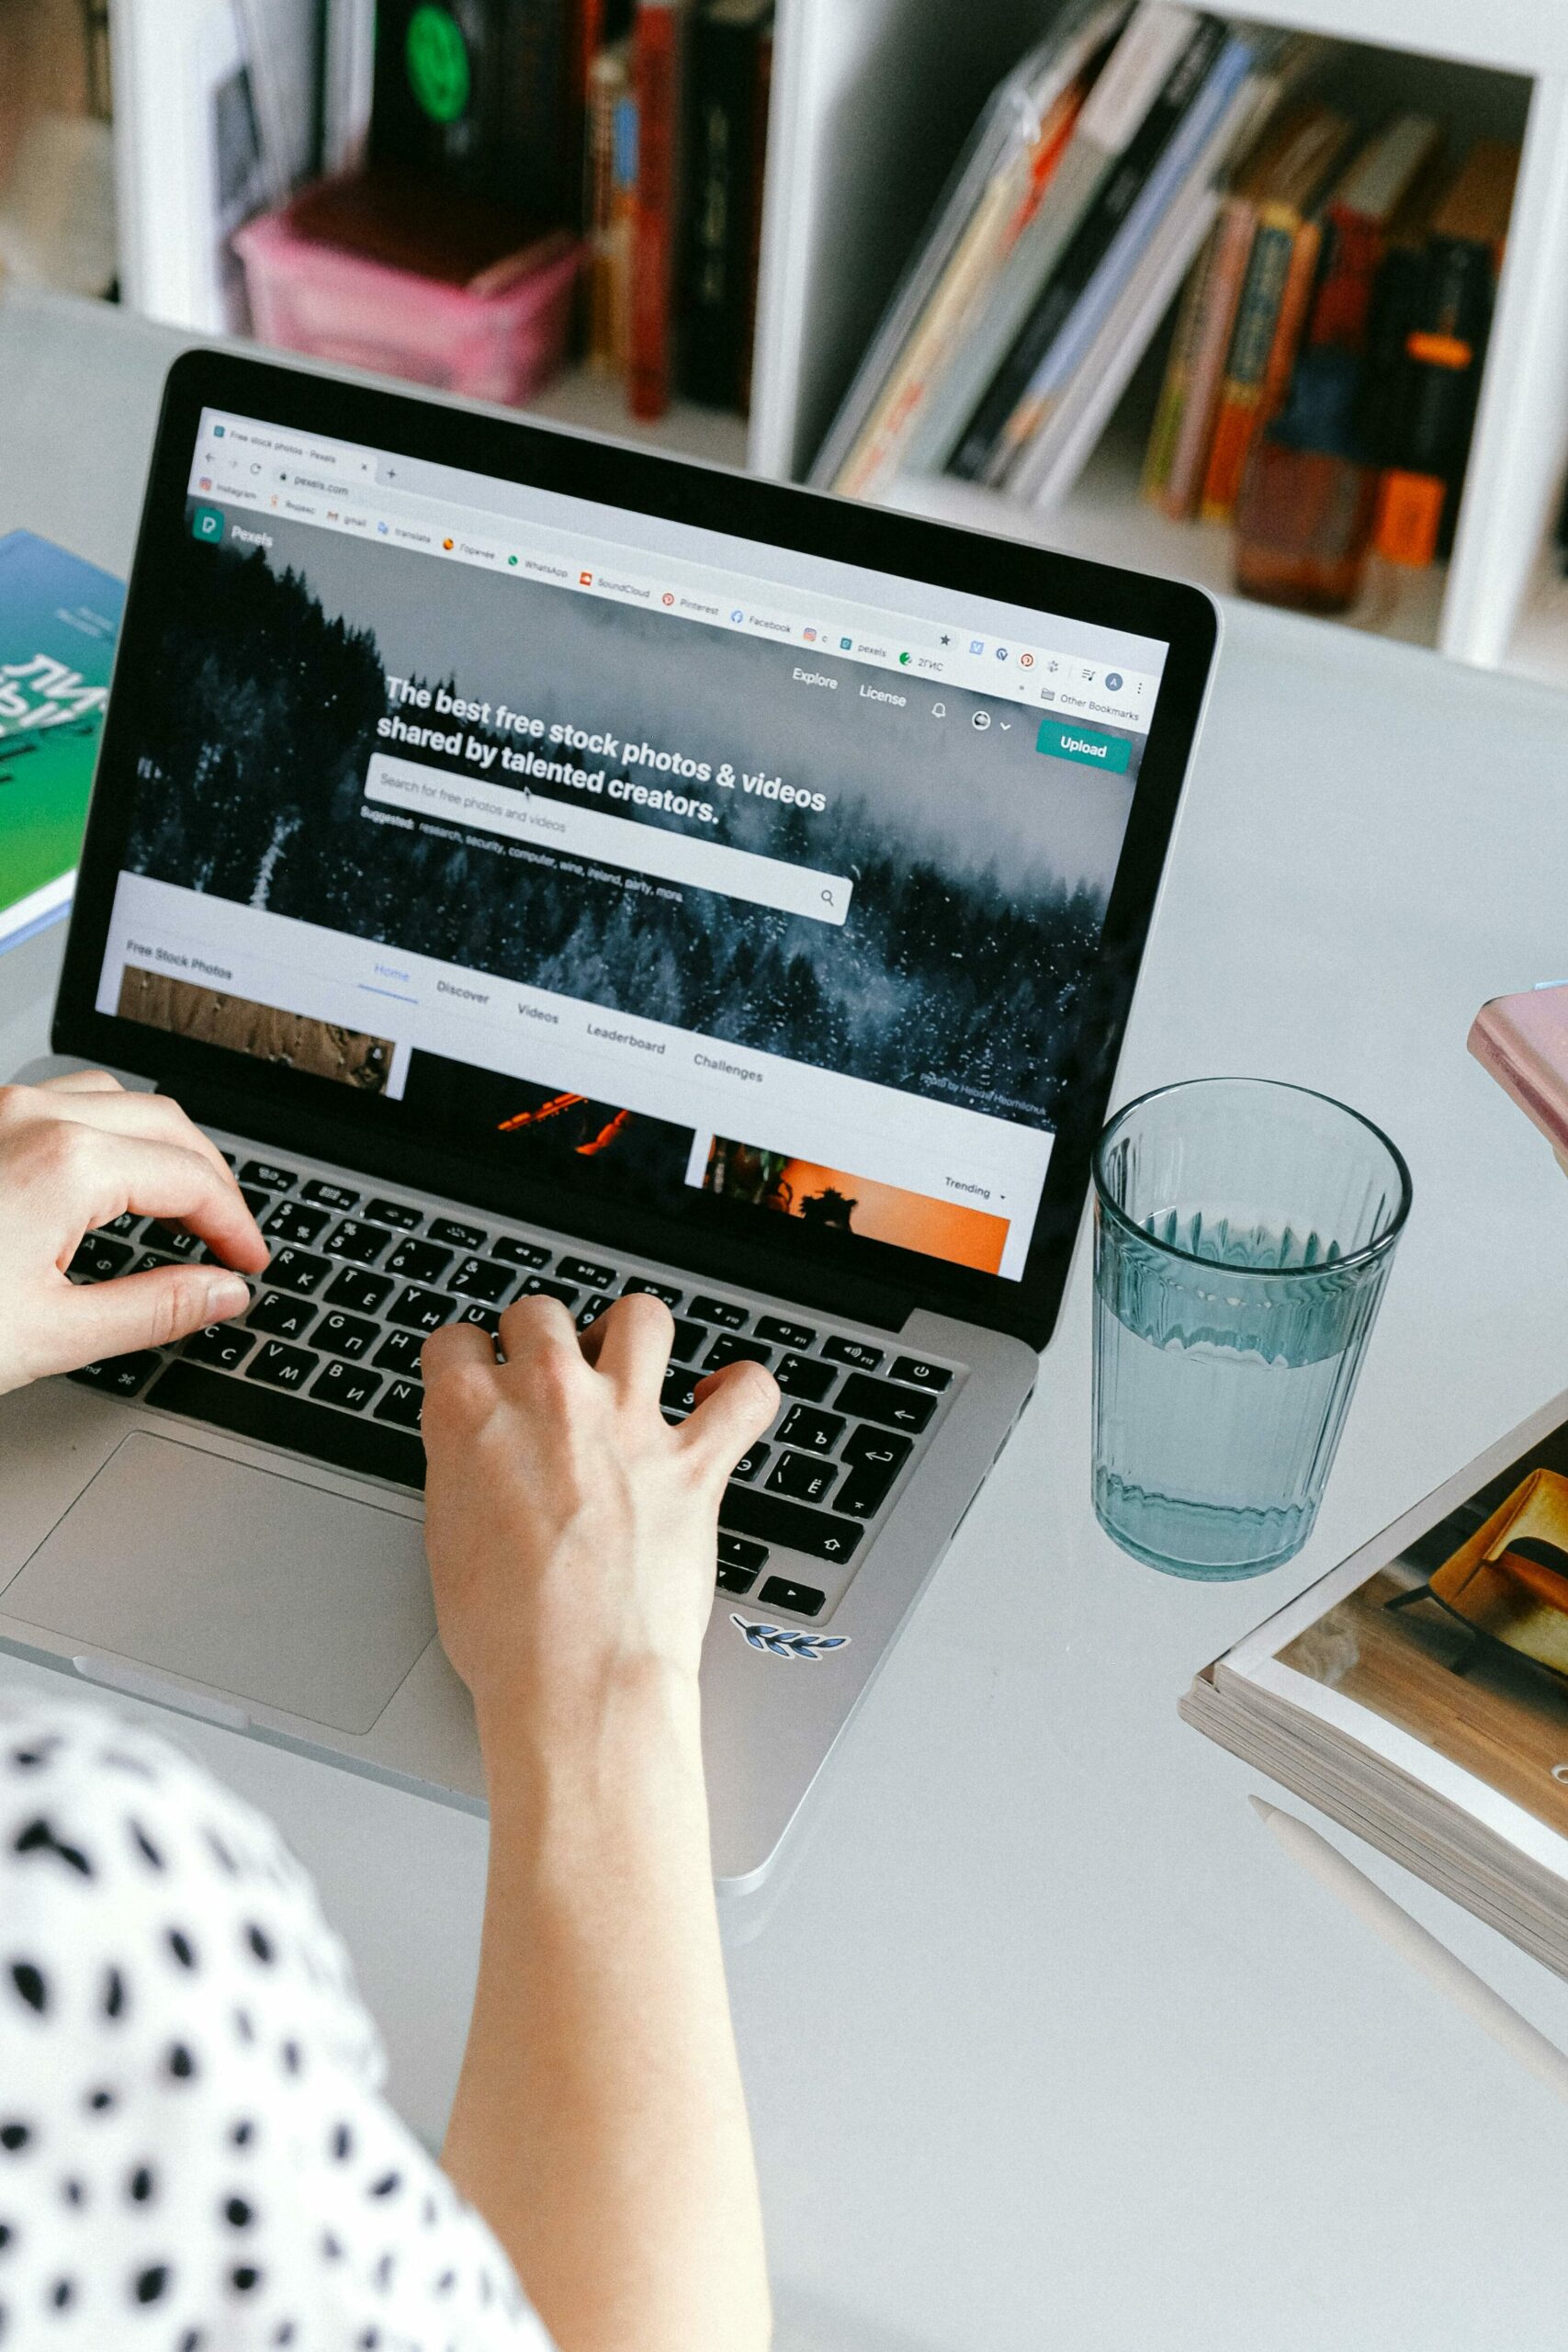
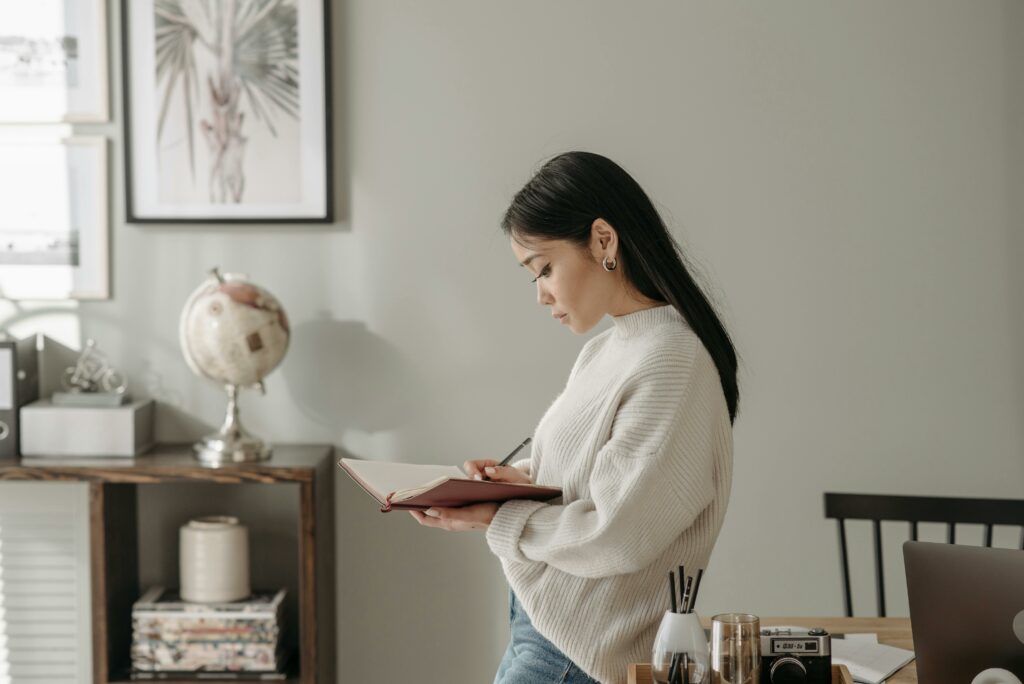
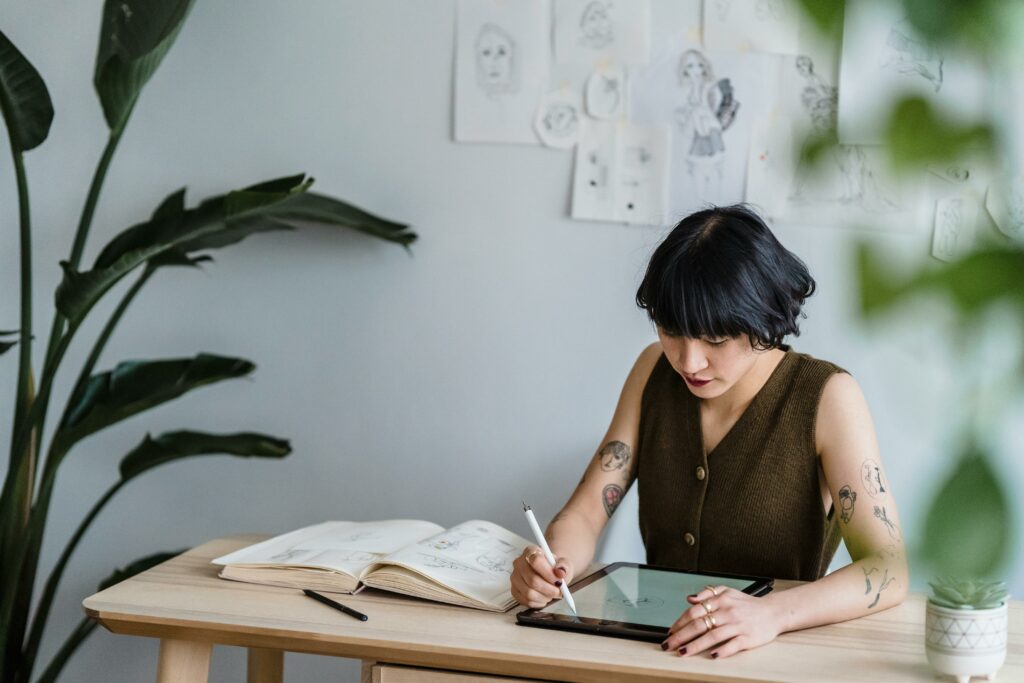
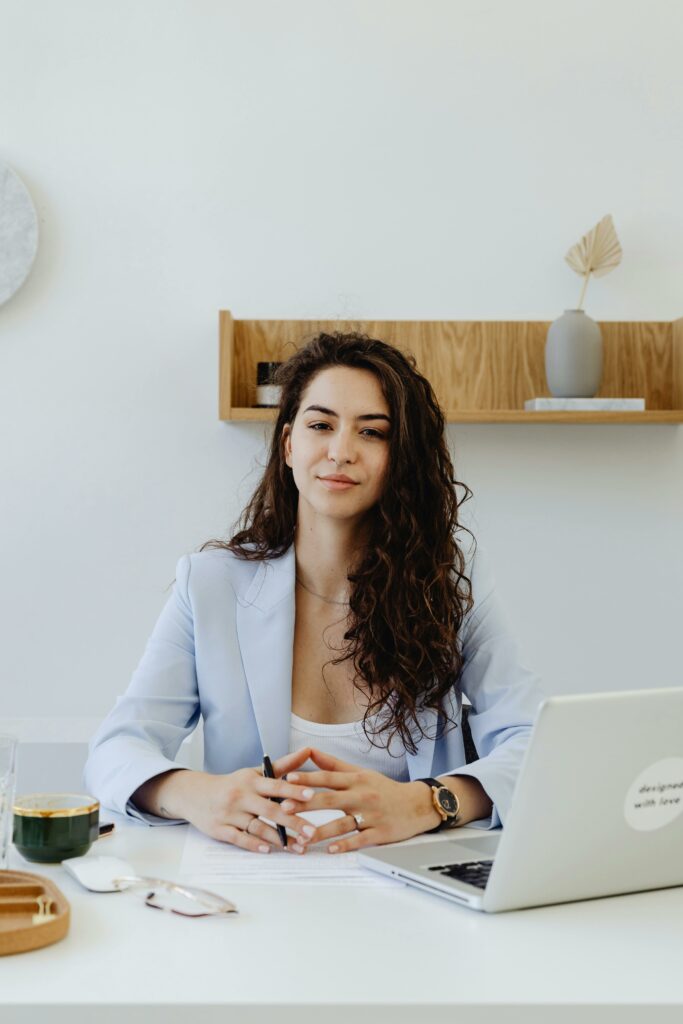
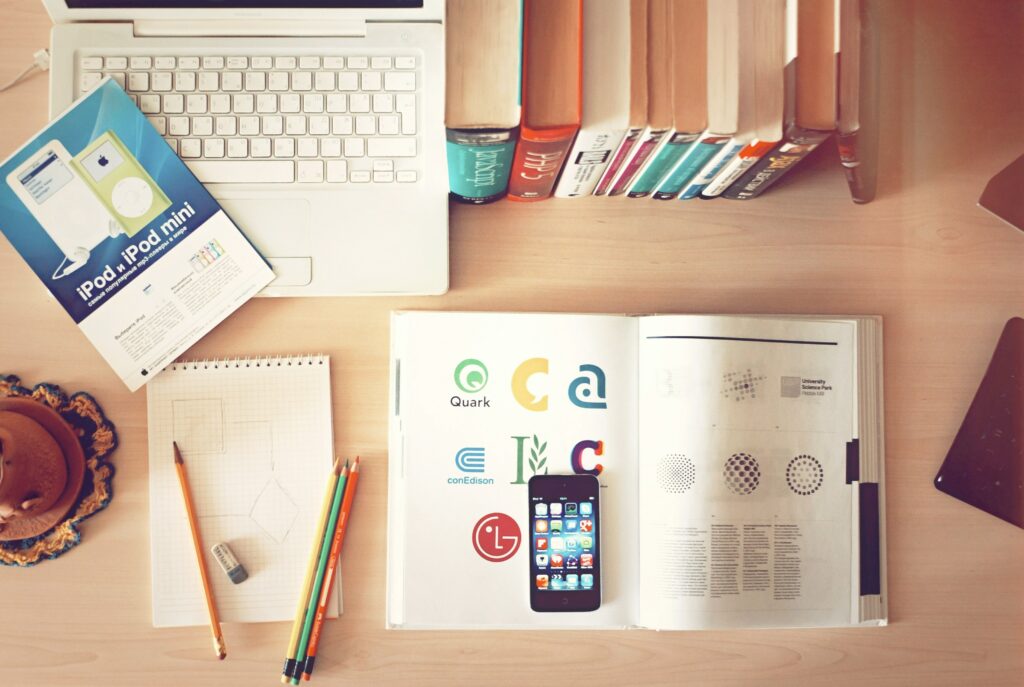
Concept 1 is a promotional video concept explainer piece. The video is designed to live on a website or be used as social media content to describe the design process. The video needs to be professional yet energetic with the goal of gaining future clients. The subject matter will include different action working shots at a home office from various angles and shots to keep it interesting. Shots will include filming actions such as: taking notes, typing, working on the computer. The angles will be filmed from over the shoulder, close-up, and medium shot. I want to include it with a voice over conversation of describing a 5 step design process and time it out within the video. I want to end the video with getting a face forward shot of myself explaining the process. The video will also include complimentary up beat instrumental music for extra polish and dimension. I want to capture footage that helps the viewer understand the process and feel like they’re getting a behind-the-scenes look. I plan to film myself using my Iphone in my home office. I plan to use split screen with this concept and during the editing process, will split screen some of the action work shots. I also want to use motion graphics for this concept to highlight certain words in the design description to draw emphasis and interest.

Storyboard:

Concept + Format:

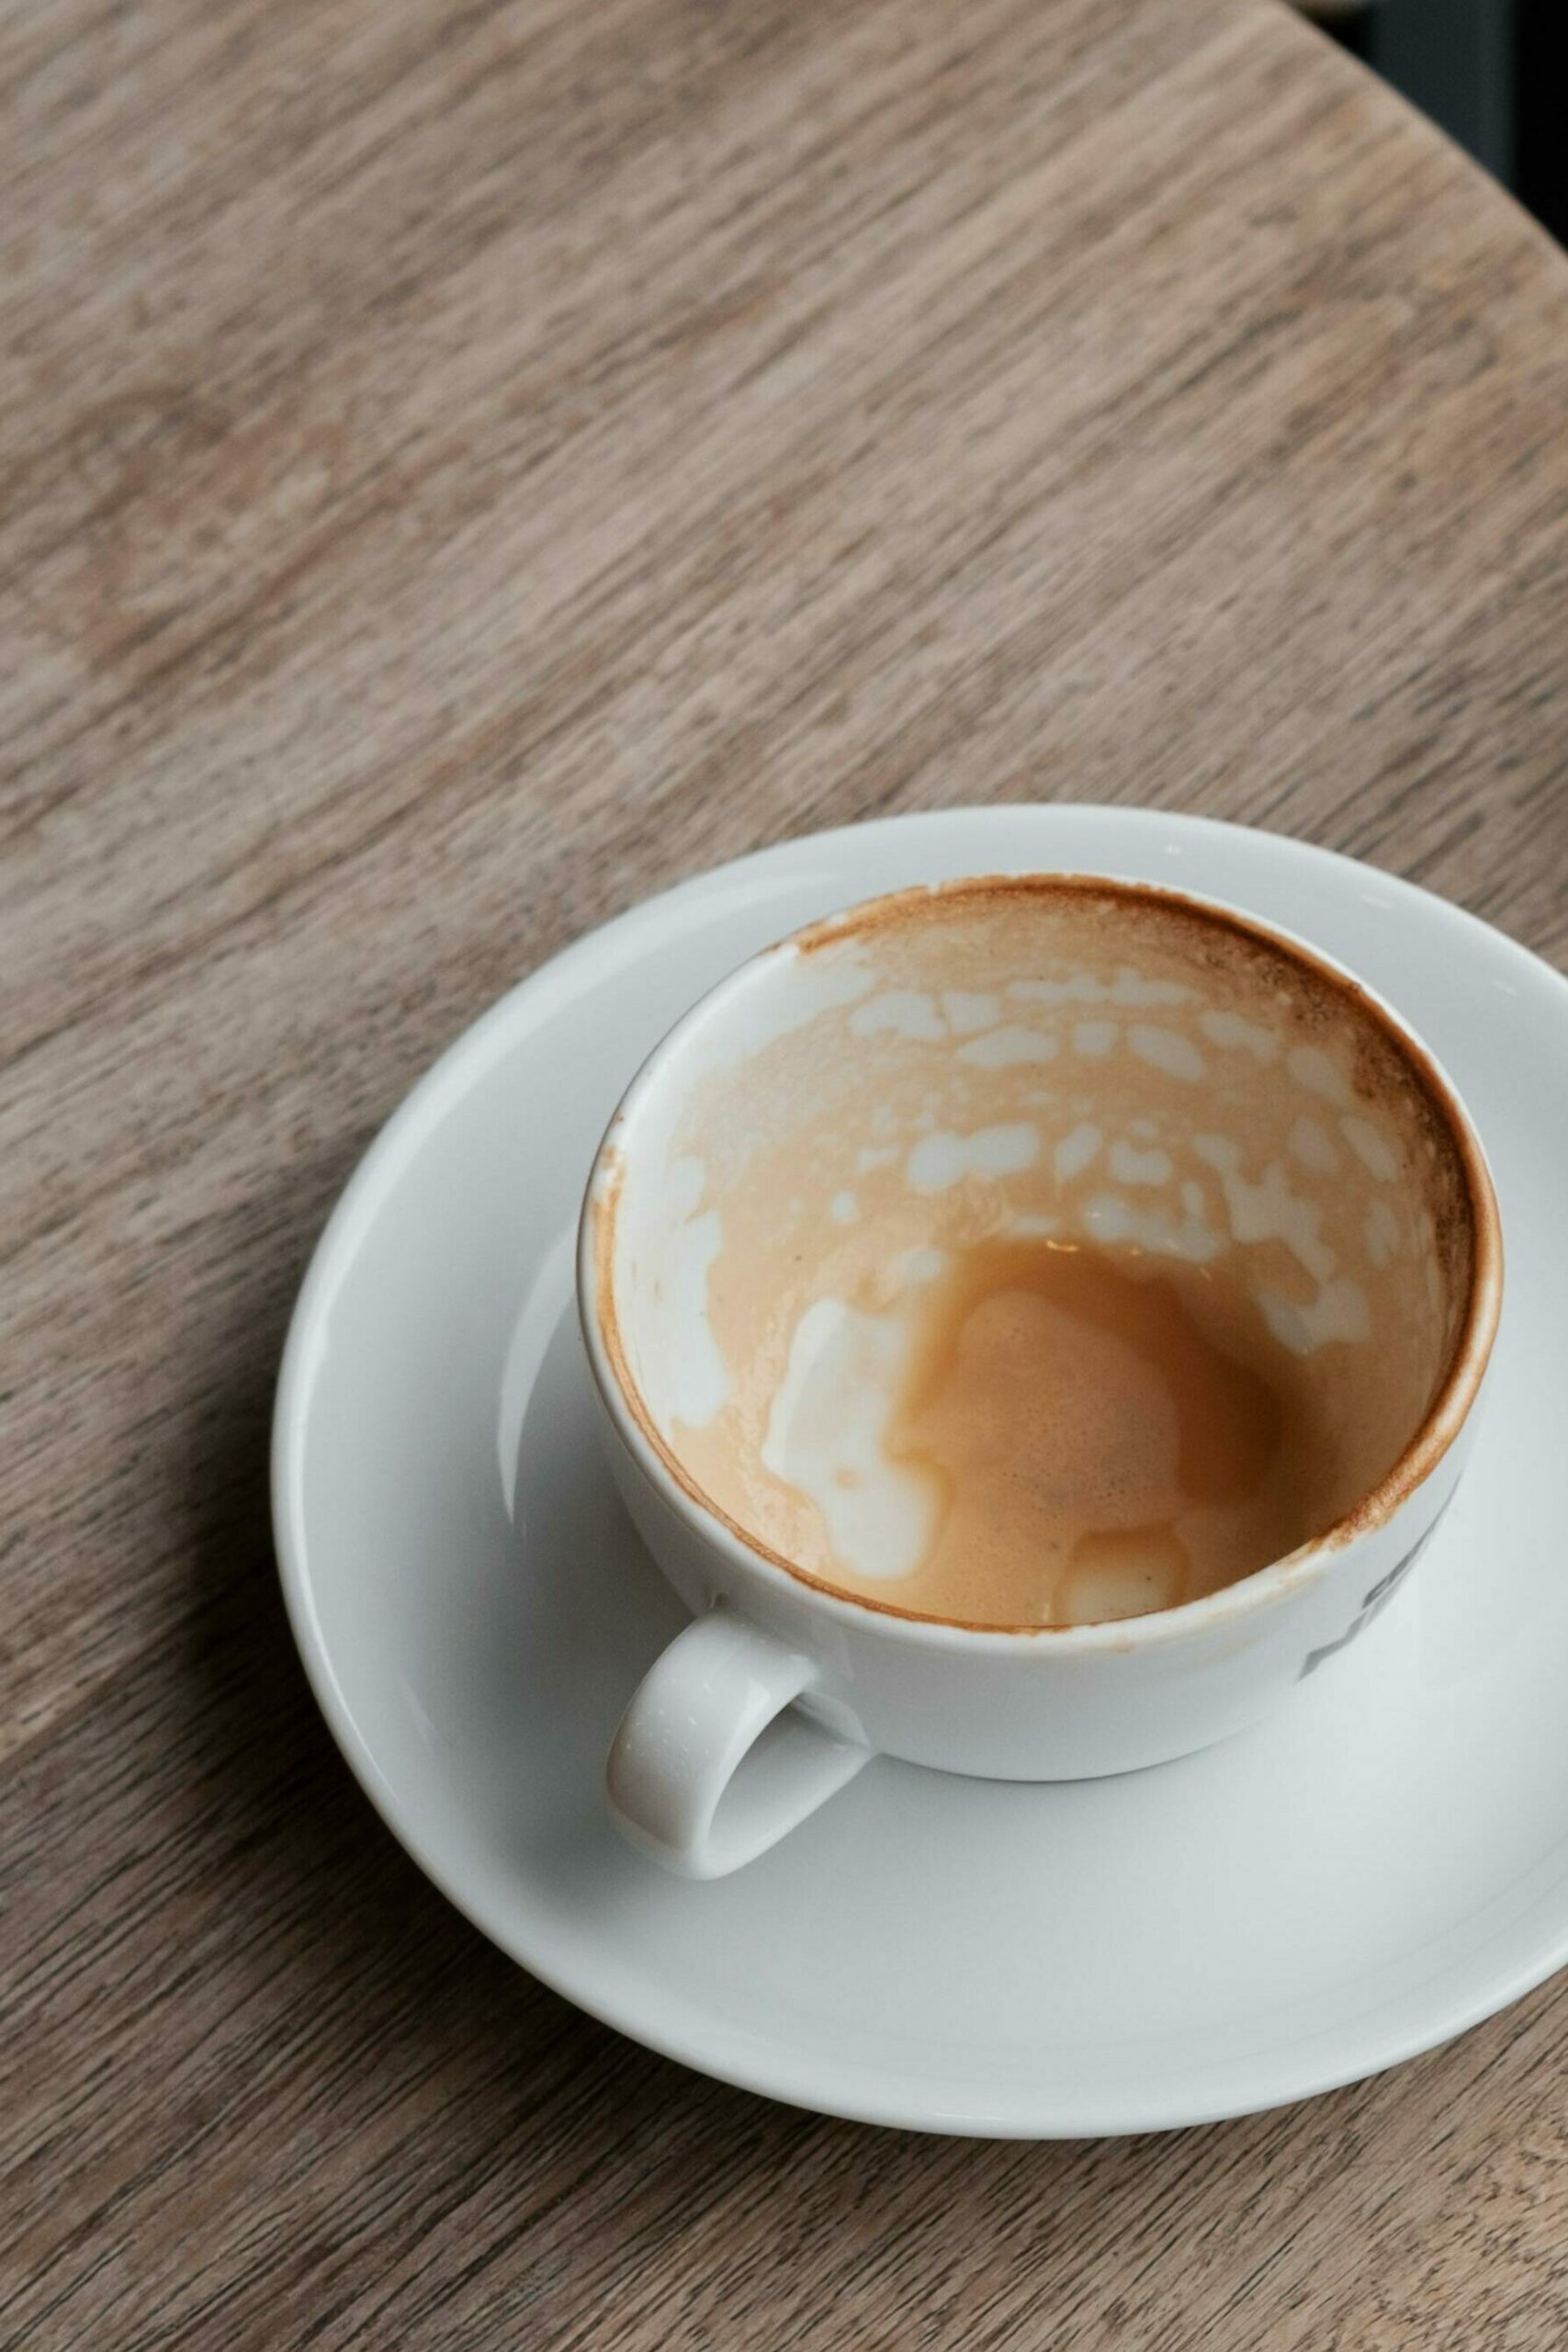
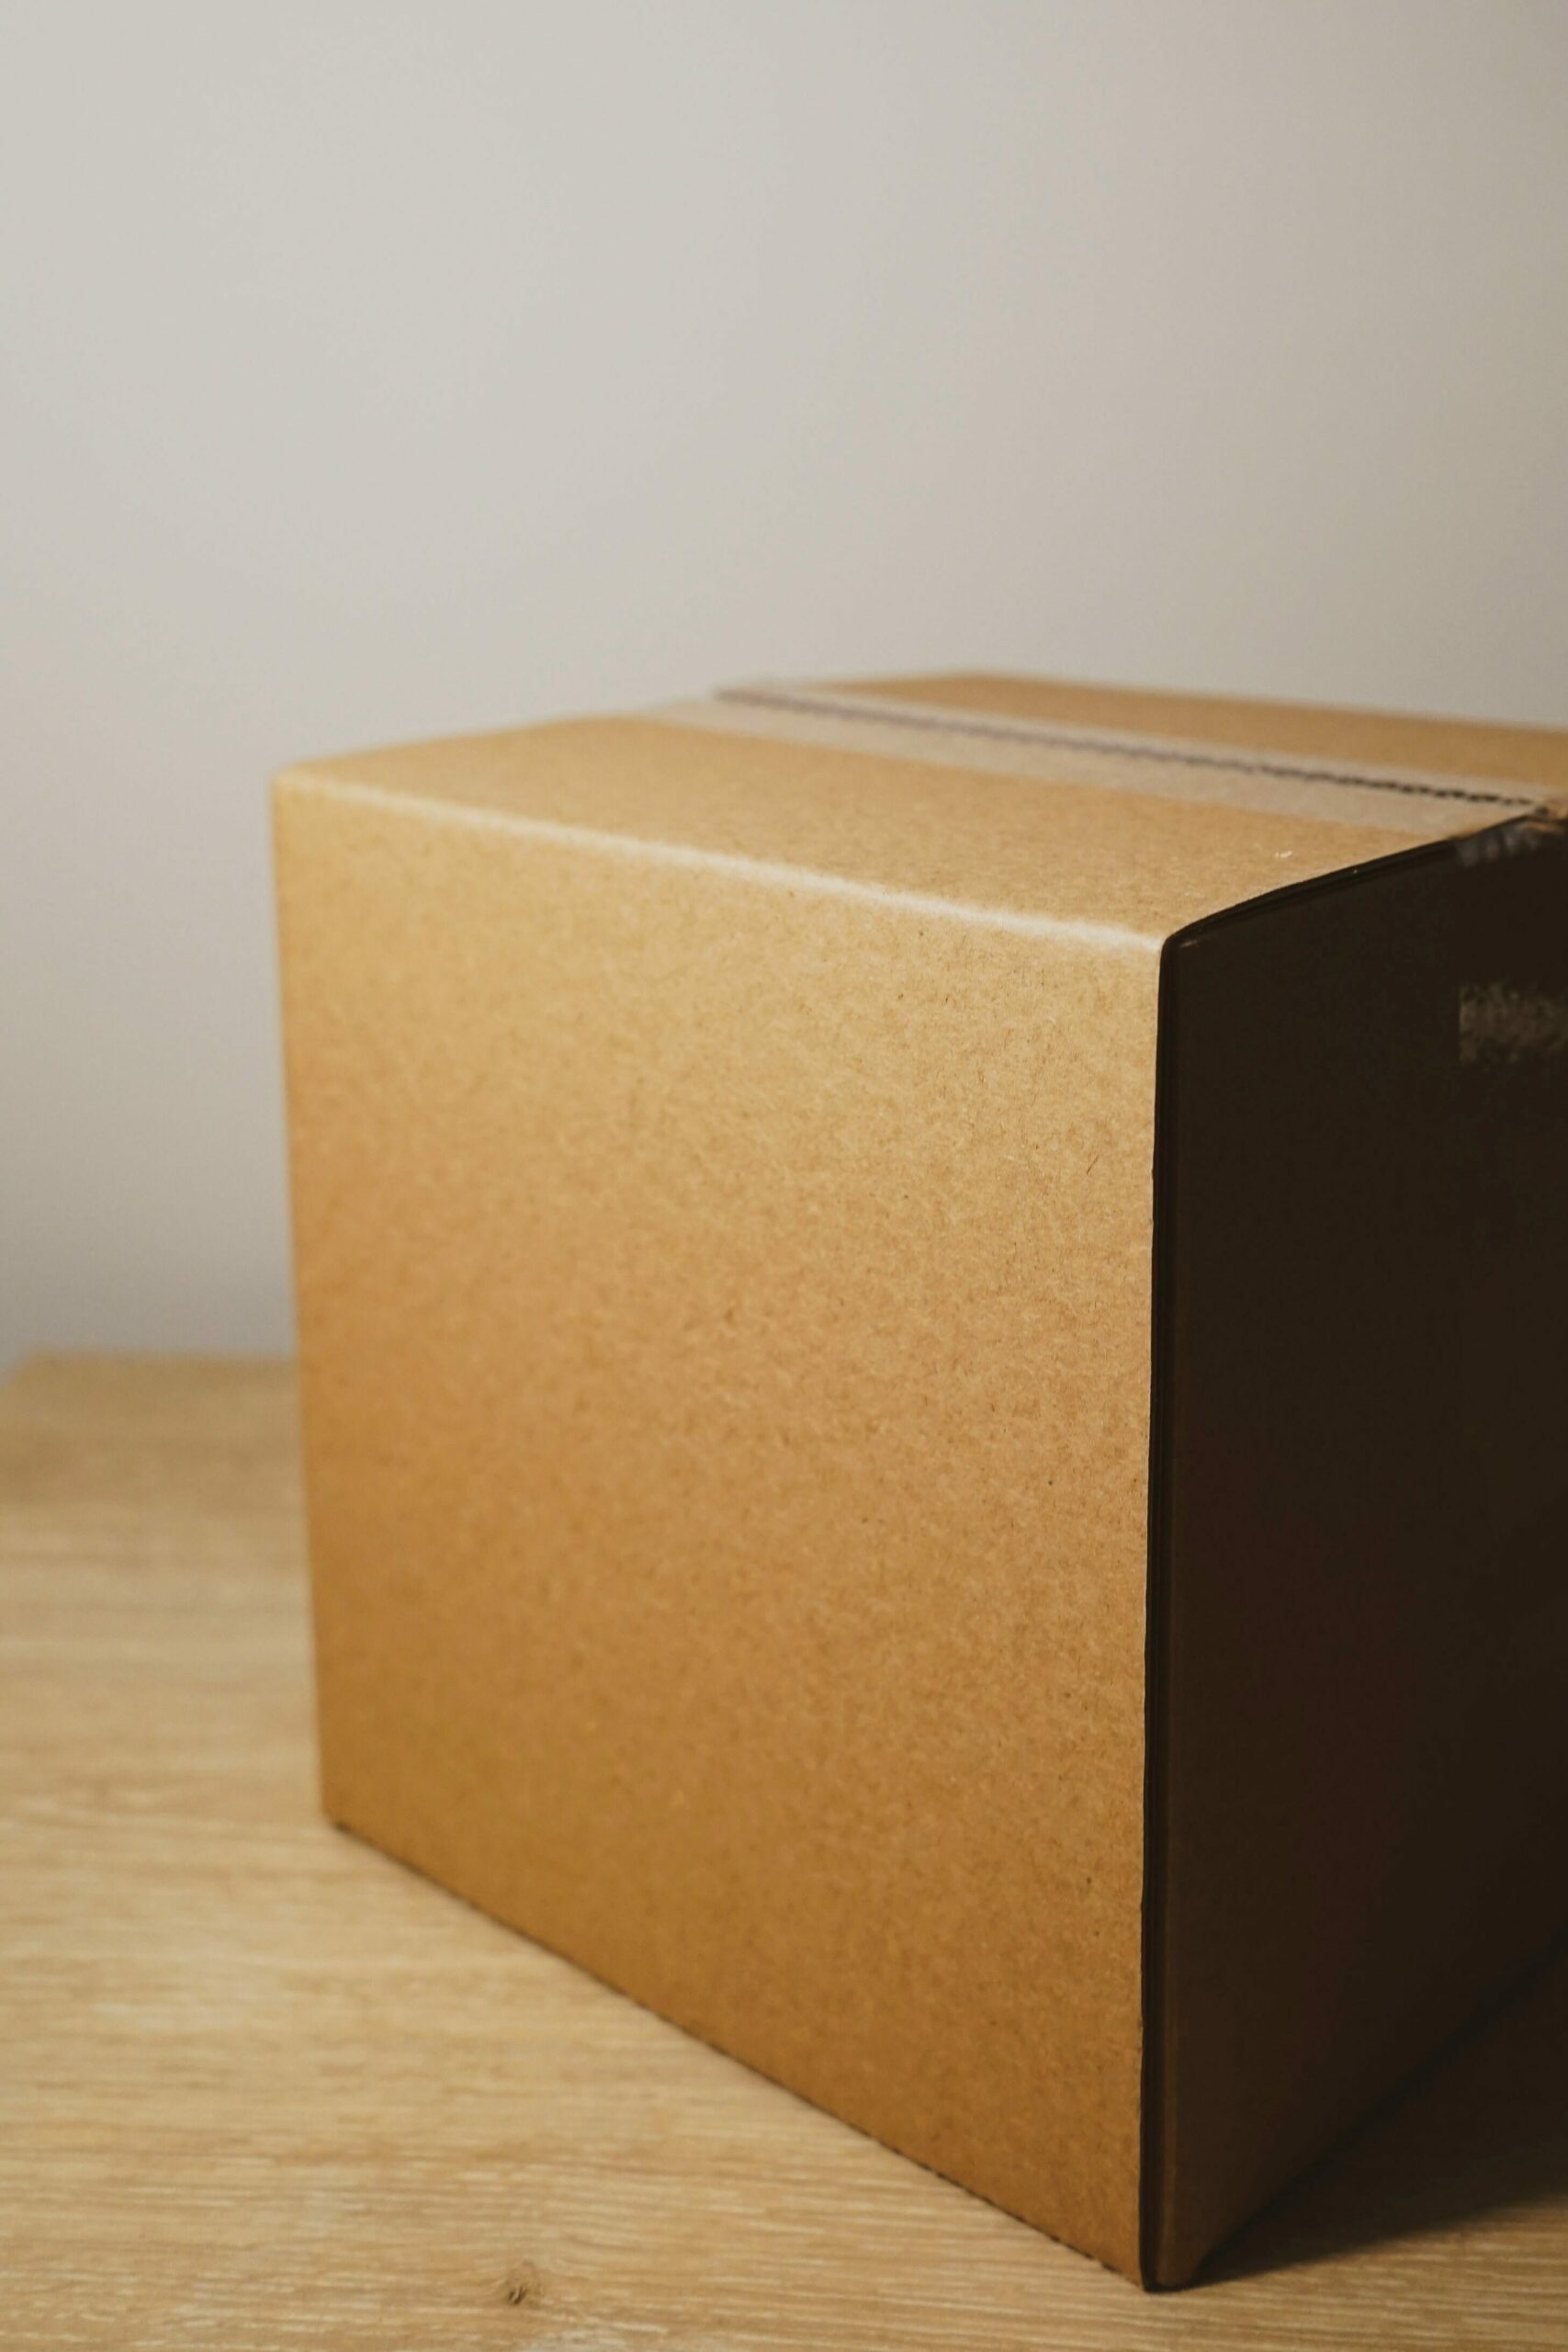
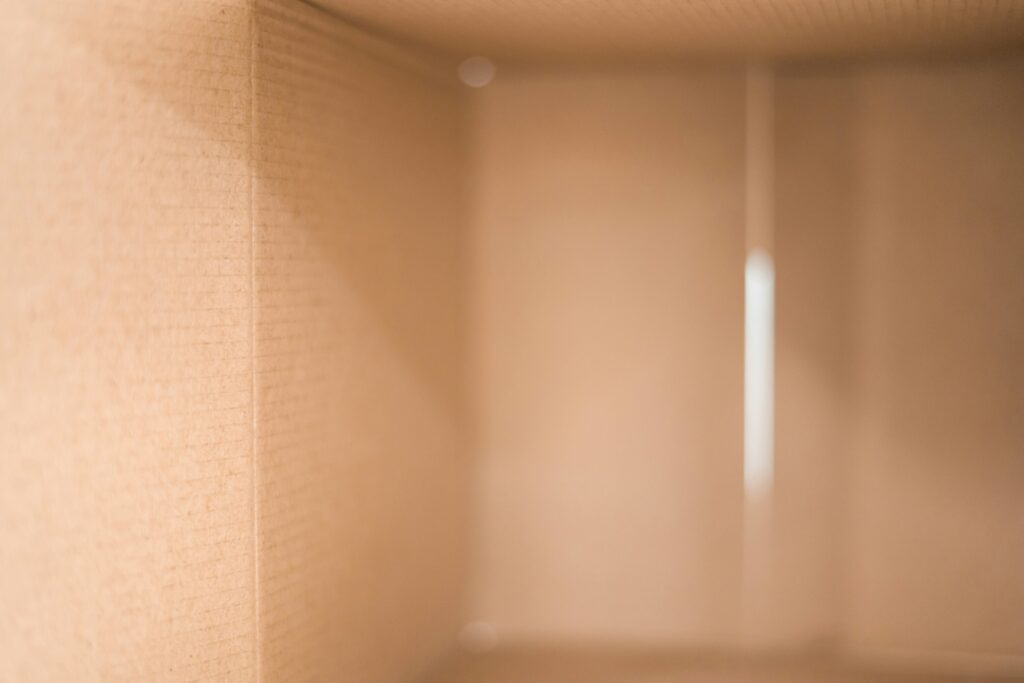
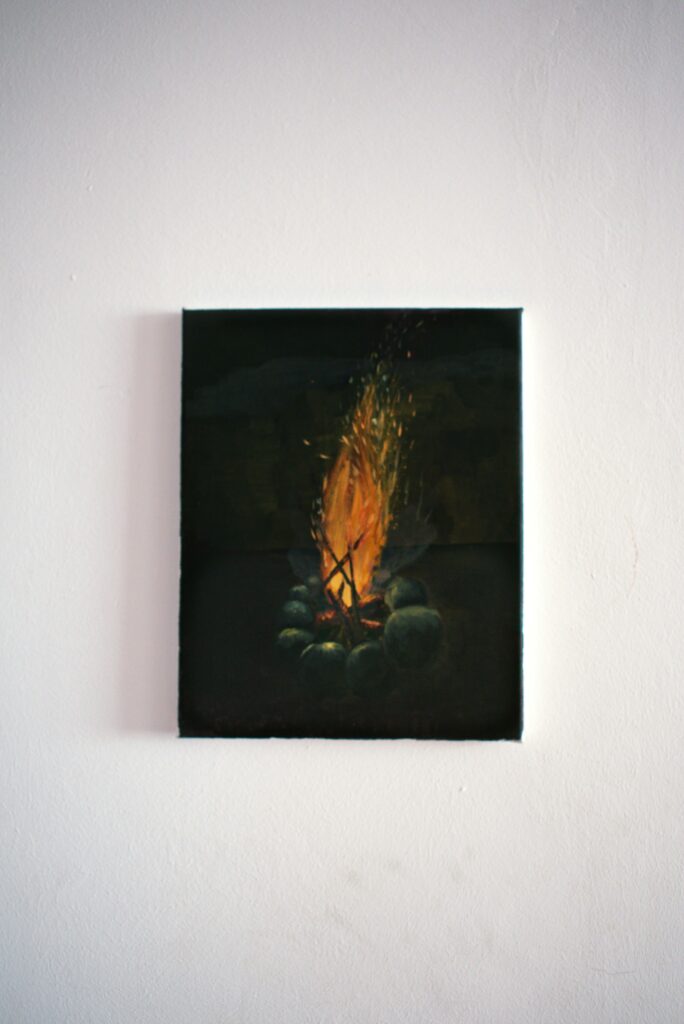
The 2nd concept proposal is a video as an art concept that revolves around the concept of perfectionism. I want to explore the idea that “Done is better than perfect” in a video. I want the format to feel cinematic, diary entry vibes, vlog style. I want to build momentum in the video by starting off with clips that are more still and stagnant and slowly build energy by moving into clips that are energetic and action based. Shots will include things around the house that feel undone like a cluttered desk, packages on the ground, empty coffee mug. I want the shots to transition by using the stop motion technique and have shots cleaning the desk step by step. From there I want to transition to the packages in the room and have different shots of myself picking up the box, opening the box, point-of-view from the inside the box being opened. Inside the box, will be a picture frame, and I will use it to place a piece of art in it and will be hanging it on the wall. I want to end the video with a final shot of the framed art hanging slightly imperfectly. I want to incorporate a voice over conversation talking about perfectionism and how getting things done is more important than striving for perfection and embracing life’s imperfections. The audio will be slow conversation voice over and I want to include a super chill and bubbly instrumental music that flows with the video. I plan to use split screen technique for the hanging picture shots, and stop motion technique for the cleaning desk shots.

Storyboard:

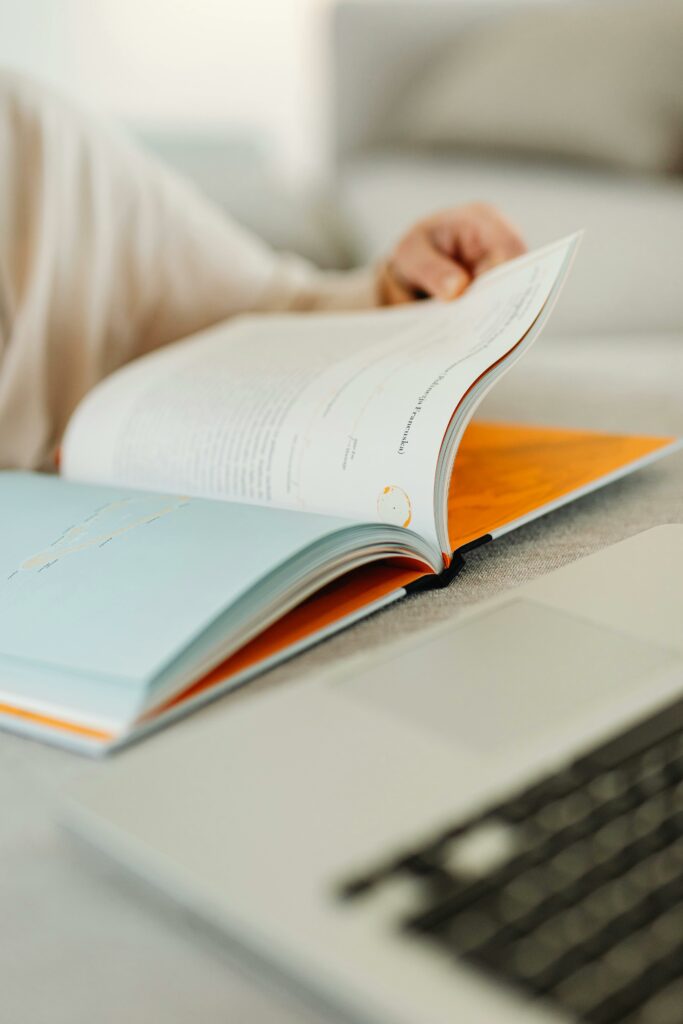
This project concept will be a promotional video, explainer piece talking through my design process as a brand designer. The idea is that this video would live on a website and would serve as promotional content for future clients to watch and learn about the design process of working with a small business owner. The intention is to educate people on the process and break it down in a way that viewers feel like they can connect and see behind the scenes of what the design process is like. I want it to feel professional, playful, and educational. I plan to do this by including various action shots of working from home in an aesthetic way. For example: typing on a keyboard, flipping through a design book, writing notes, drinking coffee, and organizing paperwork. I imagine the audio would be lovely instrumental music and paired with conversational audio of myself talking through the process. I want the closing shot to end on myself talking through the process and time it to match up the voice over conversation audio. I plan to use split screen, and stop motion techniques for this concept and am aiming for 1.5-2 minutes in length.

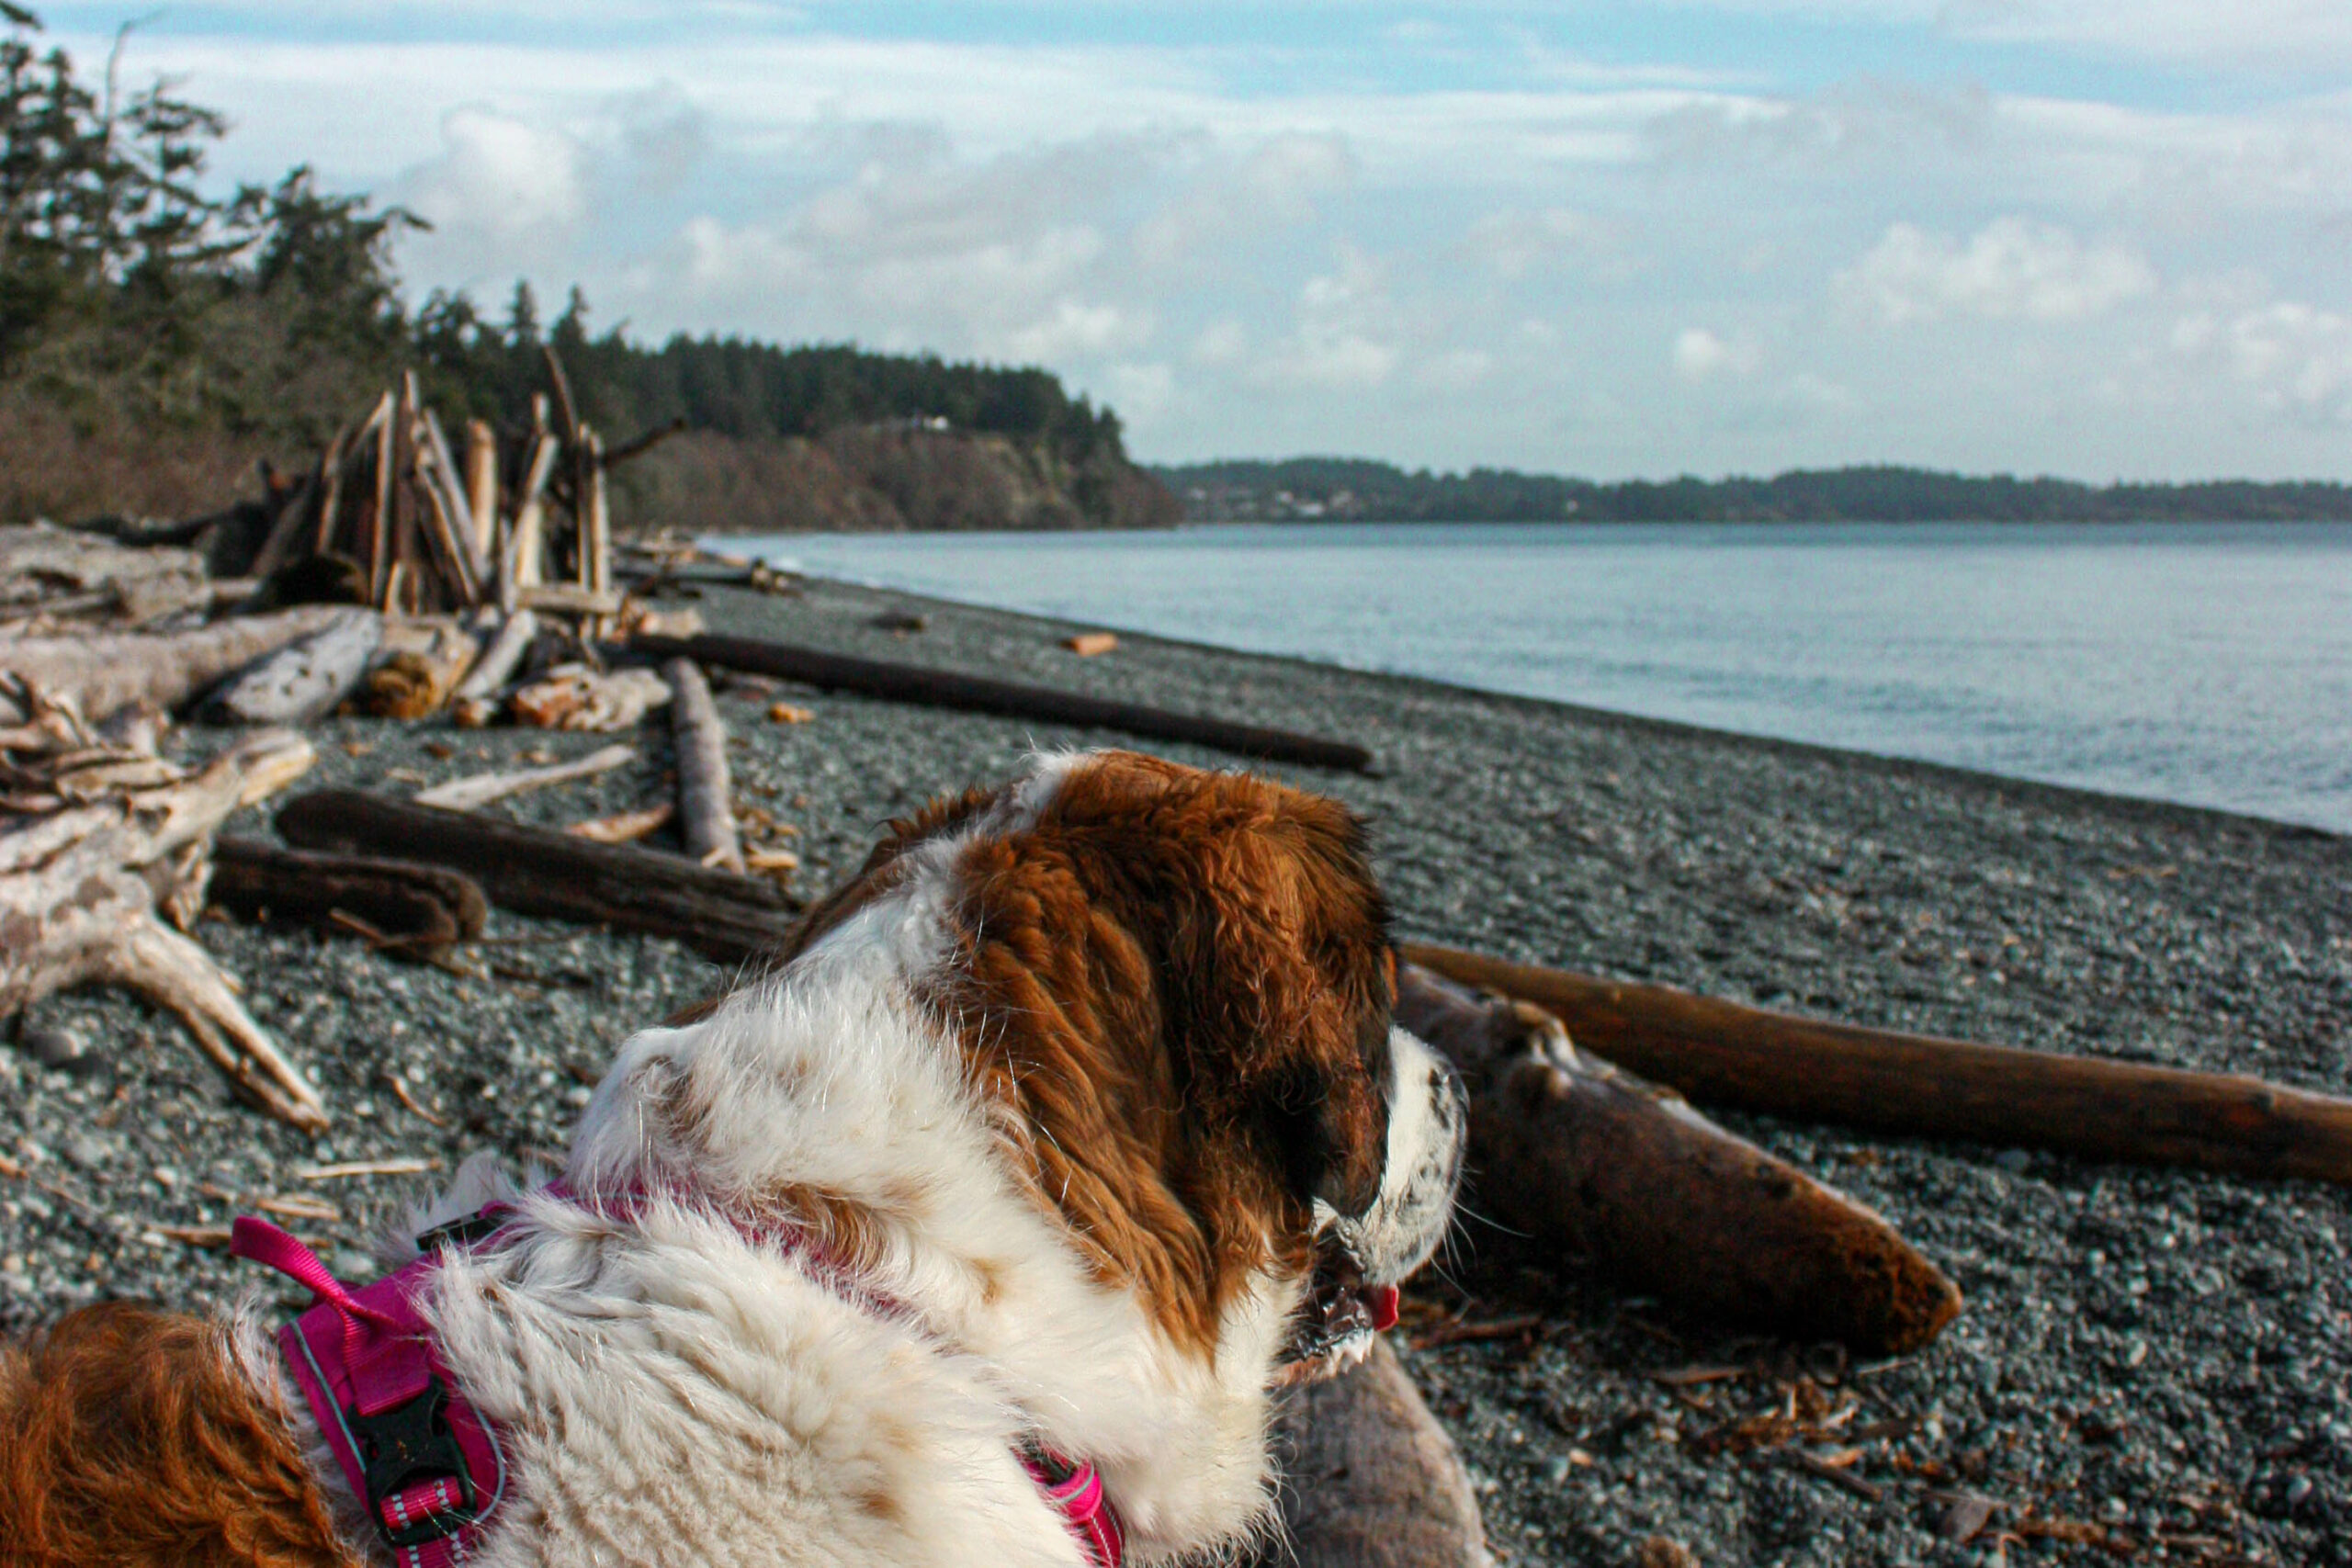
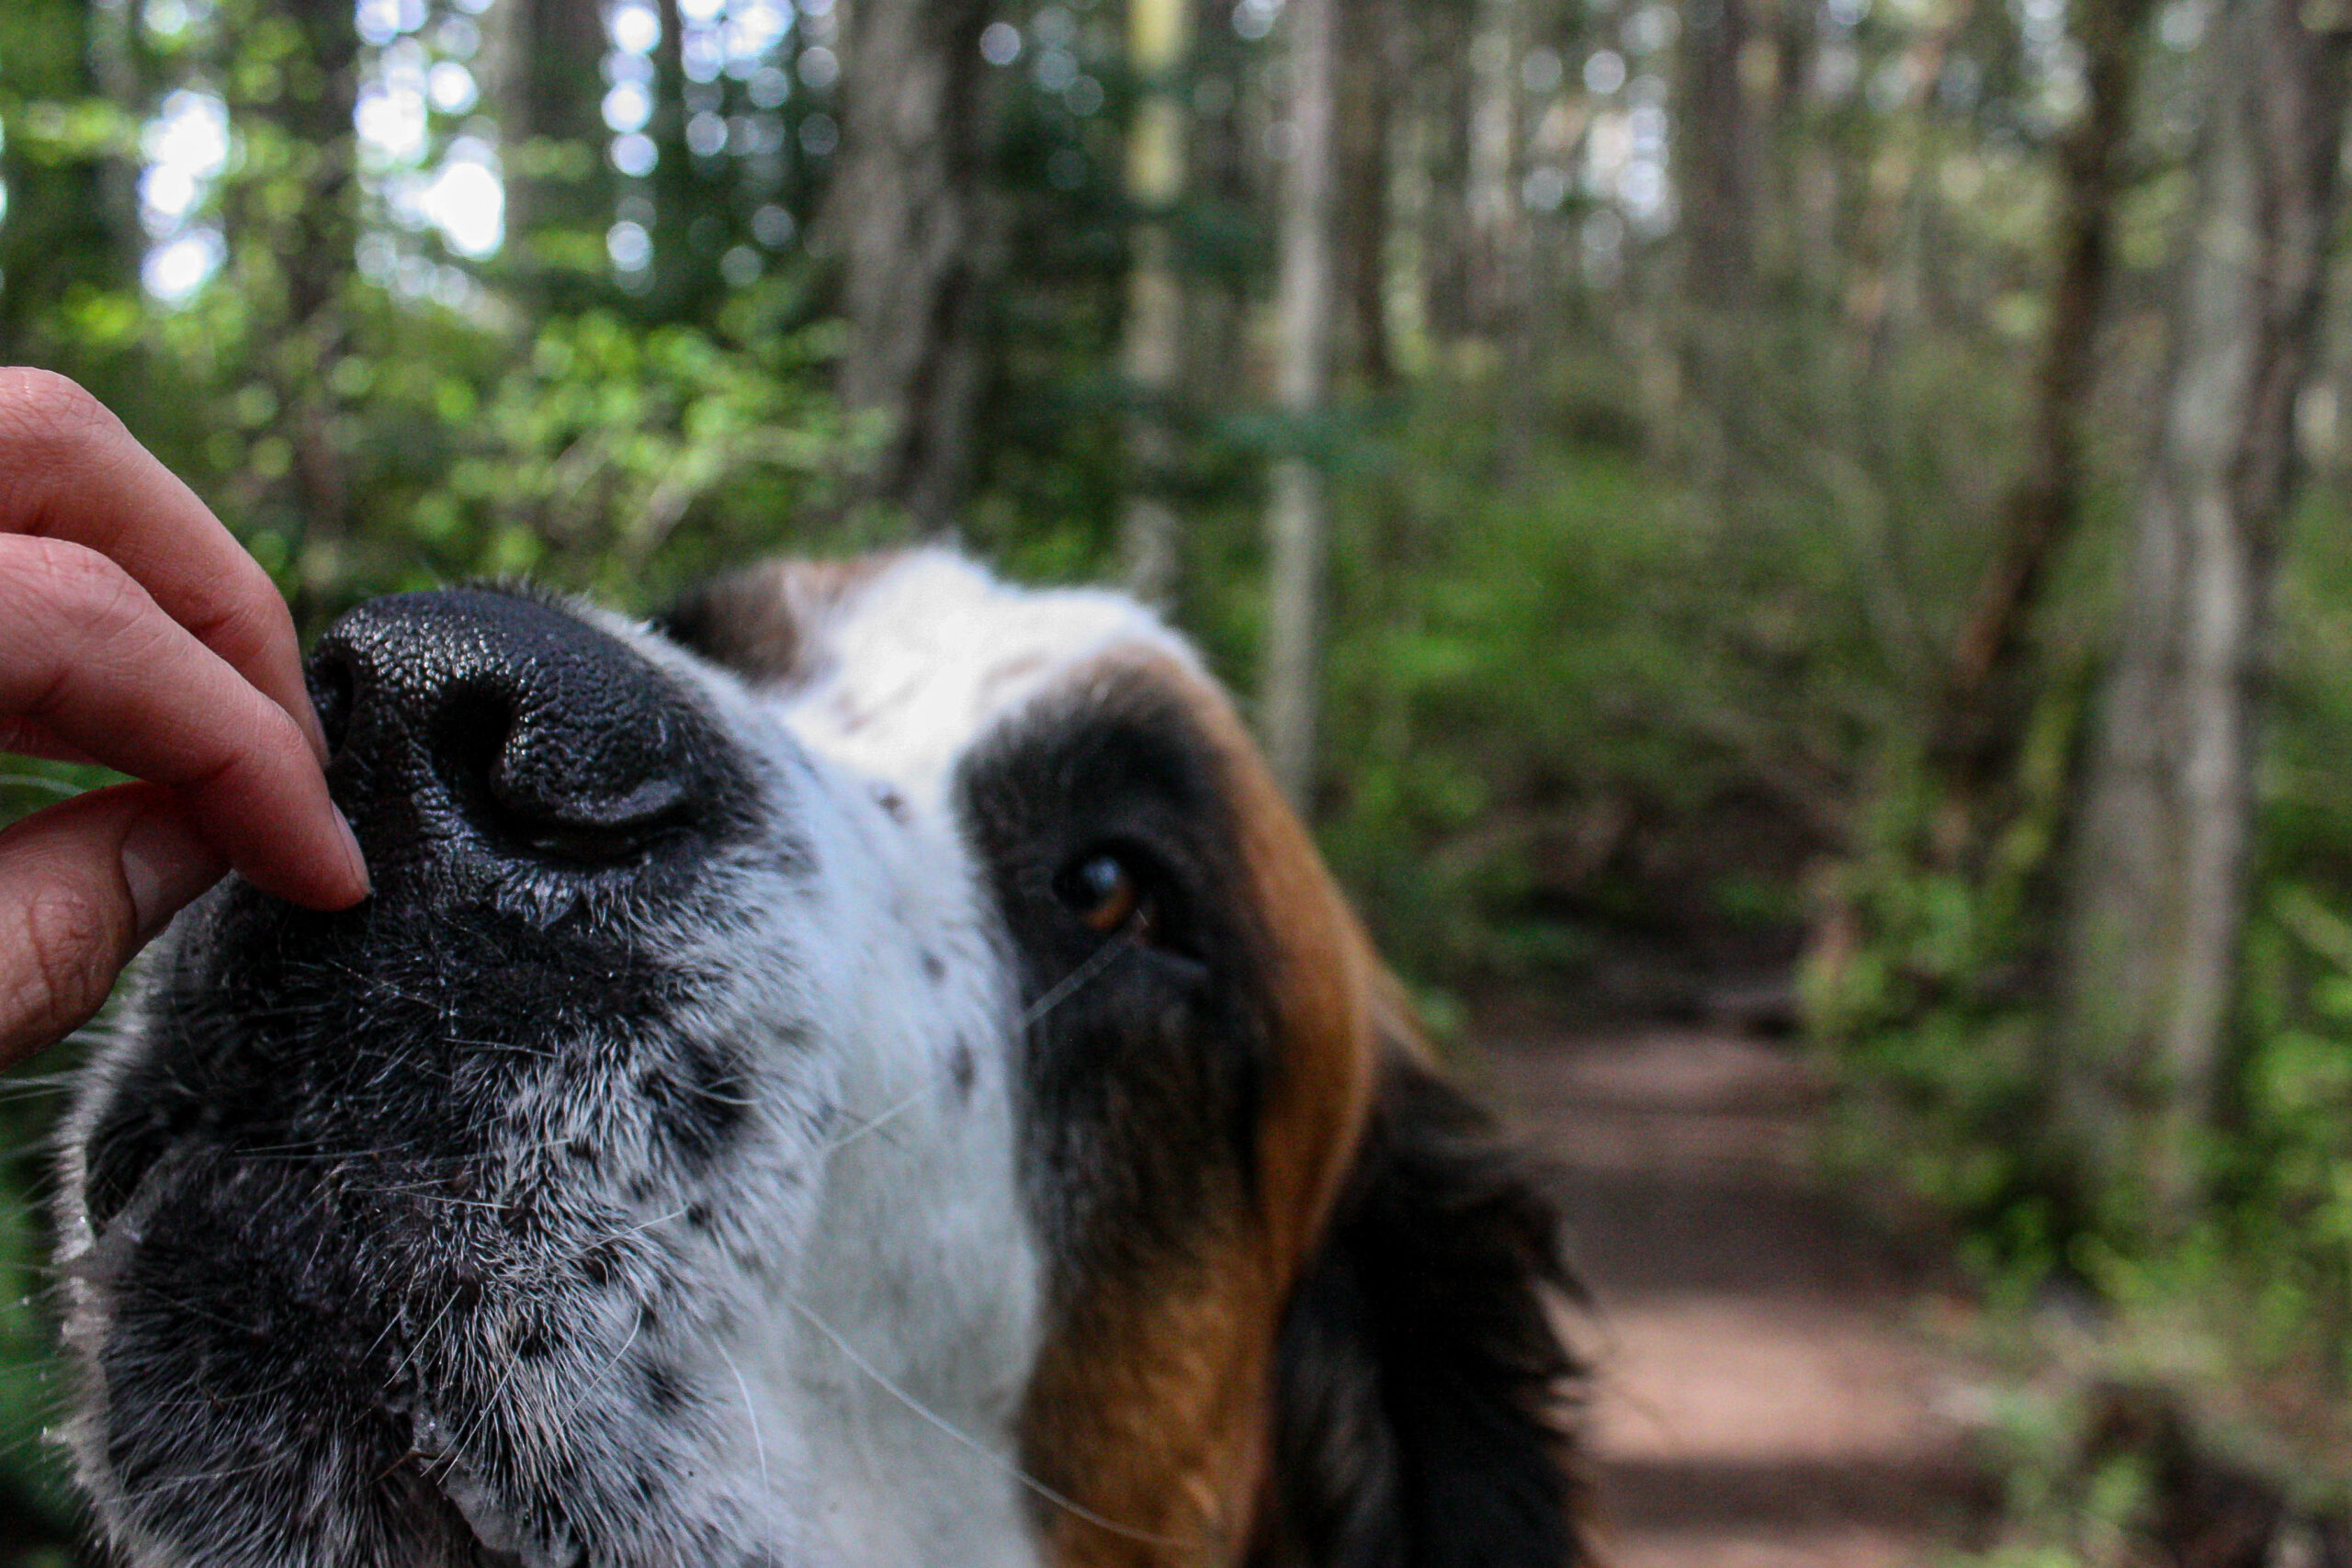
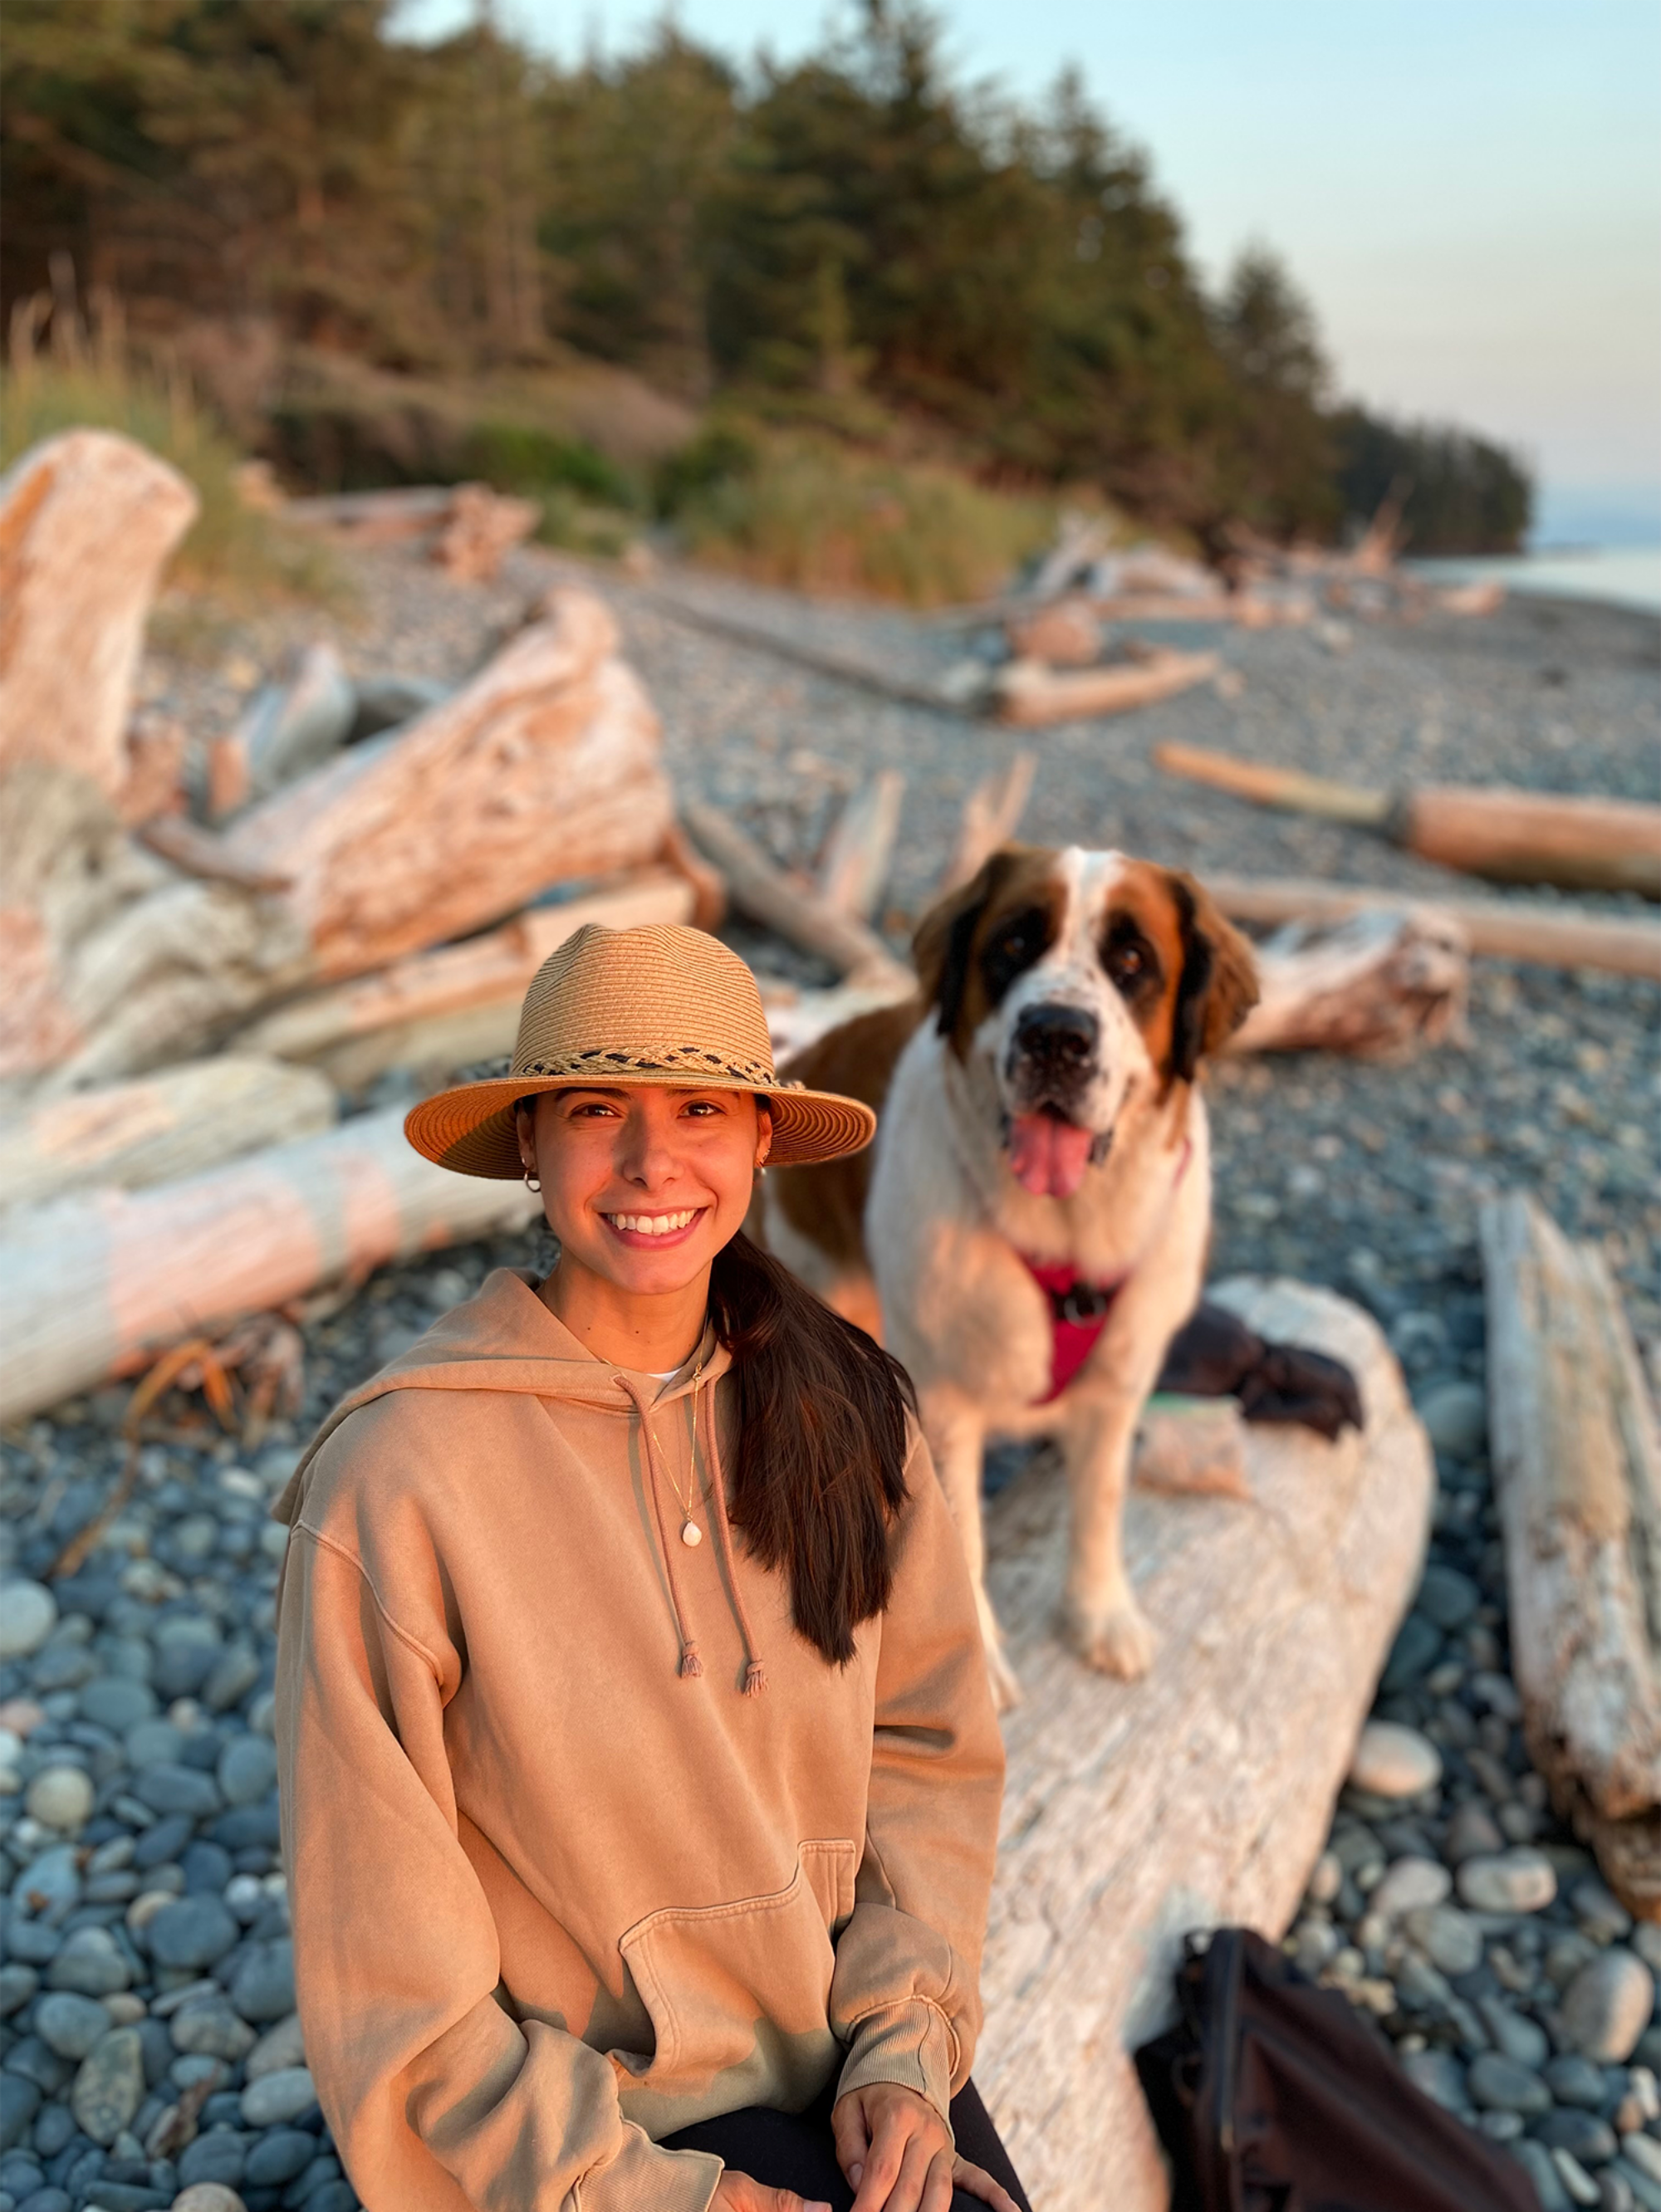
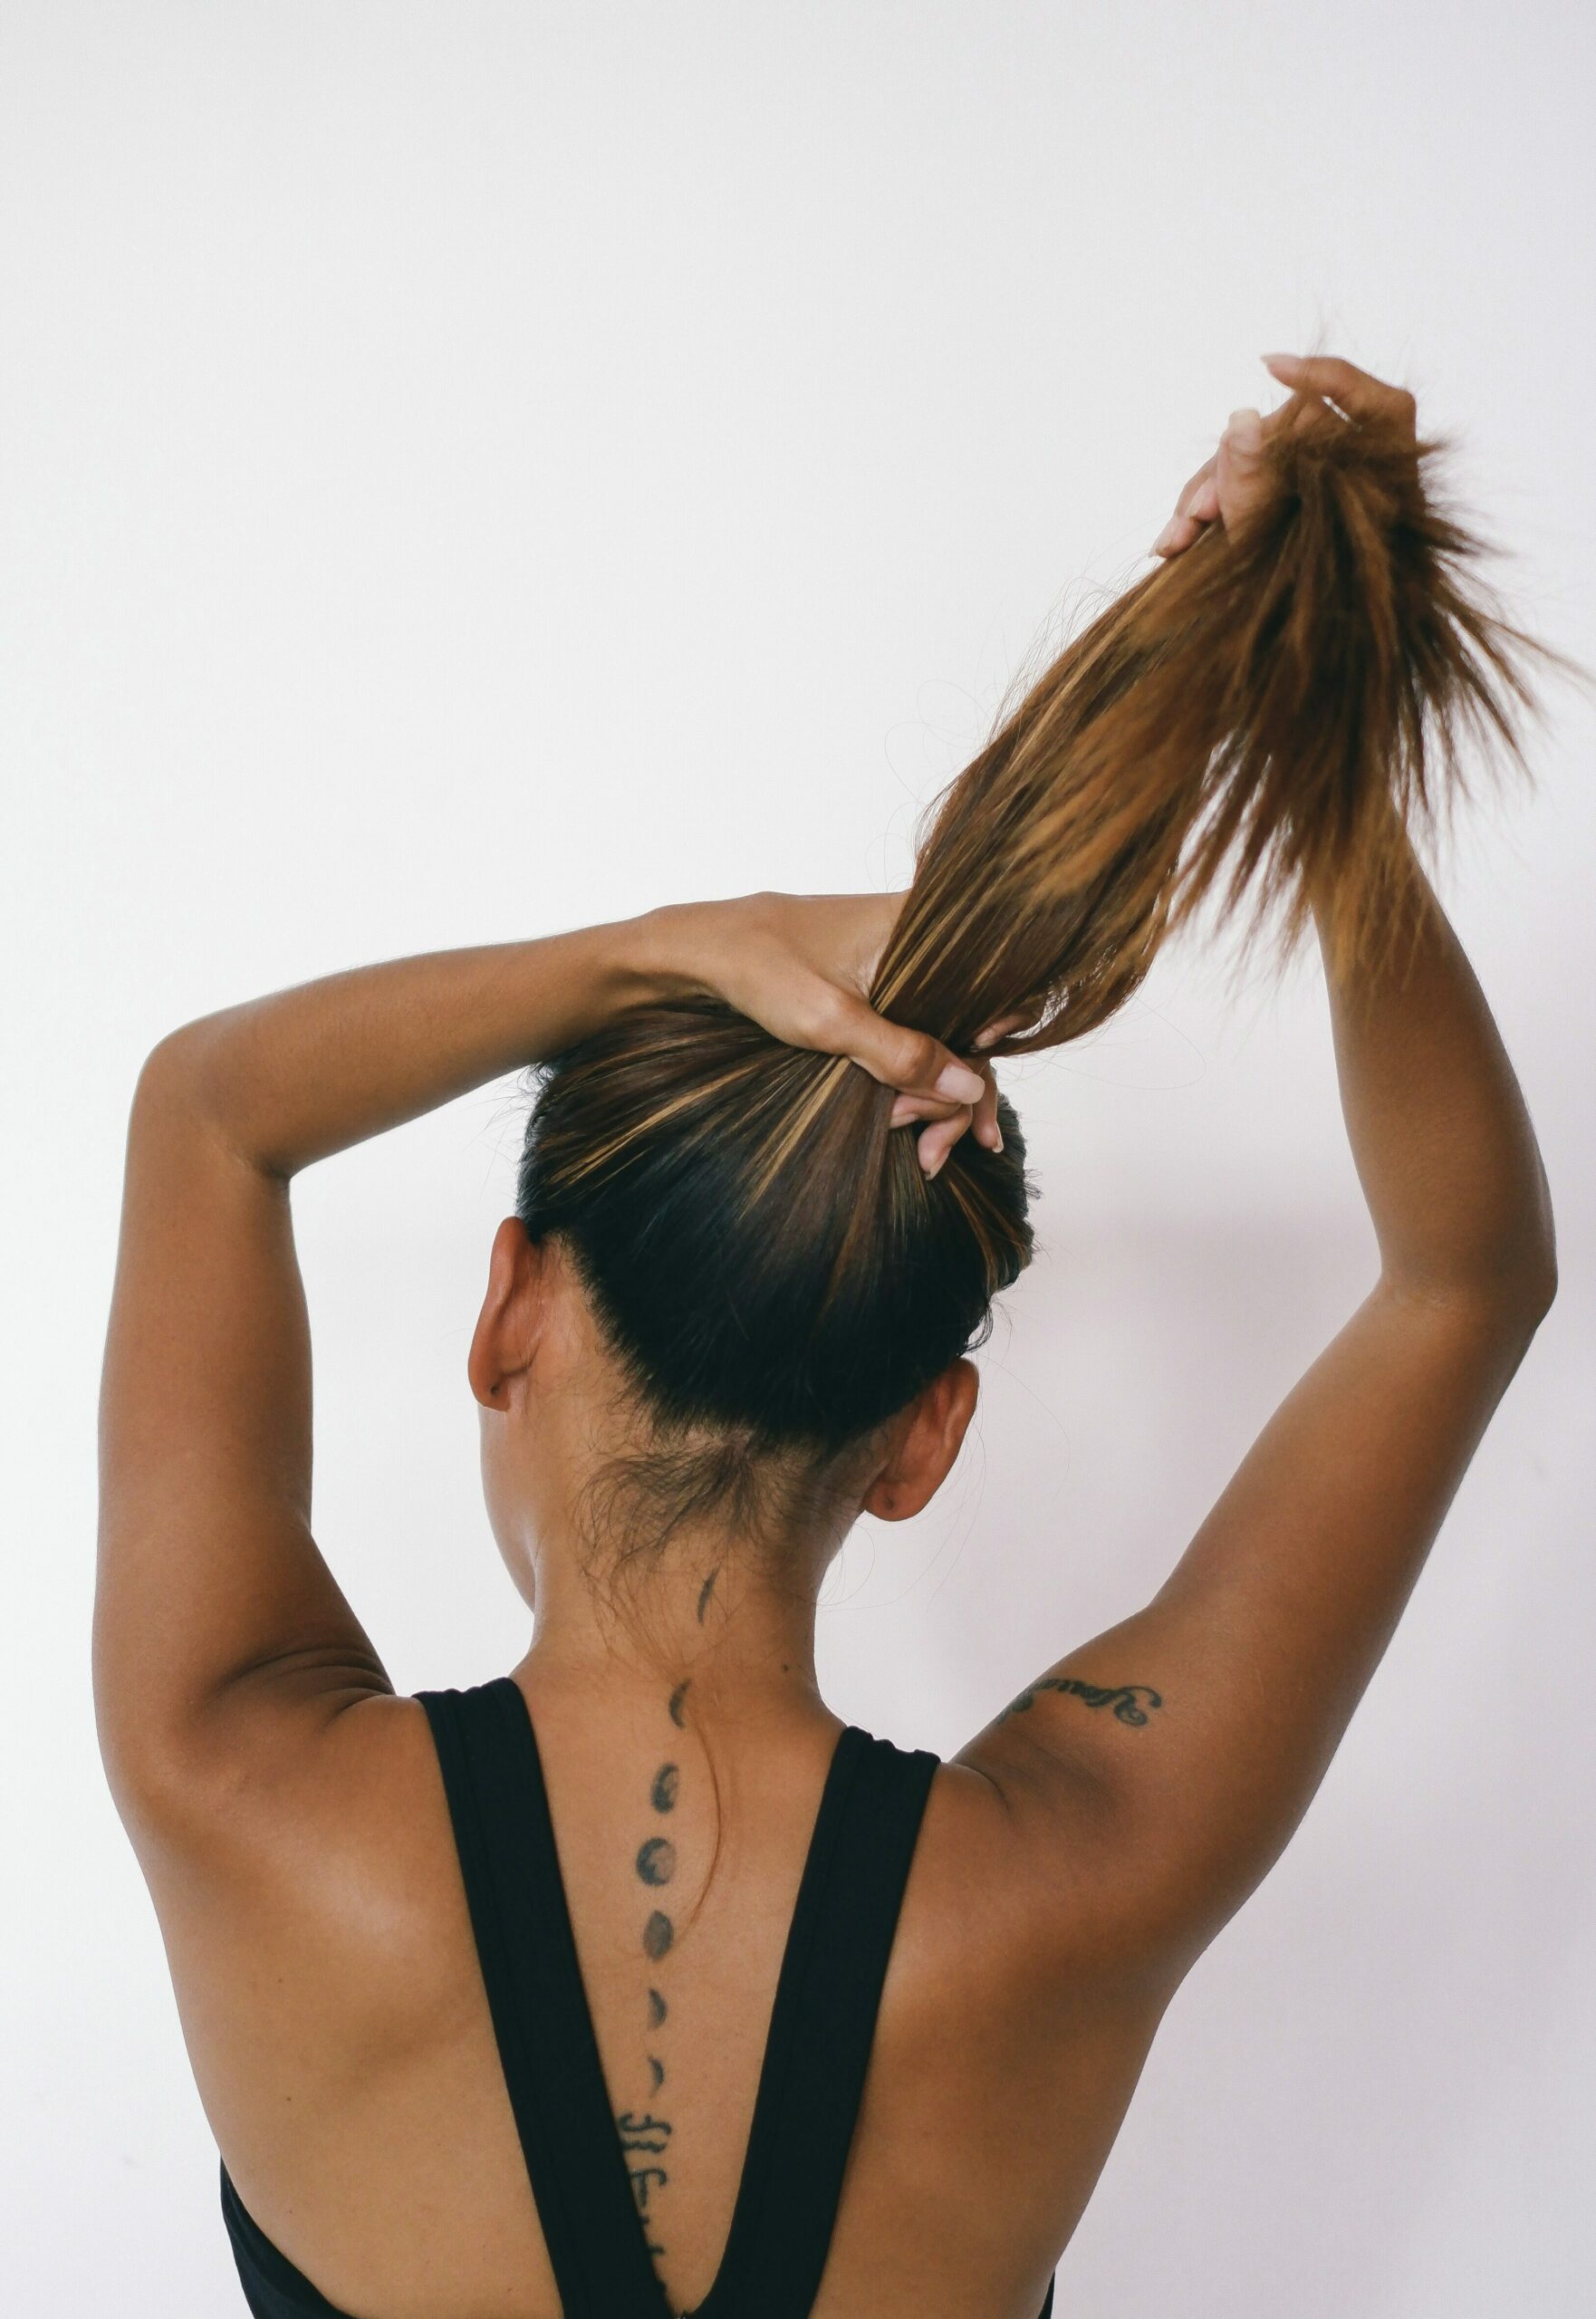
Project concept 2 is a video as art concept focusing on the concept of Perfectionism. The approach will be inspired by a diary or vlog where I talk through my take on perfectionism and discuss the “Done is better than perfect” theory. The why, is because perfectionism is something I can get stuck on and I want to remind myself and others that doing something imperfectly is better than not at all. I want to evoke a mood that is soft, cozy, and a little messy. I want to start off capturing footage of things around the house that are unfinished and messy, like dishes in the sink, an unmade bed or a messy desk. As the video goes on, I want to include shots of myself organizing, cleaning, and walking the dog outside and feeling of joy. I want to include action shots of framing a piece of art and hanging it imperfectly as the closing shot to send a message that being done is better than perfect. I want to pair this with everyday sounds in the beginning of the video and as it goes, I want it to build slowly and pair it with instrumental music that builds to give a feeling of momentum. I also imagine having voice over audio talking about perfectionism in a poetic way. I plan to use split screen, green screen, and/or stop motion techniques and aim for 1.5-2 minutes in length.

Projects

Celina’s Motion Graphics Project

This project was an extension of the technical exercise 08. In that exercise we followed a tutorial and created a motion graphic of dancing text “hellooos” that was edited to be timed with music. We took the motion graphics from that video and saved it as a new file but with a transparent background. From there, it was up to us to make it your own.

For my project I was inspired by this found video footage of this performer onstage. This led me to find other royalty free clips that had the same vibe and feeling to it to create a cohesive theatre performance style video. I updated the colours of the “hellooos” to match my project’s colour palette to create cohesion. From there, I started layering and editing the found clips and audio to match it with the timing. I added in some transition video effects to give it a smooth feel and included a beginning and ending credits. I continued to edit it until I was happy and I think it turned out well. I hope you enjoy!

Celina’s Stop Motion Project

Hello! This project was all about the art of stop motion. We were tasked with using our own creativity to create a mini stop motion short from one of the many different types of stop motion. The requirements were to stage, and edit the footage in a way that brings the movements to life.

For my project, I was determined to create a short with using items from around my house and these flowers were too pretty not to share. My idea was to build a bouquet and let the bouquet come to life with subtle movements. I wanted the movements to be enhanced with quirky sound effects that would give it a cartoonish flare. The real challenge came when editing. I first put together the order of the images and changed durations depending on the frame that I wanted to have impact. Once I was happy, I layered in the sound effects. This was the most time consuming and I really tried to line it up with the footage so it looked and sounded seamless. Of course, there’s always room for improvement but I think it turned out alright. Lastly, I added the beginning and ending credits paired with lovely music that added another dimension to the short. I hope you enjoy!

Celina’s Split Screen Project

This project was all about the split screen technique. We were tasked with creating a short film using a minimum of 4 videos to layer the footage in our own creative way. My inspiration was to imitate a “day in the life” style for a video and film it in ways that the viewer can see different steps of the day. I wanted it to feel really light hearted and fun. I paired it with realistic morning sounds and added a very chill beat as background music which I think matched really well.

Filming the footage was my favorite part and exploring different angles and lighting was fun. Looking back I would have taken footage from further away to give myself more room to work with. The most difficult was the editing process. I really wanted the transitions to be smooth and make sense with the timing and music. I did my best and I think it turned out pretty good, I hope you enjoy.

Celina’s Green Screen Project – Alone In Your Room

For this project we were tasked with creating a short film utilizing the green screen special effect in some capacity and edit the film using Adobe’s Premiere Pro. The idea for my project was to have my laptop be “taken over” by some sort of alien species and them surveilling the human life. I wanted the film to really lean into the creepy vibe and leave you feeling uneasy.

I filmed the footage in my home office using a tripod and found all of the sound effects and video footage on pixabay.com. My biggest challenge was editing the film. Once I had all of the footage and content into editing software you can really see where things aren’t working. I used transitions to help with the smoothness of the footage and ensured the green screen was the proper shape of the laptop screen using corner pins. From there, I added starting and ending credits and edited the colour of the clips. Overall, I’m happy with how it turned out and I hope viewers enjoy it too.

SOUND Project: A Sense of Place

SOUND Project FINAL:

Mountain Silhouette

Reflection:

For my sound project, I ended up going with my second proposal which was to interview my mother and discuss her time as a burlesque dancer. This is how I created a podcast called Coffee Convos. I wanted to ask my mom questions about the experience she had, what she learned, and if that had any effect on her life offstage. I was about 16 when my mom started dancing burlesque and I never saw her performances. This was something I was always intrigued and curious about especially as I got older. Now, as an adult, having the chance to pick my mom’s brain and learn about her process when it came to costumes or choreography, I feel even more inspired.

The process I went with to create the Coffee Convos podcast was to start with the interview. I wrote a list of questions which I sent to mom ahead of time. We met for coffee and sat outside to enjoy the conversation. I ended up with about 20 minutes of interview content which really needed to be edited down. My next step was to gather music and sound clips – royalty free of course. I wanted the vibes to be fun, upbeat, casual and girly. I recorded my intro and followed the same steps as in the Radio Call exercise, to cut up and rearrange clips until I was happy.

Upon my meeting with Sara, I got some really valuable feedback to further the editing. I switched up the intro to sound more professional with a proper podcast name and moved some sound clips around to create a much more well rounded episode. I’m really happy with how it turned out and I learned a lot along the way. My podcast works well with the content and for the topic, however I would probably do a couple things differently for the next one. This is all a learning process though and I’m pretty happy with the results. Enjoy!

Celina’s Sound Project FINAL
Adobe Audition Screenshot

SOUND Project DRAFT:

Celina’s Sound Project DRAFT

First Proposal:

A Day in the Life – Soundscape

A Day in the Life – Soundscape Proposal

The concept for this soundscape is capture the everyday nuances and noises that happen throughout the day in my life.  Life is busy these days and there’s always a lot going on.  I want to slow down and capture the steps throughout the day to portray what that sounds like.  From the foggy slow morning wake up, to taking the pup for a walk in a forest, to making a delicious meal before cleaning up and getting back into bed for the night.  I want to capture the beauty of it all and create a story of the day with the sounds.  I imagine parts of the sounds to be experienced like ASMR (autonomous sensory meridian response), and have the sounds almost affect your senses. 

The type of sound sources will be recorded by myself of my voice, like whispers, or laughter and create foley sounds to highlight points throughout the day, like pouring coffee, making the bed, typing, cooking, washing dishes, etc. 

The length will be 2.5 – 3 minutes in length.

Second Proposal:

Burlesque – Podcast

Podcast about Burlesque

The concept for this podcast is to interview my mom and talk to her about her experiences as a burlesque dancer and how that has affected the other aspects of her life.  I want to highlight how she started, what she learned, and how that applies into life now.  My mother started dancing about 10 years ago and performed for about 6 years.  Once she started, she was introduced to the little community of burlesque, performing, and a group of like minded and empowered people.  The freedom of burlesque dancing empowered her life on stage as well as off and I want to get the inside scoop from someone who knows firsthand.  I would be asking her specific questions to be told in a story like manner.  I would want this podcast to heard as a one-on-one interview or a one-way interview.

The type of sounds to be heard will primarily be voice dialogue and found sounds, of jazz music, clapping, and performance noises.  I want it to feel like you’re hearing a show onstage and experience the dialogue from that point of view.

The length will be 5 – 6 minutes in length.

FIN 247 – UNIT 3 – Thematic Project

First Sign of Spring

Draft Outline

For this project, I felt the theme was very open with no strict guidelines as to how to interpret it. Throughout this course, I have captured most of my images on walks and out it nature. Some of my favorite images were taken outside and I want to continue on this adventure of getting more comfortable with nature photography.

I chose to go with Emerging Forms of Togetherness. My interpretation for this project is going to be stages of early spring. As of late, the winter chill is starting to wear off and floral buds are beginning to bloom. People are getting ready to really kickoff the year with new spring energy, myself included, and I want to reflect that with images of these changes in our environment. These images will hopefully, portray new life in nature and capture natures delight, that signifies change in humans shown through mother nature. I want to keep my strategy relaxed and allow my surroundings to dictate what the results will be.

I hope to also support this theme with at least 6 sequential image that are edited in an unifying theme. I’m inspired to get outside and capture images within my natural surroundings, with my dog, of course.

First Catalog

To begin this thematic project, I brought my camera on my dog walks through out the week. My goal was to capture the spring like details that I found along the way. The places I went to, I frequent weekly, and along the way I could already see the changes beginning to bloom around me. I wanted to focus on the little details that I found and capture closeup images of my findings. I ended up taking many pictures with various focal points but only a few are useable.

I am still unsure of what direction and mood I will be editing my images and I want the images to speak for themselves. I also brought my pup Lenny, and I tried to capture some images with her in them. I want to include images of my pup throughout the series, because she’s the one that is with me during this process and feel that it aligns with my theme of Forms of Togetherness. This theme is enjoyable because there are so many ways to interpret the concept and in front of the camera and behind it. I’m capturing images with time spent by myself, with my dog and the images captured reflects the concept of forms of togetherness in nature and all the elements it requires for the spring change.

I will continue to photograph images on my dog walks, and document the changes that I see around me. As we get further into the warmer months, I’m excited to see the more dramatic changes in nature.

Here are some of my first edits:

Work In Progress

For this portion of the project, I brought my camera with me on my daily walks with the pup. I focused on capturing more spring like florals and anything that caught my eye in nature. I also had to wrap my head around cropping and editing my current images with the proper settings of 16×9. I found with those settings for the images, it gave it a completely different look and I fell out of love with a lot of the images I had already taken. But it’s a good challenge to work within the project parameters and not within my personal preference. I also took the instructor’s feedback to capture more pictures of my dog. I really feel like my photo series was needing more of a variety of subjects, and I don’t know why I wasn’t taking more of her. I am going to continue to take more pictures of her going forward and still keep with my Spring theme.

I also kept my editing practice very simple and similar to my first photo edits. I think the subjects within the image stand out by themselves, and just needed a bit of help in editing. I focused on brightening the hues of various colours within the images and adding light filters to the images for consistency. I have also been taking advantage of the “detail” tab in the develop section of Lightroom. Overall I am pleased with the direction and am excited to continue to develop this series.

Second Edits:

Work In Progress 2

I continued to capture more images that were the proper size and format of 16×9. I also edited previous photos from the first week of images to the proper size. I really focused on images of my dog and its starting to feel more like a collection of images and instead of random pictures of plants. I think I’ll end up having to edit out images from the whole series to make it feel cohesive. Since all of my images were taken at different times of the day and different locations, it was a little challenging in the editing process to create a consisted mood.

The Series Draft

Here is the first draft of my series as a PowerPoint PDF. It was really nice to see all the images together, and lined up in a meaningful way. I ended up with more pictures than I originally had thought but I am pleased with the outcome. I might still consider slight image edits, just to increase consistency throughout the series. I am also still going to play around the order of the images and assess whether each image belongs within the series. Overall I am happy with the direction and progress made so far.

Celina_Baulcomb_fin247_photoseries_WP

The Voice-Over PowerPoint Series

Youtube Link to PowerPoint Video Narration: https://youtu.be/orUDz7BrpI4

Celina_Baulcomb_fin247_presentation_WP

Final Revision

Throughout this photo series I have learned so much. I found through this process of creating a series that even after coming up with a theme or idea, you still need to allow for change to pivot when it’s necessary. I learned so much about photo editing and, the process of editing, filing, and organizing images with LRC and photoshop and setting up a good system for yourself to keep organized. I can also understand the power of editing and how the depending on the mood you’re going for, you can do so much with the edits by enhancing or removing or tweaking images. During this series, I was having a lot of fun by taking images of florals and different plants, but what made these photos a series was the addition of my dog. She added so much interest, movement and texture within the images and she is ultimately what the series is about.

Looking back on the beginning stages of the series, I had placed emphasis on trying to create “pretty” images, but I found my favorite images were the ones that were imperfect which added another layer. The direction of my series also evolved once I had feedback to go off of. After receiving feedback from our instructor and my peers, the direction of my series became much more clear and I feel it that’s when it became a real series. From there I was able to focus more on what was missing and try and capture images that would fit into the rest of the theme. I also found when putting the series together, that you can create a story with the order of which images are placed. From there, I knew I wanted to create some sort of story combined with poetic style narration for the series that discussed the subjects while also creating a story line. I found the lack of tight restrictions for the narration allowed me to add another layer of mood to the voice narration. Next time, I would have liked to also add music to the narration which I think would have tied the video together nicely. But this is all a learning process and I am pleased with the outcome.

Creating this series was a great experiment and now I have images that I will always have and cherish. I hope you enjoy them too. Thank you!

Celina_Baulcomb_fin247_Unit3-1

FIN 247 – UNIT 2 – Assignment 1 – Part 2

For the still life assignment edits, I just wanted to enhance the details in the jewelry and allow that to pop against the dark navy background. The edits are subtle but I think create a better balance between the shiny metals and the subdued navy cloth. I found it challenging to create this effect and felt that I wanted to continue to apply changes in photoshop. They’re not perfect but I’m pleased with the results.

FIN 247 – UNIT 2 – Assignment 6

Beyond the Shrub
  1. For the first image in the Companion Pieces assignment, the “mushroom growth”, I brought up the exposure +38 and brought the contrast up to +25. The Highlights were brought down the all the way to -80, and also lowered the shadows to -20. Texture put at +42, I also brought up the vibrancy to +20. I added a Hue and saturation mask in Photoshop to bring out the red shades in the tree. I also added a brightness and contrast mask and lowered the brightness by -9 and increased the contrast by 20. I also removed a lot of branches that were originally in the photo with the clone stamp tool.
    1. EXIF Settings: SS 1/80 sec – ISO 400 – f/5 – Spot metering
  2. For the “Dinosaur Tree” image, the highlights were brought down to -75 and shadows increased to +31. I also slightly increased the white to +15 and lowered the black to -23. Texture was increased to bring out the detail in the moss on the tree stump. I also increased dehaze to +27 to blur the background. In photoshop I added a Hue and Saturation level to bring out the green in the trees and foliage. I added another brightness and contrast mask to lower the glare on the tree trunks. Finally another Hue and saturation mask to bring out the red in the tree trunk and the ground.
    1. EXIF Settings: SS 1/50 sec – ISO 400 – f/5 – Partial Metering
  3. For this image, I called “one horn tree”, I lowered the brightness to -63 and increased the contrast to +19. I lowered the highlights and increased the shadows to +78. I wanted the root to stand out by having a gloomy effect. I decreased both the white and the black of the image by -44 and -23. Clarity was brought up and as well as the dehaze. In photoshop I added an hue and saturation layer to bring out the green/yellow in the trees. I put another hue and saturation mask to mute the tree trunks in the background. Finally added a mask around the tree root and brought in a deeper dark brown.
    1. EXIF Settings: One Horn Root: SS 1/40 sec – ISO 400 – f/5 – Partial Metering
  4. This image “green from the root”. I started with exposure and lowered it to -85 and the contrast to +16. I wanted to bring down the brightness coming from the background. I also lowered the highlights intensely to -90 and increased shadows to +59, I wanted to even out the dark background to allow the forefront object to pop. I increased the texture, clarity and the dehaze to +46, +16 and +25. I brought up the vibrancy to +31, and also the saturation to +6. I felt like the edits in LRC were good enough and did use any other photoshop edits, except for the text.
    1. EXIF Settings: SS 1/10 sec – ISO 400 – f/5 – Spot Metering
  5. For this image, “Floating shrub”, I wanted to highlight the foliage in the center. In LRC I lowered the exposure slightly to -14 and increased the contrast to +6. Highlights were brought down to -86, and +25 to the shadow, and lowered the black to -30. I also increased the texture to +12, lowered the clarity to -15 and the dehaze to +15. In photoshop I added a hue and saturation mask to increase the brown hues in the trail of the image. I added another HS mask to increase the intensity of the brown in the shrub.
    1. EXIF Settings: SS 1/50 sec – ISO 400 – f/5 – Spot Metering
  6. This image I called “beyond the shrub”, was taken at the same angle but focused on a different shrub with my dog in the background. I slightly increased exposure and contrast to +7, and lowered the highlights down to -67. I increased shadows to +52 which brought out the tree trunk and trail more. In photoshop I added a HS mask to bring out the rich dark browns of the image.
    1. EXIF Settings: SS 1/320 sec – ISO 400 – f/5 – Spot Metering

FIN 247 – UNIT 2- Assignment 5

Sun Shining through the Trees

My image edit intentions below:

  1. For this image I wanted to create more drama with the lines of the trees and contrast that with the green in the trees and the blue of the sky. I lowered the exposure and heightened the contrast slightly. I lightened the shadows quite a bit and lowered the highlights. I slightly increased the clarity, texture and dehaze. I then went into photoshop, and added a Hue and Saturation mask to the greens in the image and finally added a filter of “soft light” of 60%.
    1. EXIF Settings: SS 1/160 sec – ISO 400 – f/5
  2. This image I had the same goal. I wanted to dramatize the blues and the greens in the image to create a stronger contrast. I brought down the exposure and increased the contrast a bit. I lowered the shadows and increased the highlights. I also brought up the texture, dehaze and clarity slightly. In photoshop, I used 2 hue and saturation masks to brighten both the blues and the yellow/greens in the image.
    1. EXIF Settings: SS 1/800 sec – ISO 800 – f/5
  3. For this image, I went for a slightly different mood. I wanted to decrease the intensity of the sun exposure coming through the trees. I lowered the highlights quite a bit and increased the shadows quite a bit. I increased the texture and lowered the clarity. In photoshop I added 3 different Hue and saturation masks to increase the yellow, green and blue intensity. I also added a gradient mask which added a lot of mood to photo.
    1. EXIF Settings: SS 1/400 sec – ISO 800 – f/5
  4. This image, I wanted to decrease the intensity of the sun shining through and just make the green moss to really pop. I lowered the exposure but increased the contrast. I brought the highlight’s down dramatically and brought up the shadows. I also lowered the black in the photo and slightly increased the white. Texture and haze were both slightly increased and the clarity decreased. In photoshop I added 2 hue and saturation masks to intensify the greens and the yellows. I also added a Lighten filter to 65%.
    1. EXIF Settings: SS 1/15 sec – ISO 400 – f/5
  5. For this image, I wanted to make the smiley face more of the focal point in the textured rock. I brought up the contrast slightly, lowered the highlights quite a bit and increased the shadows. In photoshop I added multiple hue and saturation filters. One to lower the intensity of the rock, another one to increase the green shades, another to strengthen the yellow on the rock.
    1. EXIF Settings: SS 1/800 sec – ISO 400 – f/5
  6. For this image, I kept with the same theme of brightening and intensifying the colours. I lowered the highlights, increased the shadows and decreased the black within the photo. Texture and clarity were increased slightly and the dehaze was increased dramatically. I also increased the vibrancy and saturation quite a bit. In photoshop, I again added, hue and saturation masks. One to intensify the blues and another for the greens.
    1. EXIF Settings: SS 1/40 sec -ISO 400 – f/5
  7. For this final image, I wanted to continue with the same mood and intensify all the colours. I brought the exposure down quite a bit increased the contrast slightly. The highlights are lowered and shadows were increased quite a bit. I also intensified the texture in this image to bring out the texture of the wood. I brought down the clarity and added a dehaze to the image and also increased the vibrancy. In photoshop, I added a hue and saturation mask to increase the green vibrancy. I put a gradient mask on this photo to darken the left side of the image and added a final brightness mask to the image to brighten the right side and add a contrast.
    1. EXIF Settings: SS 1/15 sec – ISO 400 – f/5

FIN 247 – Assignment 6 – Companion Pieces

Mushroom Growth

For this assignment, I wanted to capture forest details and create a visual story of different elements in nature. I allowed my surroundings to dictate what I captured and photographed what I felt inspired by. I found that far away images were more difficult to capture in the way that I wanted but when I focused on specific details, the image had a focal point. I also found that experimenting with my camera and sunlight is a fun challenge, but the more I experiment, the more comfortable I feel. I am also looking forward to putting edits on this series, because I think it will unify and tie all the images together to feel more like a series.

EXIF Settings:

Mushroom Growth : SS 1/80 sec – ISO 400 – f/5 – Spot Metering

Dinosaur Tree: SS 1/50 sec – ISO 400 – f/5 – Partial Metering

One Horn Root: SS 1/40 sec – ISO 400 – f/5 – Partial Metering

Green from the Root: SS 1/10 sec – ISO 400 – f/5 – Spot Metering

Floating Shrub: SS 1/50 sec – ISO 400 – f/5 – Spot Metering

Beyond the Shrub: SS 1/320 sec – ISO 400 – f/5 – Spot Metering

FIN 247 – UNIT 2 – ASSIGN 3